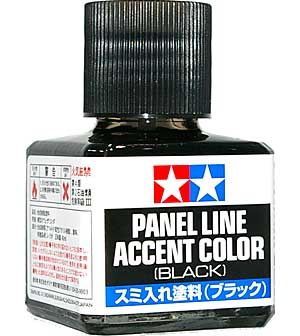
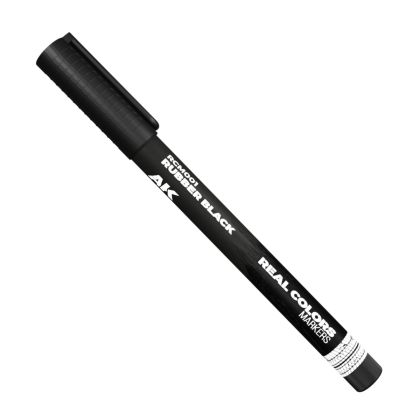
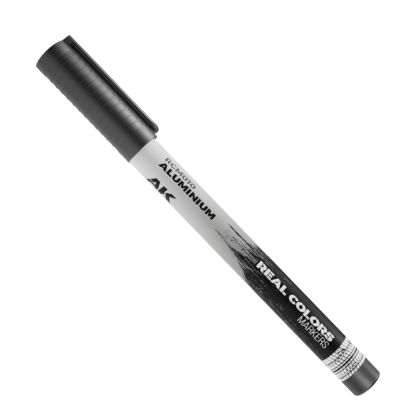
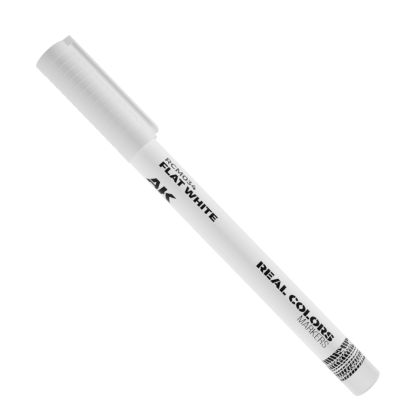
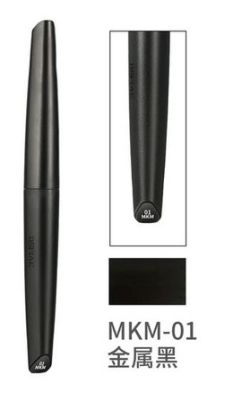
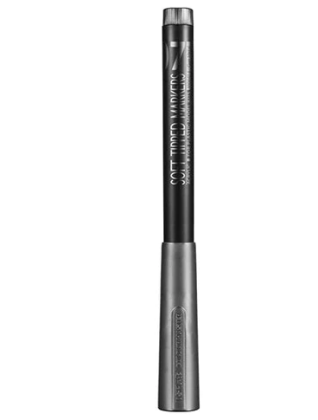
Weathering is the stage where a correctly built model starts to look like an object that exists. The products here do not add detail; they add history — dust settling in corners, oil creeping away from a filler cap, paint chipping back to bare metal at a step edge, rust bleeding downwards from a weld. Each type works in its own way, and the difference between them is not the colour in the bottle but what it does to a surface and how it is applied.
The sections below set out what each group is for and the sequence they are normally used in, so you can pick two or three products that work together rather than a shelf of overlapping bottles.
The range splits by function rather than by colour. Thin translucent coats that shift the overall tone, dark fluids that run into recesses, loose powders that sit on the surface, mediums that make paint come away on purpose, and thick pastes that build texture you can feel. Use them in roughly that order and each step has something to grip.
Seal the base colour, then shade, then tone, then add dust, then damage. A gloss or satin coat under a wash lets the fluid run instead of staining, and a matt coat over the lot unifies everything at the end. Enamel and oil products need an acrylic barrier beneath them, so a clear coat is not an optional extra at this stage.
Keep one principle in mind throughout: gravity and traffic decide where dirt goes. Dust collects where it is not disturbed, paint wears where hands and boots touch, and streaks run downward from a source. Weathering applied evenly over a whole model reads as grubby; weathering applied where it would actually happen reads as used.