Epoxy putty is the sculptor's material in a modelling workshop. Two components kneaded together start a chemical cure that cannot be stopped or restarted, and in between you have a window — minutes with some products, more than an hour with others — in which the material behaves like stiff clay. Once cured it is hard enough to carve, drill, tap and sand, and it does not shrink, which is what sets it apart from solvent-based fillers.
That combination makes it the right choice for anything with volume: a tarpaulin, a bedroll, a repaired casting, a riveted plate, groundwork. Below: how to pick by working time rather than by name.
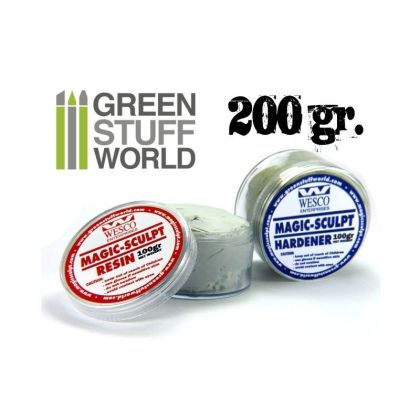
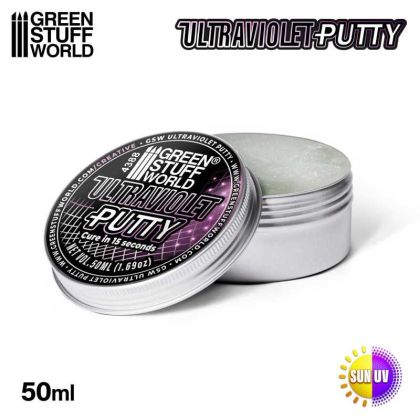
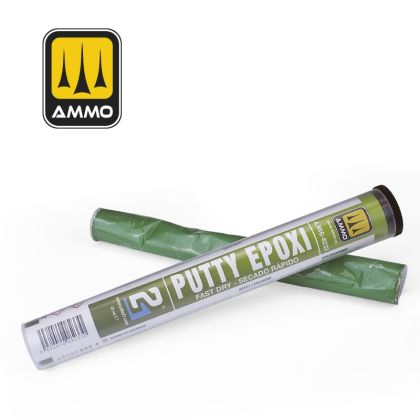
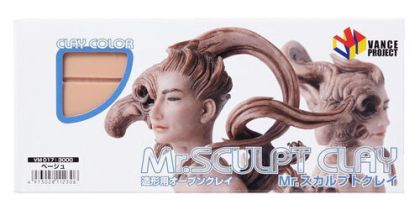
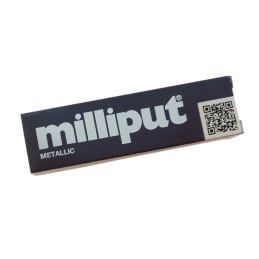
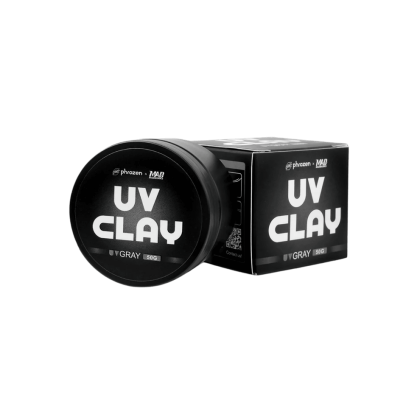
Two-part epoxy putties in several grades, including fast-curing versions and a metallic-loaded type that sands to a very smooth surface, light-curing clays and UV putties that stay workable indefinitely until exposed to a lamp, and large tubs of soft modelling clay for bulk work. Dedicated brand ranges are listed separately in Milliput, Green Stuff and Magic Sculpt.
This is the specification that decides whether a material is usable for your job. Minutes are fine for filling a gap or adding a weld bead; sculpting fabric folds needs an hour or more. UV-curing types sidestep the question entirely — they only harden when you put a lamp on them, which is ideal for long sessions and awkward for anything left in sunlight.
A fine-grained putty takes a sharp edge and sands to a glass surface, which matters on a visible repair. Coarser, softer grades are easier to shape with the fingers and are better for groundwork and bulk. If the part will be drilled or threaded, a harder grade is the safer choice.
All of these stick to dry tools. Keep water or a release agent on the blade and on your fingers, and keep silicone shapers to hand — they release better than steel and will not tear a surface you have just smoothed.
Streaks of unmixed component will never cure. Knead until the colour is completely even, and mix only as much as you will use in the working window — the reaction starts the moment the two parts touch, and the mass warms itself as it goes.
Thick blobs cure unevenly and distort. Add volume in stages, letting each one firm up. For a figure, start from an armature so the pose and the strength are there before the shape is.
Use steel spatulas, styluses and carvers for crisp detail once the putty has stiffened to the consistency of cheese; that is the moment it cuts cleanly instead of smearing.
Cured epoxy sands well but is harder than styrene, so work through grades with sanding tools and expect to take the surrounding plastic down with it. A coat of surfacer or primer afterwards shows up every pinhole you missed, which is exactly what you want before paint.
For a hairline seam or a sink mark, an epoxy is overkill: one-part putties dry fast and sand easily, and two-part fillers handle larger gaps without the kneading. Mixing balls for agitating liquids are in mixing balls.