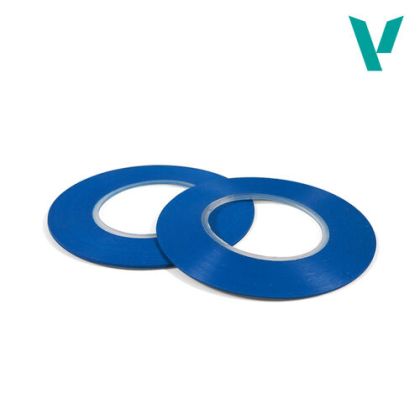
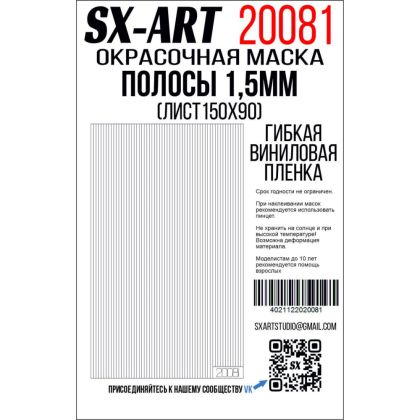
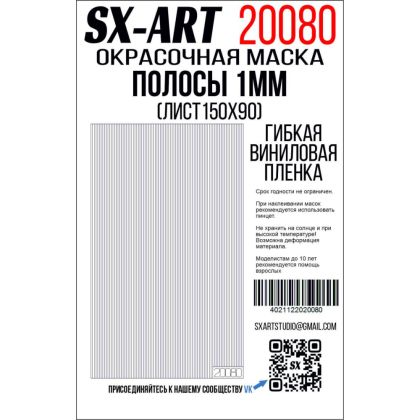
A crisp boundary between two colours is the first thing an eye finds on a finished model. Masking supplies let you draw it without a steady hand: tapes from 0.75 mm wide, flexible versions that follow a curve, mouldable putty for irregular camouflage bands and ready-made stencils with printed patterns. The same materials do the duller but necessary work of protecting what is already finished, from canopies to wheels and clear parts. How to mask without paint creeping under the edge is below.
There are three tasks in practice: split a surface into two colours with a sharp edge, reproduce a repeating pattern, or simply shield a finished part from the next coat. Each wants a different material, which is why the shelf is divided into groups rather than sold as one roll of tape.
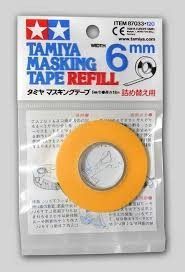
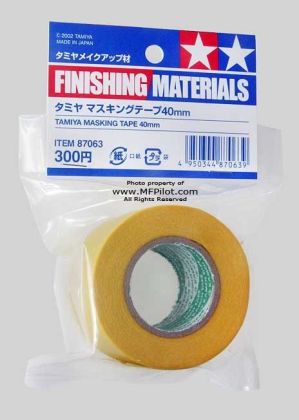
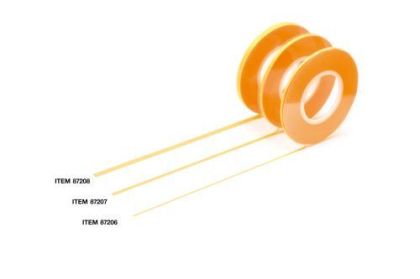
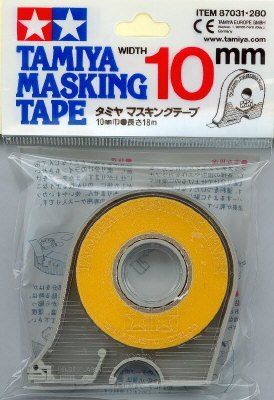
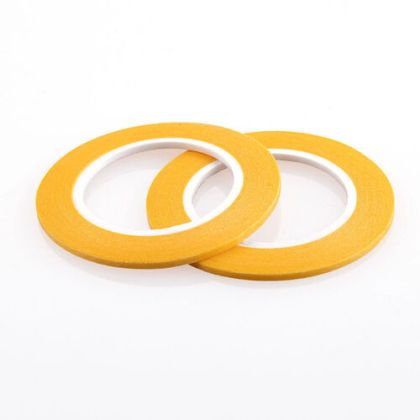
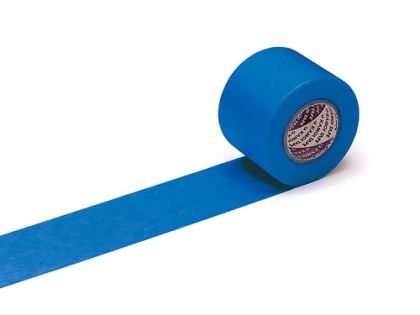
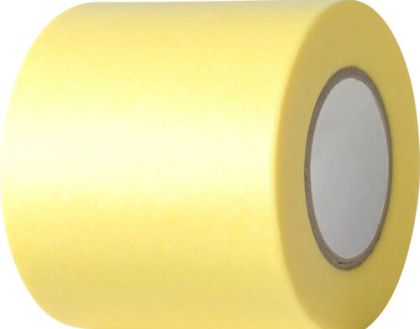
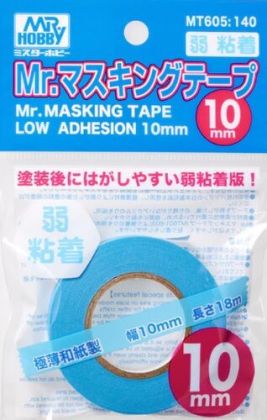
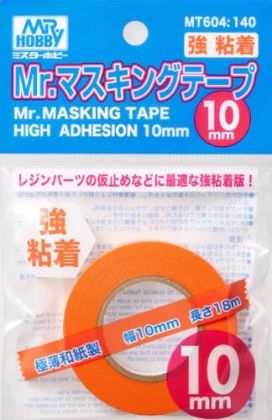
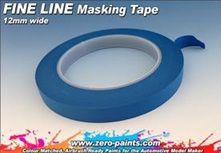
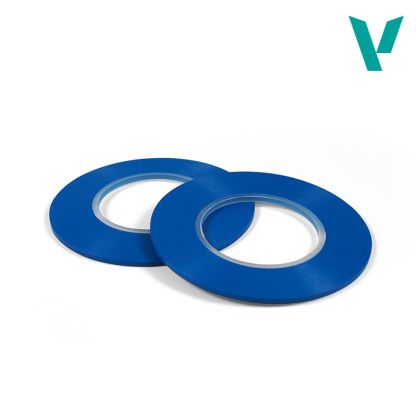
The standard answer is masking tapes. What matters is width, because a one millimetre line and a covered wing are different problems, and tack, which must seal the edge without pulling the paint off.
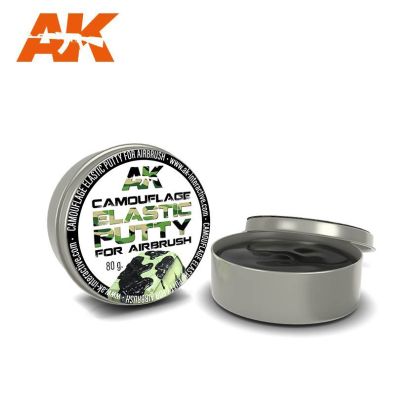
Tape fails here, because it will not follow a free curve. Use masking putty rolled into a snake and laid along the boundary, or liquid masking fluid painted on and peeled away afterwards.
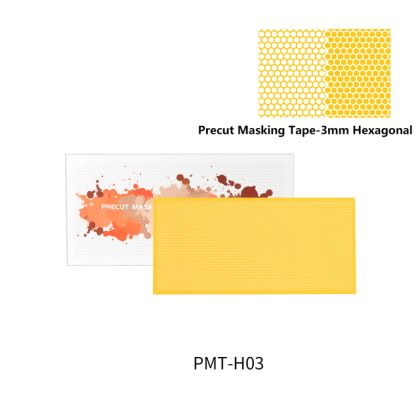
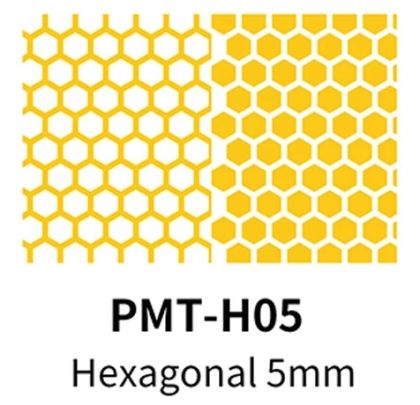
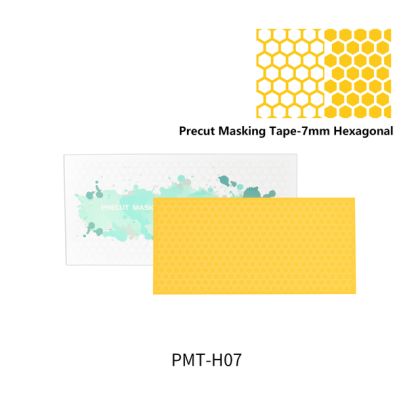
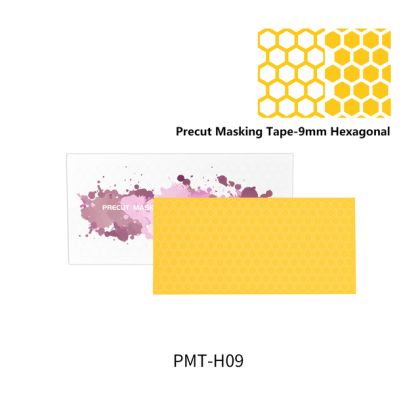
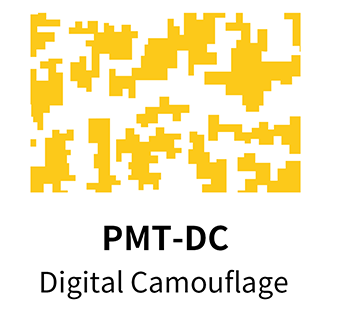
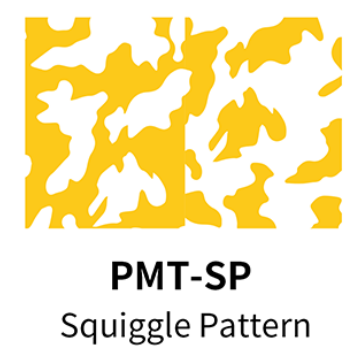
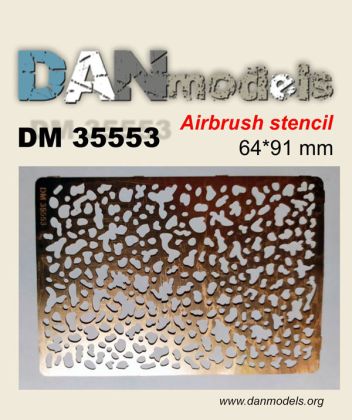
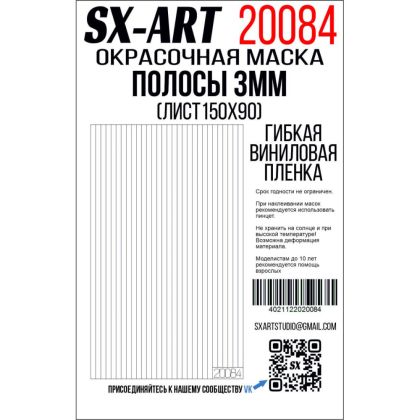
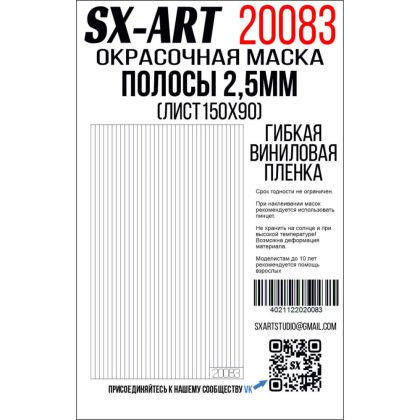
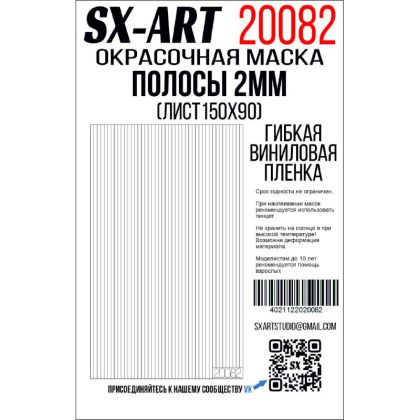
Hexagonal screens, digital camouflage and stripes cannot be cut by hand with any consistency. For those there are camouflage masks and stencils with the pattern already prepared.
Masking is part of painting, so the overview in model paints is worth having open alongside, together with airbrush equipment for the soft edges you would rather spray than mask and model varnishes to seal a finished scheme. Hard-edged schemes and large canopies make aircraft model kits the heaviest users of all of it.