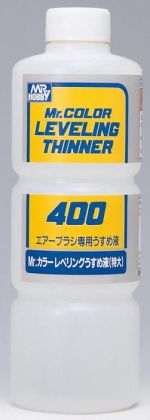
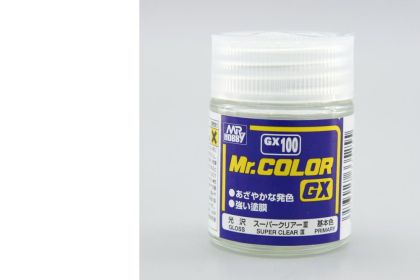
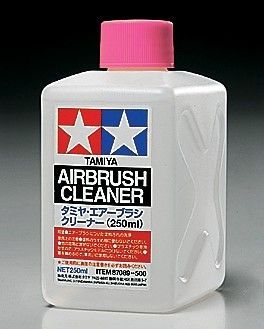
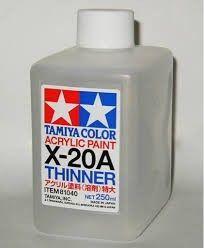
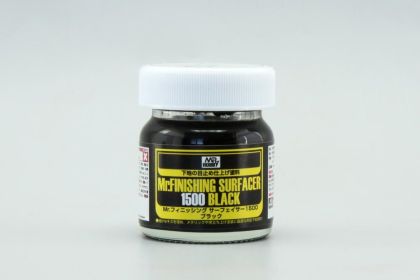
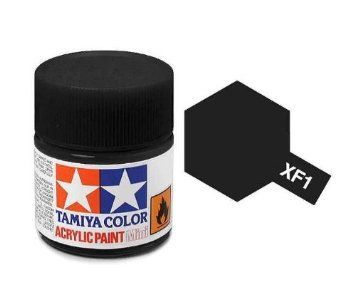
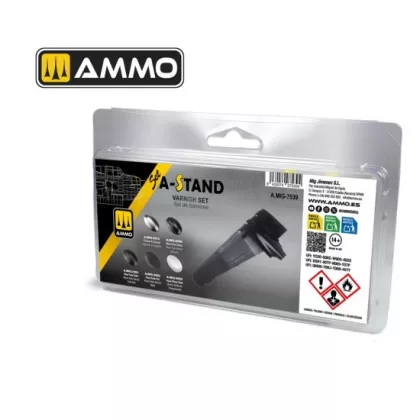
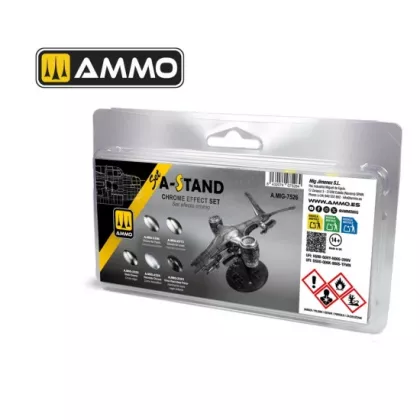
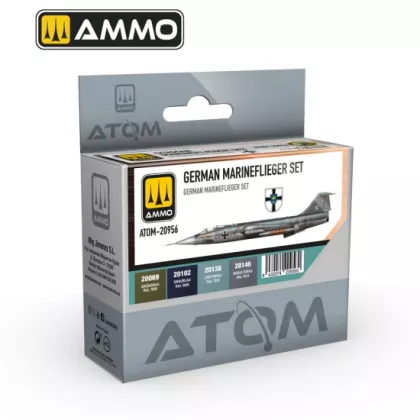
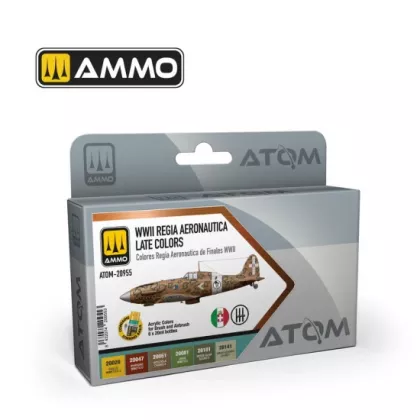
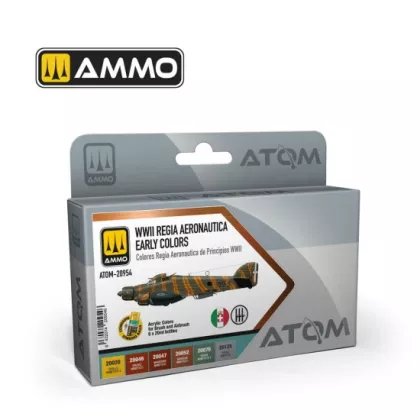
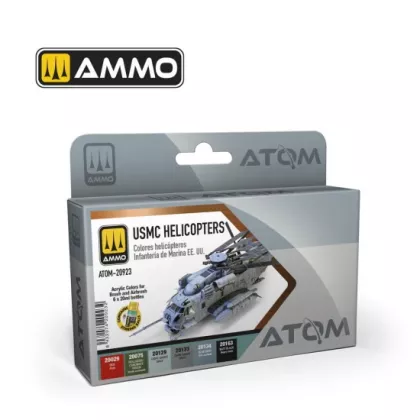
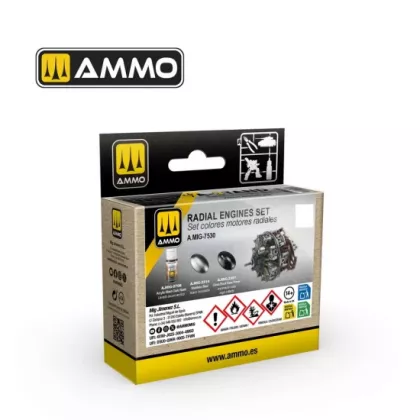
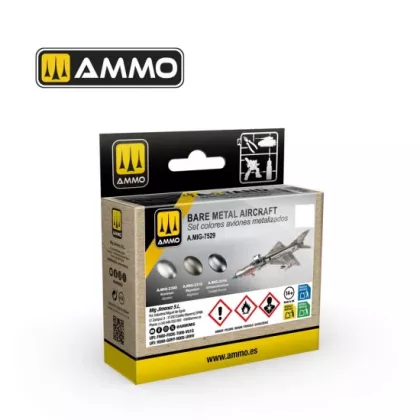
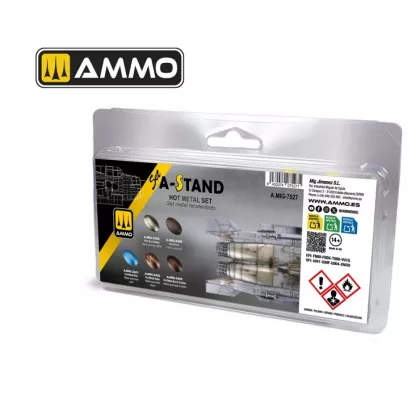
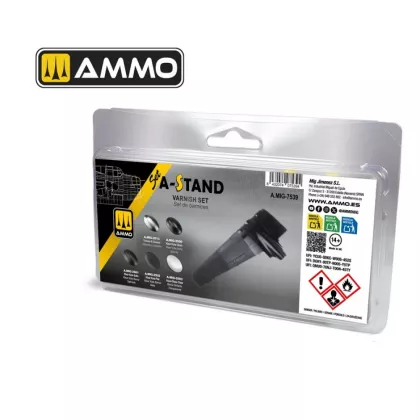
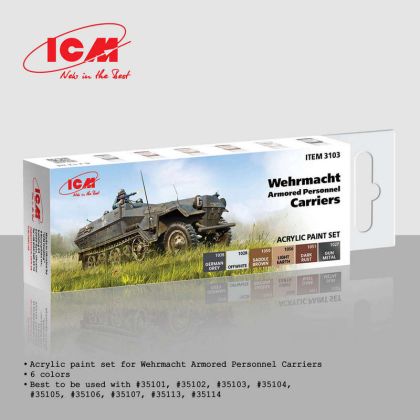
Painting is the step that turns a grey assembled kit into one specific machine with one specific history. This section keeps the whole coating chain together: primers and surfacers for the groundwork, topcoat colours in several binder types, matt and gloss clear coats, thinners and cleaners, masking materials and brushes.
Pick your route according to how you work, spraying through an airbrush or laying colour on by hand. The guidance below sets out the order the layers go on and the small items that stop the job stalling halfway through.
Everything that reaches the model once the building is finished. You will find model paints sorted by binder type, surfacers and primers for preparing the plastic, clear coats for evening out the sheen, thinners and cleaners, masking materials and modelling brushes. Each group handles a different step, and together they make one sequence.
Styrene is smooth and bare colour grips it poorly. Degreasing the parts and laying a thin coat of primer evens out differently coloured components, exposes sanding scratches you had forgotten about and gives the topcoat something to key into. On resin and clear parts this step matters even more than on ordinary plastic.
Acrylics are the common choice today: they spray well and tools clean up without harsh chemicals. Enamels dry slowly but flow beautifully into recessed detail and take weathering well. Lacquers give the hardest and thinnest film. Oils suit soft blends and grime. Whichever you pick, buy the matching thinner at the same time.
Hand painting handles small detail, interiors and figures and needs nothing extra. Large areas, soft-edged camouflage and genuinely thin coats call for an airbrush. Most builders combine both on one model, spraying the panels and finishing the detail by hand.
If you are new to painting, start with a small number of shades you will genuinely use and fill the gaps from the rest of the modelling supplies as projects demand. The kit to paint is waiting in the plastic model kits section.