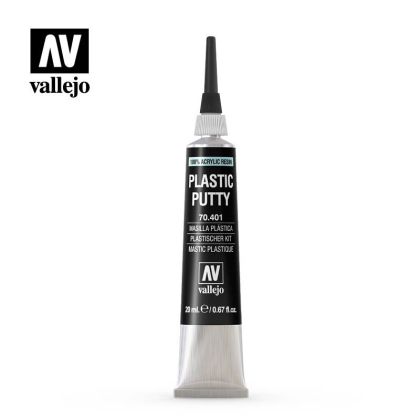
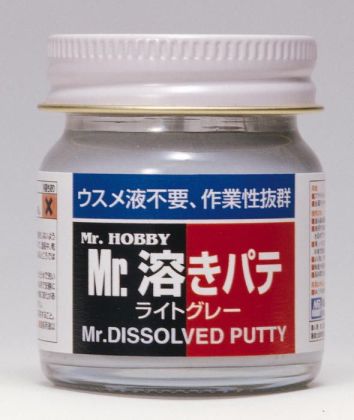
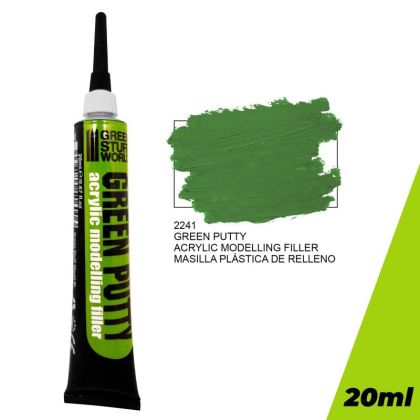
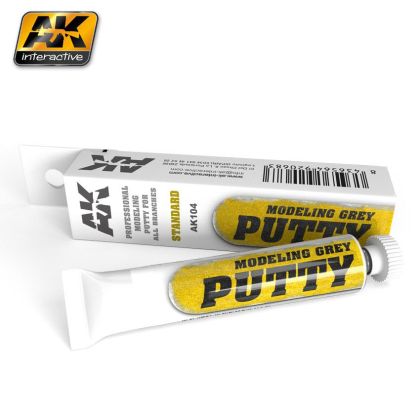
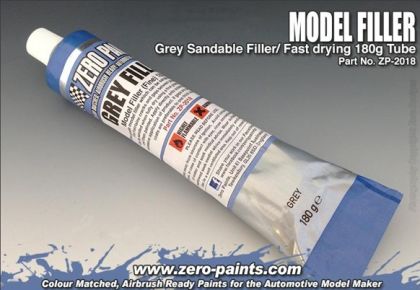
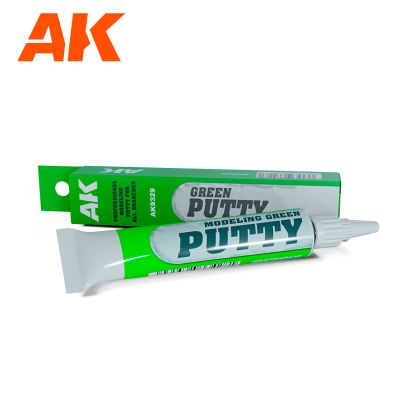
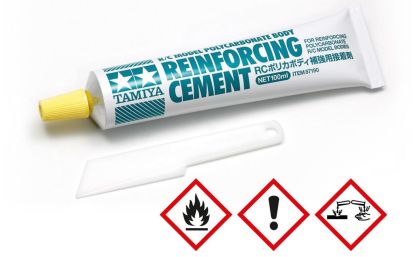
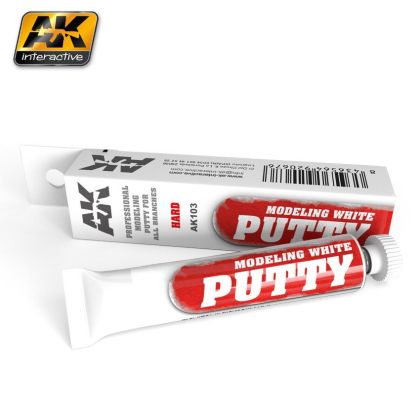
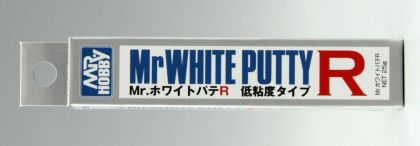
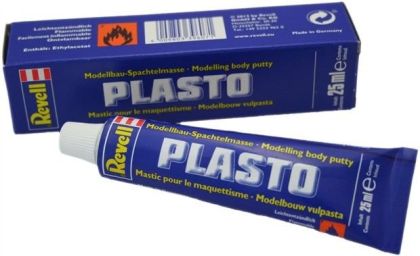
One-part fillers are the ones you apply and leave to dry — nothing to mix and nothing to measure, which is why they are reached for most often. The category takes in classic tube pastes in grey, white and green, liquid fillers brushed straight into a hairline groove, and fine surfacing putties for larger flat areas. The colour is not cosmetic: on dark plastic a pale filler shows clearly what has been covered and what has not, and the reverse is true on light styrene.
It is solid matter suspended in a carrier that evaporates. What stays behind is the solid content — and because that is less than the volume you applied, the filler shrinks. It is a defining property rather than a fault: on a shallow groove you will never notice it, on a deeper cavity you certainly will. The answer is simple enough, several thin passes and no hurry.
The all-rounder for genuine gaps. It is laid on with a spatula, a gloved fingertip or an old blade and left standing slightly proud, so that after shrinkage and sanding nothing is missing. This is the grade for wing roots, the seam between fuselage halves and car bodies.
It has the consistency of thick paint and flows by itself into hairline grooves, porosity and fine abrasive marks. The real advantage arrives once it has dried: the excess can often be wiped off with a cloth or a swab dampened in thinner, leaving the detail around it untouched and no sanding to do.
A very smooth material for broad but shallow flaws — scratches from a coarse grit, transitions left after heavy sanding, or the surface of a 3D-printed part. It is brushed on and drawn flat with a flexible blade.
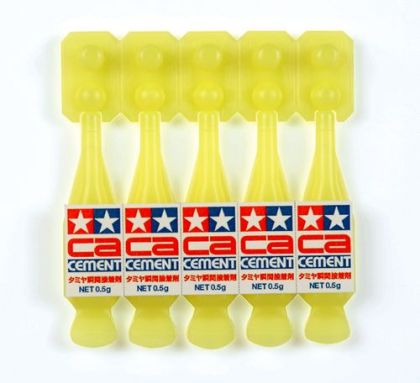
Thick CA glue works on a small cavity you do not want to wait for. It cures at once and does not shrink, but it is harder than the plastic around it, so sand with a light touch.
A model with its seams filled and sanded is ready for painting, which is where the quality of the build work shows up first.