Sixteen tenths of a millimeter. The grade most often reached for when replacing an original molded detail with a separate part with crisp definition.
Responsibility details are not available.
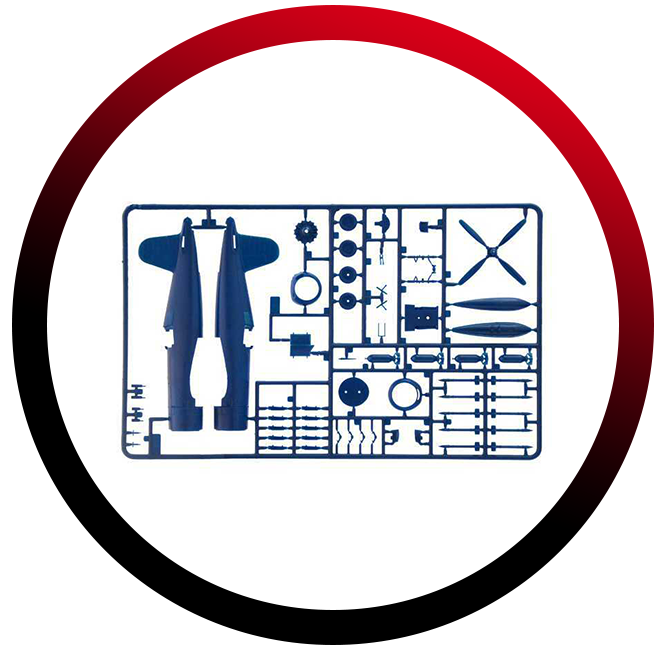
Large kits tend to have the joints suggested on the part itself. They look reasonable until you inspect them close up: the shape tends to be rounded, the edges soft and often the trace of the mold parting line runs across the head. Replacing such a detail with a separate part is one of the modifications with the best ratio of work put in to visible result, because the work is done in places the viewer watches.
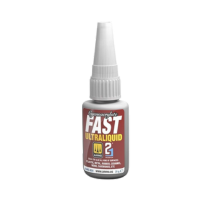
The original shape is first removed, either with a sharp knife led flat or with a fine file. The surface is then sanded with a soft sponge so that the scratches from the blade disappear. Next comes pricking the center and drilling the hole into which the shank of the new part is inserted. The most common mistake is haste in the first step: anyone who sands insensitively will scrape the surrounding surface too and will have to restore it laboriously.
If you are unsure, start on a less conspicuous side of the model. You will get a feel for how deep to drill and how much glue to use, and any failure will stay hidden. Only then start on the surfaces that will be the first thing to catch the eye on the finished build. Adjust your pace to the fact that there is no way back: once the original shape is gone, it can be restored only with a new part.
Naši poradci a znalci sortimentu jsou připraveni odpovídat na Vaše dotazy (Po–Pá, 8–18 hod).
Zeptejte se na co potřebujete, odpovíme co nejdříve.
Texts from customers in the advice section reflect solely the opinions and views of the customers. MNF trade s.r.o. does not approve or verify customer texts in advance.
There are no questions here yet. Be the first to ask!