20% OFF Sale Until Wednesday!
MASTER • KELIK • RESKIT • QUINTA STUDIO • EDUARD • GUNZE • VALLEJO • HGW • DEAD DESIGN • FIRMA49 • KOVOZÁVODY PROSTĚJOV • AZ MODEL • RS MODELS
Sale Ends Wednesday, November 11, 2026!
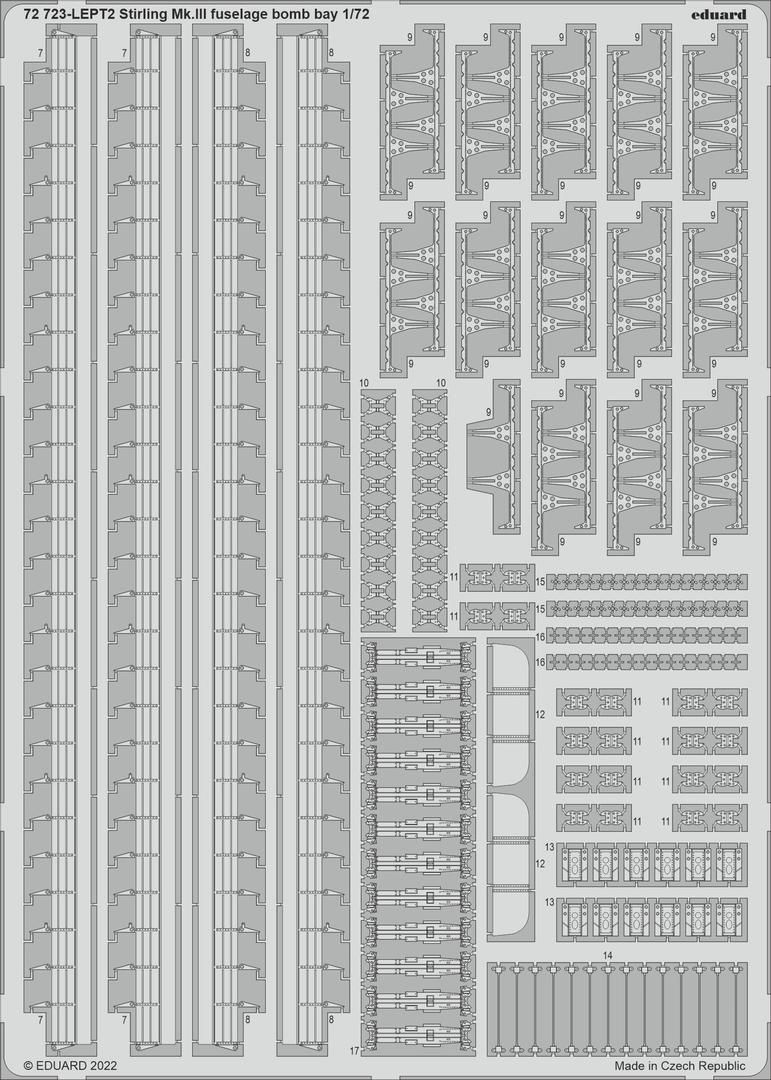
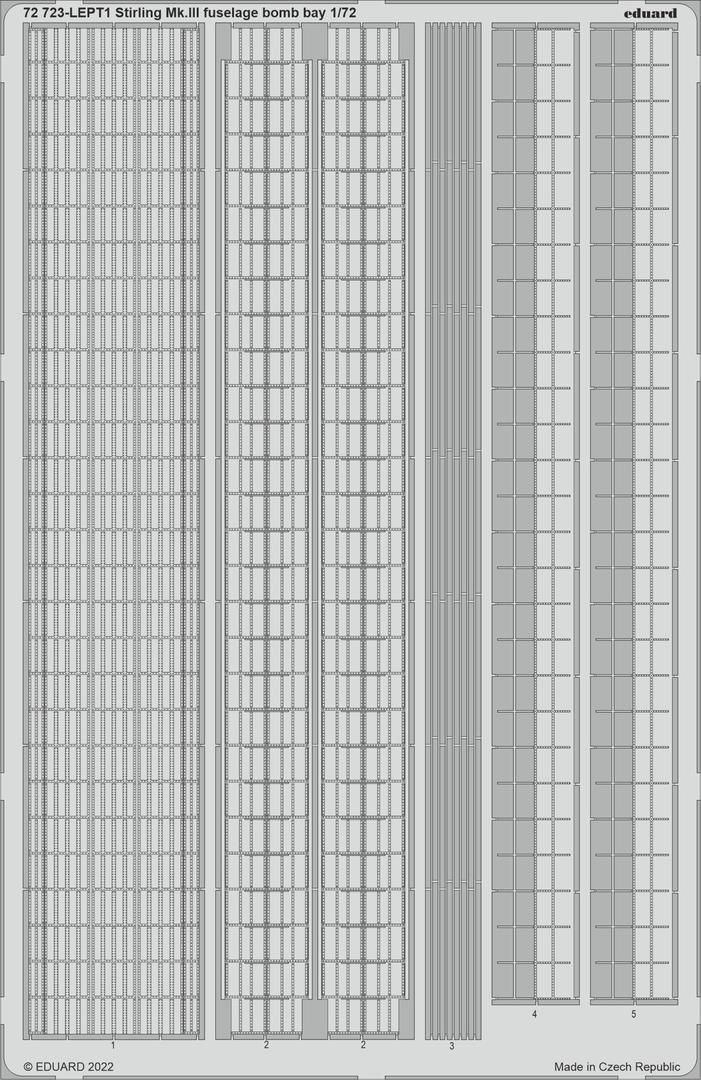
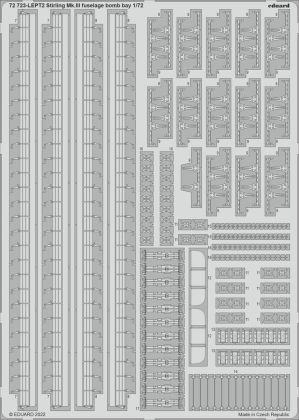
The Eduard 1:72 Stirling Mk.III fuselage bomb bay photo-etched set answers the bomb bay in the fuselage of the British four-engine bomber. It is an extensive accessory to a plastic kit, not a model.
Responsibility details are not available.
A photo-etched detail set from the Czech manufacturer Eduard for a model of the British Short Stirling Mk.III heavy bomber in 1:72 scale. According to the name the set concentrates on the bomb bay in the fuselage, a space that a kit usually shows as nothing but an empty smooth box. Etched metal brings ribbing, beams, hinges and internal structure into it, so the model can be built with the bomb bay doors open and one of the most interesting details of the whole aircraft can come into its own. It is not an aircraft model but an accessory for a kit you already own. In its extent it is one of the more demanding Eduard sets for this machine; for the same aircraft the manufacturer also makes sets for the exterior, for the bomb bays in the wings and a photo-etched interior.
The Short Stirling was the first four-engine heavy bomber to enter service with the Royal Air Force in the Second World War. Its fuselage had an exceptionally long bomb bay divided into sections, backed up by further bomb spaces in the inner sections of the wings. The Mk.III version was marked out by more powerful Bristol Hercules radial engines and reworked defensive turrets. Because of its limited service ceiling the type was later reassigned to transport, towing and special duties.
The interior of the bomb bay is dealt with before the fuselage halves are glued together, because once it is closed you will not get inside. Plan the procedure in advance and dry-fit the individual sections first. Separate the parts with a sharp knife on a hard surface and make the folds in a bending tool. Glue with cyanoacrylate, and on the larger parts epoxy helps by giving time to adjust the position. Degrease the metal before painting and spray a primer. It pays off to paint and weather the inside of the bomb bay before the surrounding parts cover it; a wash in the recesses and a fine dry brush on the edges give the space a depth nobody would otherwise see.
This is an accessory to a plastic kit. The kit, glue and paints are not included in the package, unless stated otherwise.
Naši poradci a znalci sortimentu jsou připraveni odpovídat na Vaše dotazy (Po–Pá, 8–18 hod).
Zeptejte se na co potřebujete, odpovíme co nejdříve.
Texts from customers in the advice section reflect solely the opinions and views of the customers. MNF trade s.r.o. does not approve or verify customer texts in advance.
There are no questions here yet. Be the first to ask!