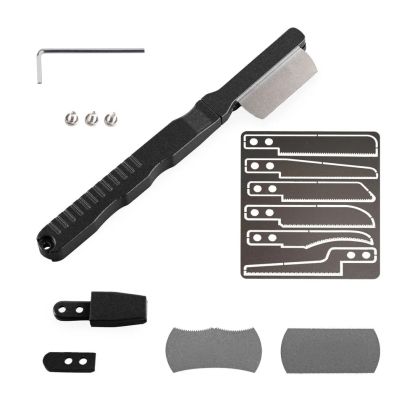
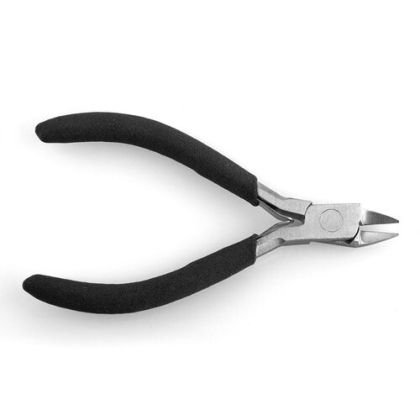
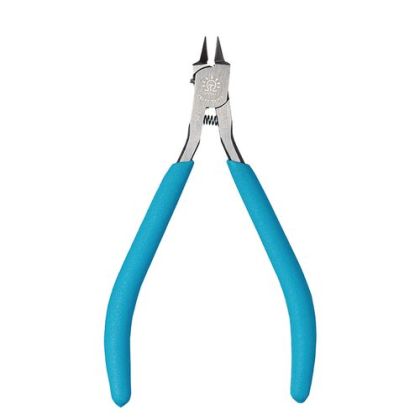
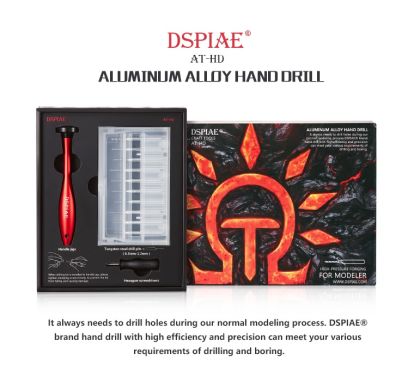
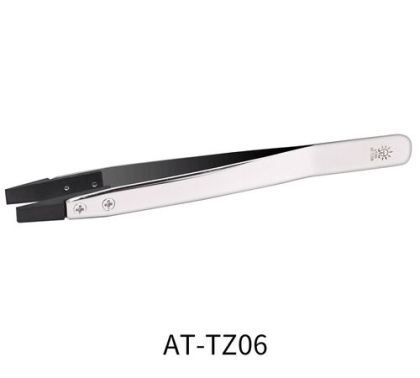
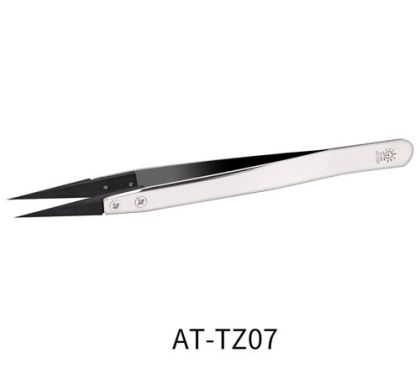
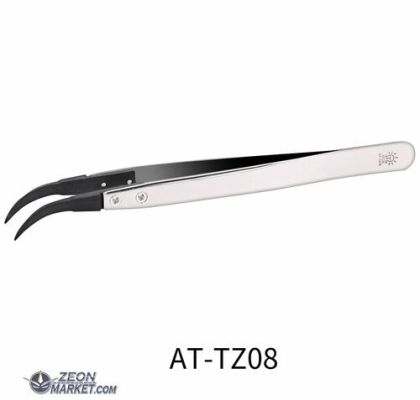
Every plastic kit comes down to three questions: how you get the parts off the sprue, what you join them with, and how you hide the seam afterwards. This section keeps all three in one place — plastic cement and CA, fillers for gaps and missing material, and the modelling tools that do the physical work: sprue cutters and scalpels, files and sanding sponges, pin vices, scribers, riveters and the clamps that hold a part until the joint sets. Read on for how to build the bench kit up gradually instead of buying one of everything at once.
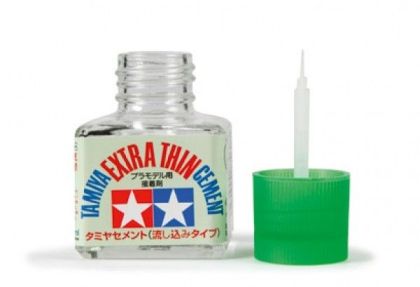 Tamiya Extra Thin Cement ( 40ML ) - Lepidlo na plast.modely řídké se štětečkem
3.96 €
Tamiya Extra Thin Cement ( 40ML ) - Lepidlo na plast.modely řídké se štětečkem
3.96 €
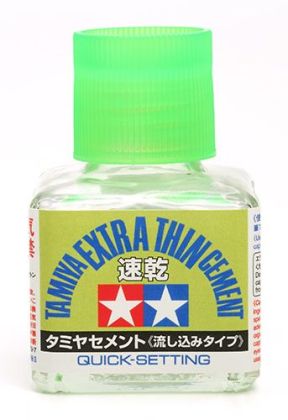 Tamiya Extra Thin Cement (Quick-Setting)
3.96 €
Tamiya Extra Thin Cement (Quick-Setting)
3.96 €
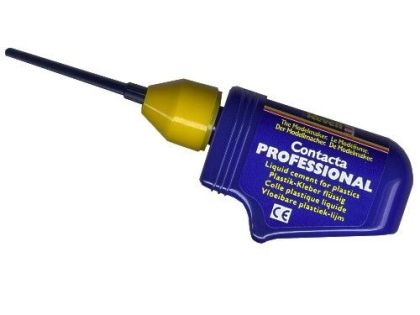 Contacta Professional - jehlové lepidlo Revell
5.16 €
Contacta Professional - jehlové lepidlo Revell
5.16 €
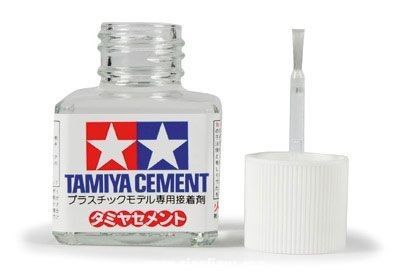 Tamiya Cement ( 40ml ) - Lepidlo na plast.modely
3.16 €
Tamiya Cement ( 40ml ) - Lepidlo na plast.modely
3.16 €
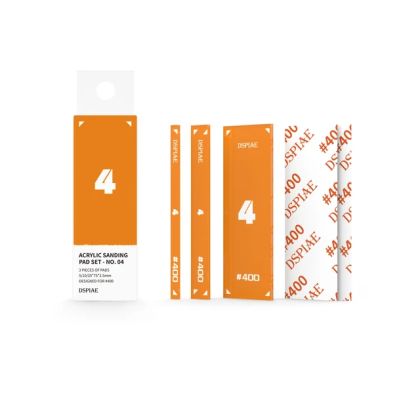
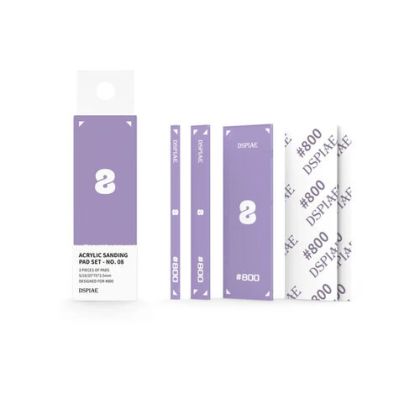
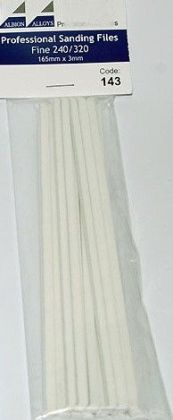 Brousítko úzké (3 mm) jemné (bílé)
0.60 €
Brousítko úzké (3 mm) jemné (bílé)
0.60 €
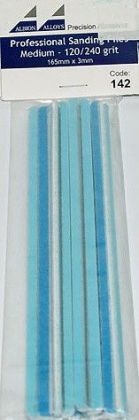 Brousítko úzké (3 mm) středně hrubé (modré)
0.48 €
Brousítko úzké (3 mm) středně hrubé (modré)
0.48 €
This is the bench kit for the stage that starts when the box is opened and ends when the model goes under primer. It splits into three blocks: adhesives sorted by material and viscosity, fillers for seams and missing material, and tools, which branch further by the job they do — cutting, sanding, drilling, scribing. Nose ballast stands apart: without it a nose-wheel subject will never sit level.
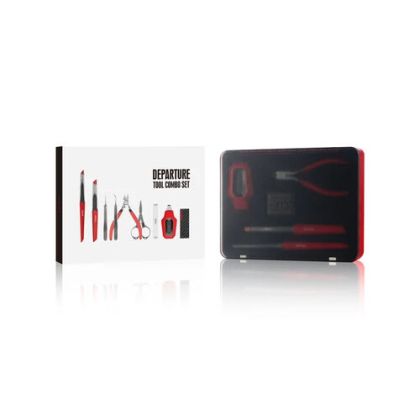
Sprue cutters, one sharp blade, plastic cement and two grades of abrasive will carry you through a straightforward kit. Add a tool when a specific problem turns up — a seam that refuses to close, a panel line lost under filler, a snapped aerial — and you buy exactly what solves it. Starting from nothing, a ready-made tool set puts a matched basic kit on the bench in one go.
Styrene is welded rather than glued: solvent softens both faces and they cure into a single piece. Resin, metal and clear parts cannot be softened that way, so cyanoacrylate or epoxy takes over. The more materials one build mixes, the more likely you are to keep two or three adhesives open at once, with an accelerator to cut the waiting.
Large scales mean more cutting, drilling and filling, because every flaw shows. Small scales are decided by how fine the tool is — blade thickness, grit number and scriber width. For delicate work reach for high grits and thin blades rather than one coarse tool meant for everything.
Once the model is glued, filled and smooth, the second half of the job begins — see painting supplies, where primer, colour coat and varnish follow on.