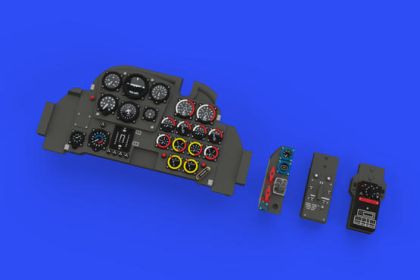
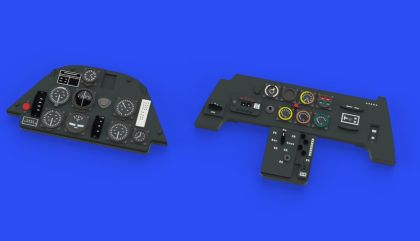
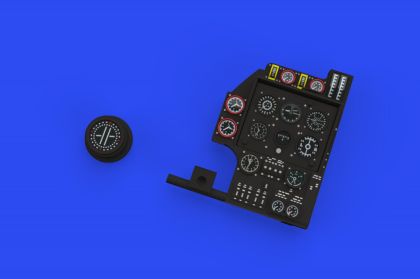
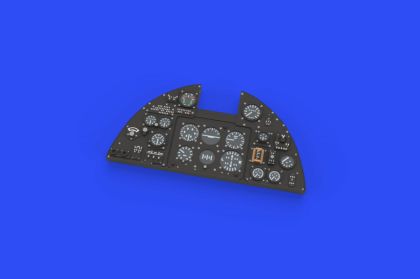
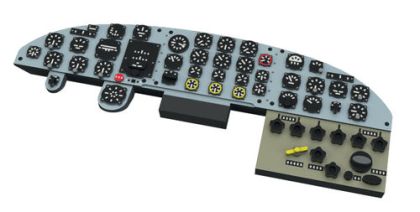
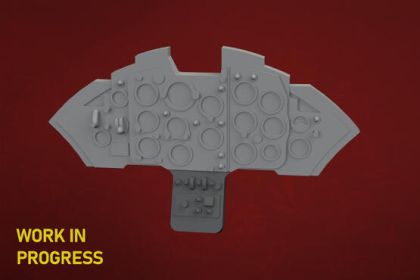
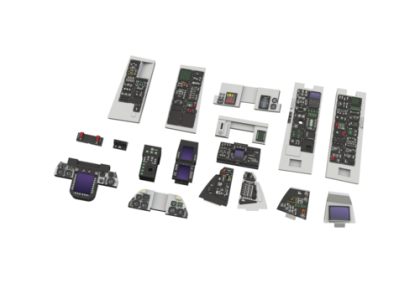
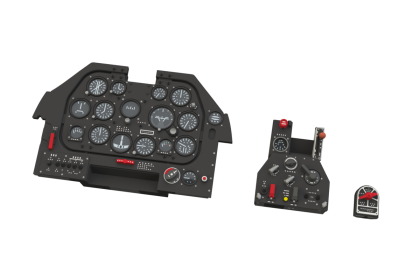
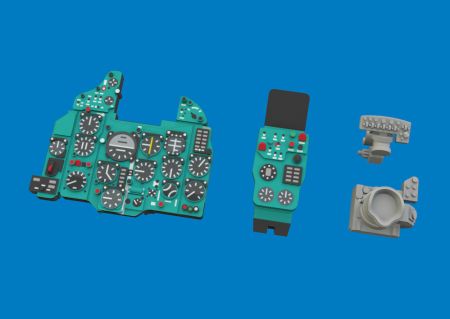
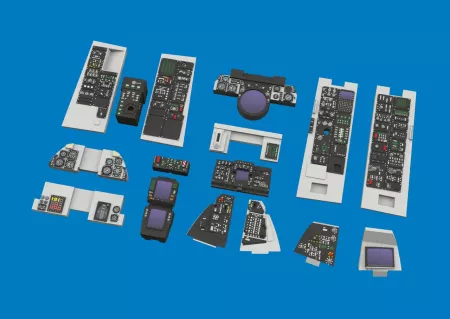
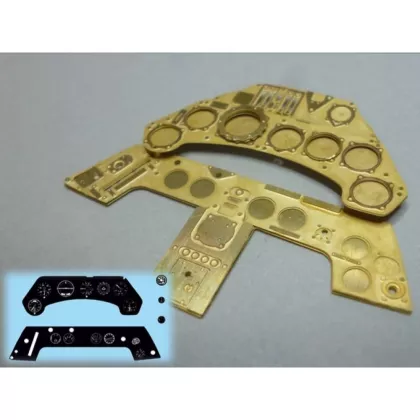
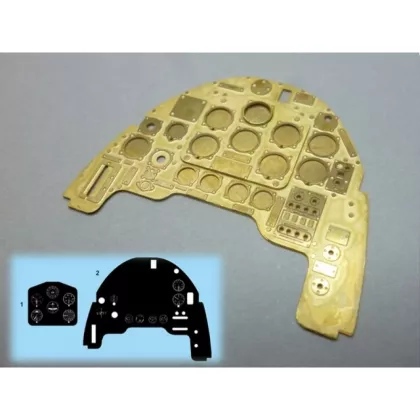
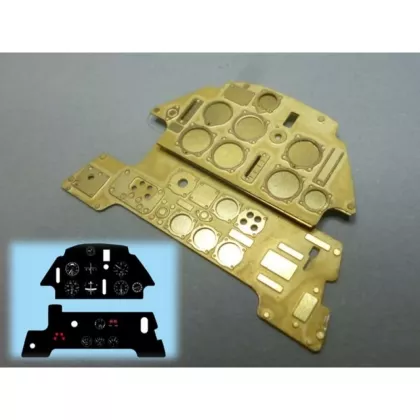
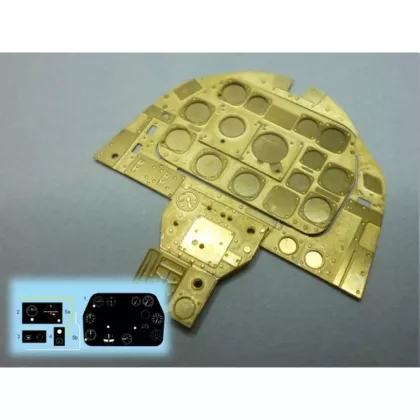
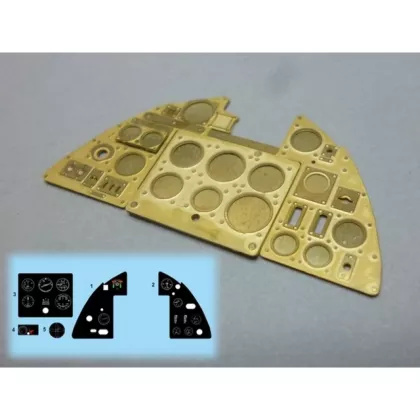
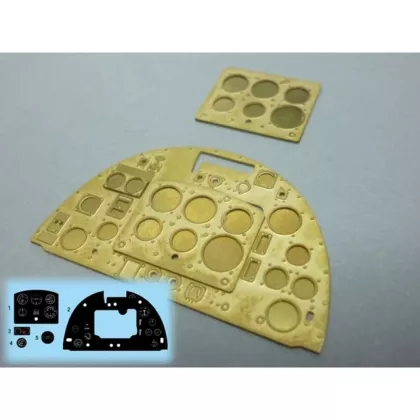
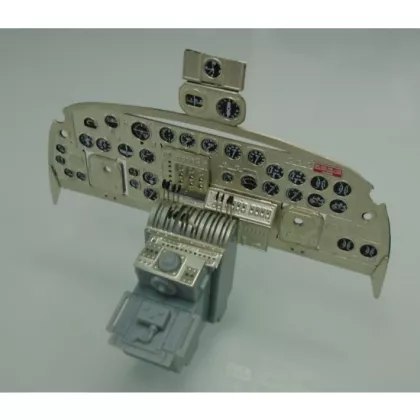
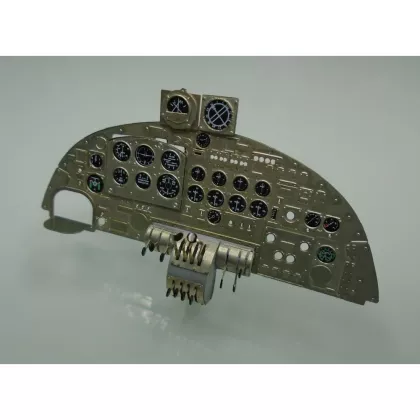
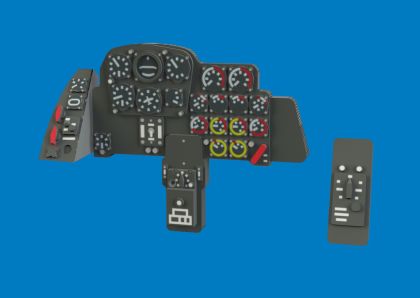
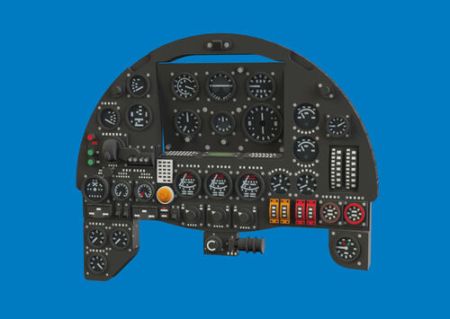
Replacement instrument panels for aircraft models turn a closed cockpit into the spot where every visitor stops. Instead of the flat decal from the box, there are coloured three-dimensional panels, photo-realistic pre-printed fascias and photo-etched panels with separate dial decals, in scales from 1:72 up to giant 1:24. Choose the set made for your kit, glue it in place, and the cockpit will stand being looked at closely. How to pick a panel and what else the interior needs follows below.
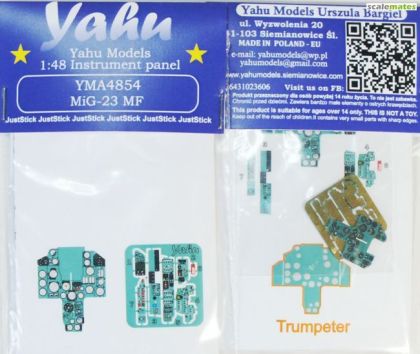
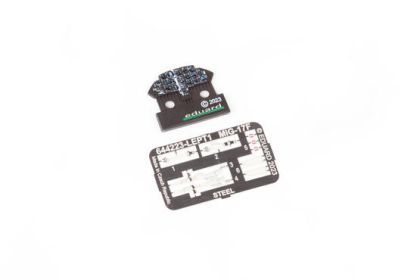
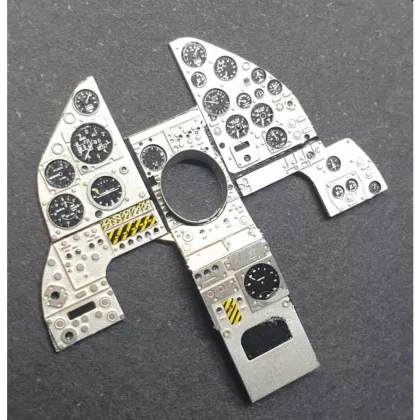
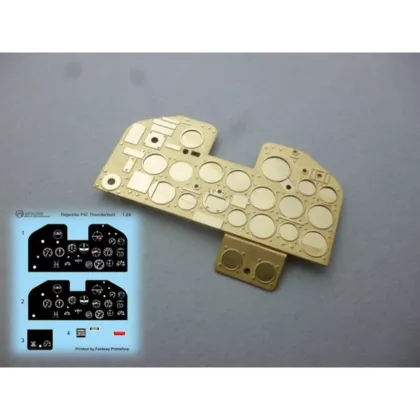
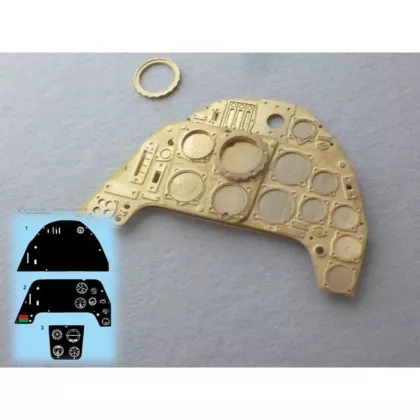
An injection-moulded fascia with a dry decal looks flat next to a carefully built cockpit. A replacement panel solves that neatly: pre-coloured three-dimensional fascias have raised, legible dials and usually come with steel seatbelts. Other sets rely on photo-realistic printing and are glued straight in. A third route is photo-etch combined with dial decals, on some types over a nickel-silver backing plate. All three lead to a cockpit that holds up under a judge's loupe.
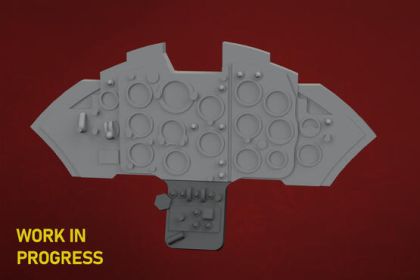
The panel has to sit on one particular moulding, which is why the target kit is named in the set title. The range is divided into 1:72 instrument panels, panels in 1:48, 1:35 panels, fascias for large 1:32 builds and panels for the giant 1:24 kits.
A pre-coloured three-dimensional panel is the quickest route to a striking result: no painting, just accurate placement. Photo-etch with decals asks for more patience but leaves you in control of shades and weathering. An open cockpit at large scale rewards a raised panel, while a closed canopy at 1:72 is often served well by something more restrained.
Gluing in a finished fascia is within reach on a first build. Layered photo-etched panels suit modellers with a few cockpits behind them. Expect to trim or sand away some of the original moulded detail first.
The cockpit is the calling card of the whole build. Pick the panel for your machine, and if you are still looking for something to use it on, browse the aircraft model kits in every scale.