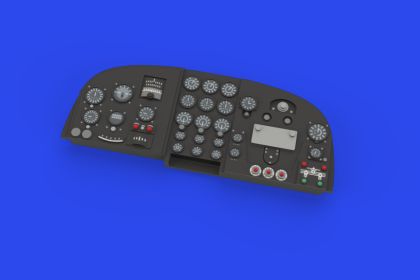
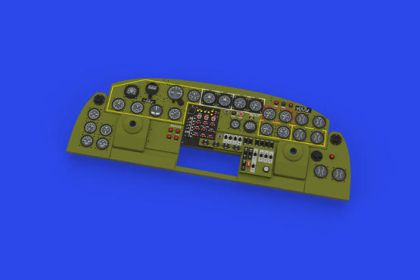
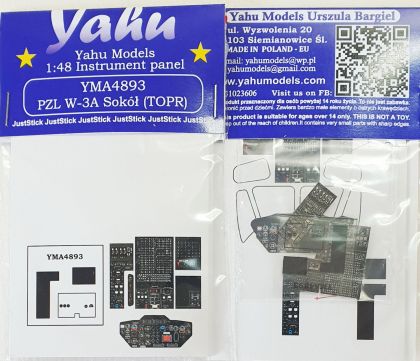
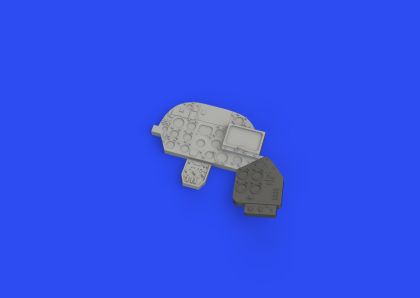
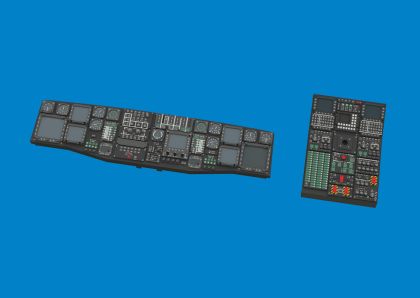
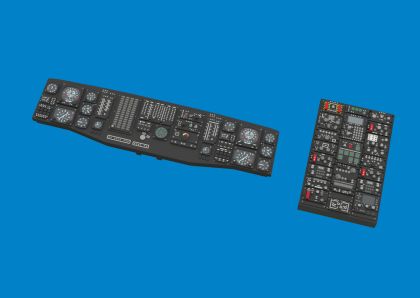
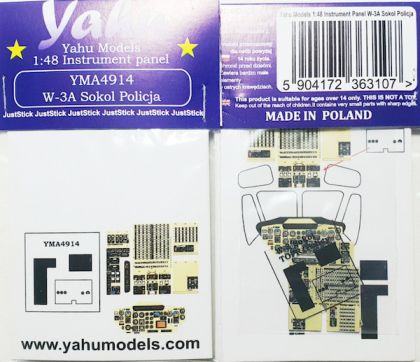
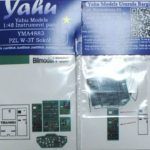
Instrument panels for helicopter models settle the most-studied square centimetre of the whole build. A pre-coloured layered panel with legible dials replaces the bare moulding in the cockpit of machines such as the Mi-24, the UH-60 Black Hawk or the W-3 Sokol, with no need to paint individual gauges under a magnifier. The relief also catches light, so the cockpit looks alive even behind closed glazing. Below: choosing a panel, fitting it, and matching the rest of the interior to it.
The panel in a plastic kit is usually a smooth moulding with a decal that refuses to settle over raised detail. Accessory panels are built from printed layers, so the dials have real depth, crisp lettering and a hint of glass. On a helicopter, where the pilot sits behind a large transparency, the difference shows at first glance even in a closed cabinet. Some sets add pre-coloured harnesses; the rest of the interior is covered by other helicopter model accessories.
A panel has to match both the scale and the specific moulding it was shaped for; the intended kit is named in every product title. Quarter scale currently has the widest choice, covering machines such as the Sokol, the Black Hawk and the Hind. Building seventy-second? Watch for new releases, as coverage for the smaller scales keeps growing.
Layered panels glue onto the original part or in place of it, and an edge can be tidied with a touch of paint. Fit the panel before you close the fuselage, while the cockpit is still open. Fine tweezers and a fresh blade help; printed film does not enjoy being bent over a hard edge.
A pre-coloured panel next to an untouched interior simply draws attention to itself. Give the seats harnesses, dry-brush the side consoles, and tie the whole together with one shade from the same paint line. Behind the glazing it then reads as one assembly rather than a bought-in part dropped into place.
A new panel pays off most on a well-detailed kit: look through 1:48 helicopter kits and their roomy cockpits.