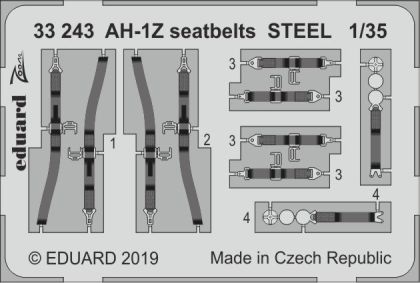
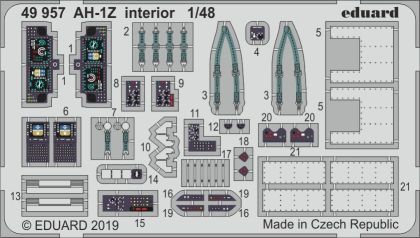
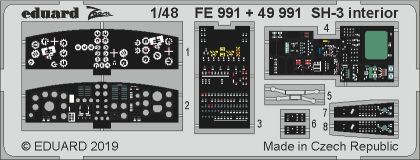
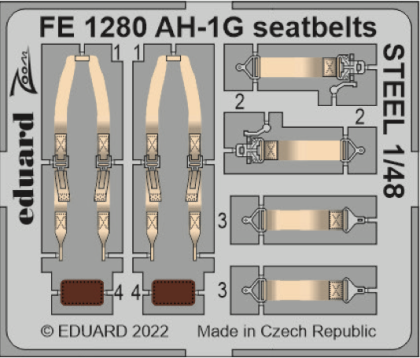
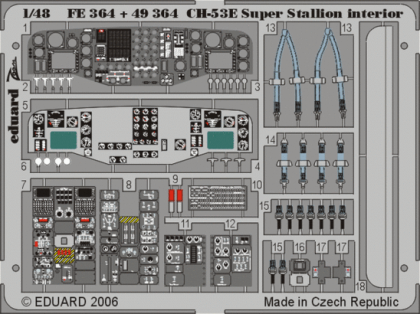
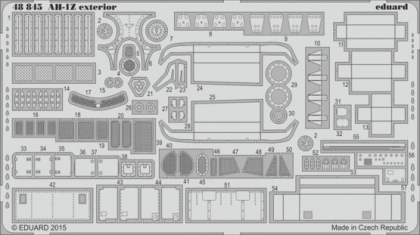
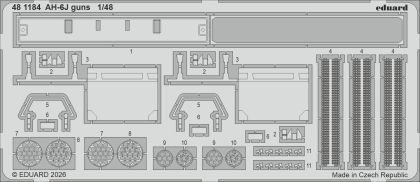
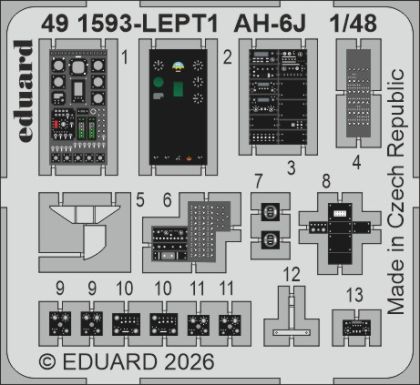
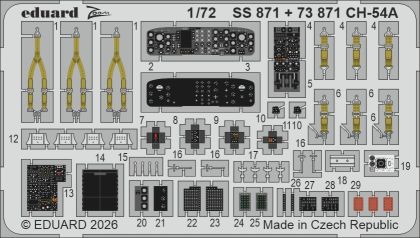
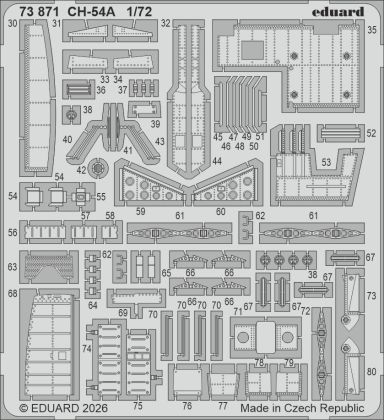
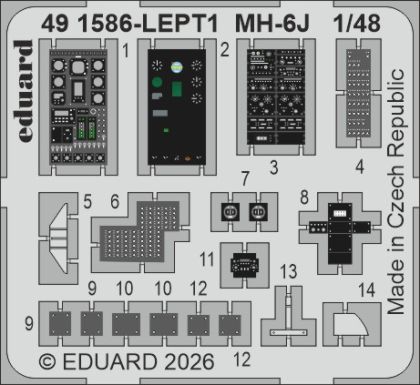
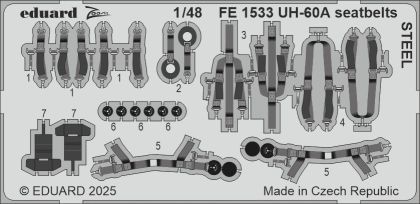
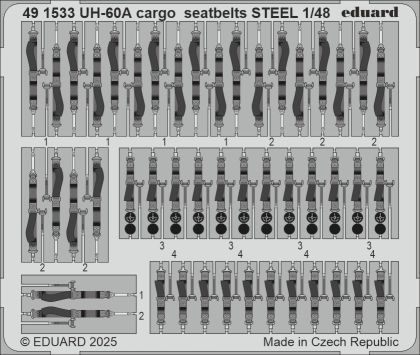
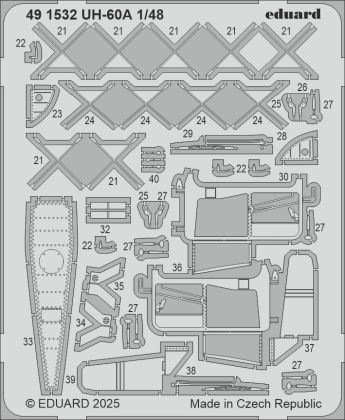
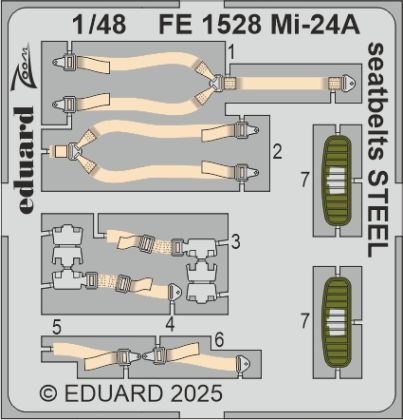
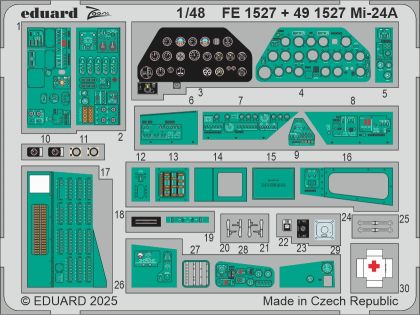
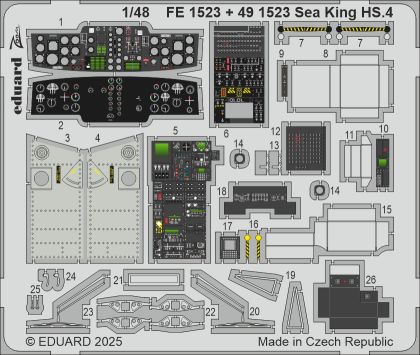
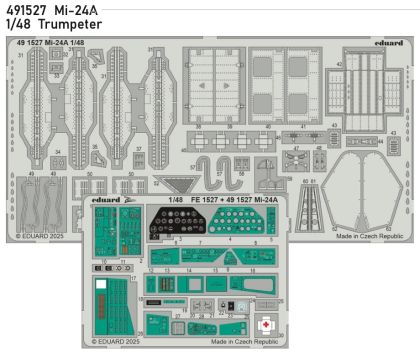
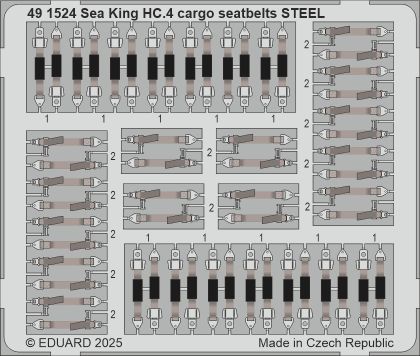
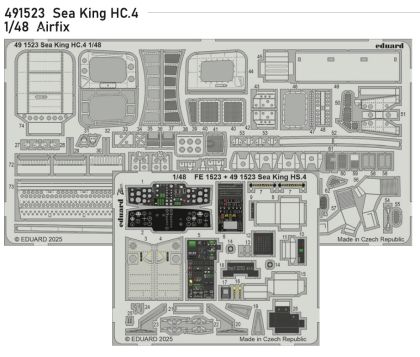
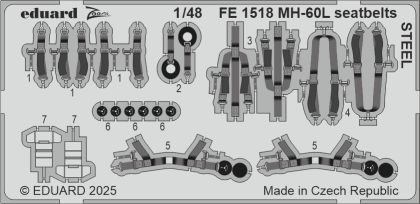
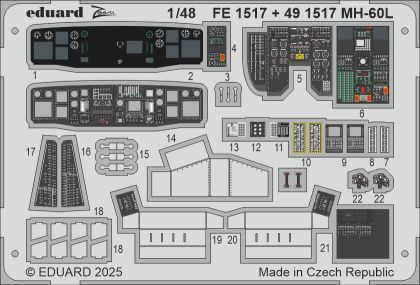
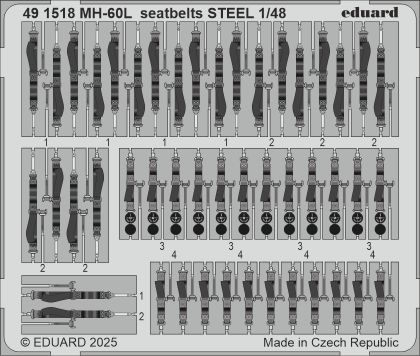
Photo-etched parts give a helicopter model the fineness injection-moulded plastic cannot reach. Photo-etch is a thin metal fret with detail chemically eaten into it: harness buckles, radiator grilles, cockpit consoles and weapon fittings for the Apache, the Hind, the Black Hawk and others. The fret is springy, dimensionally exact and, once fitted, effectively invisible in thickness — which is precisely what scale demands. Below, how brass behaves, how to choose, and which sets to start with.
Etching makes parts as thin as paper yet perfectly true in shape. On helicopters it earns its place first in the cockpit and cabin, which stay on view through the glazing: harnesses with real buckles, dial bezels, pedals, mesh bulkheads in the cargo bay. Fret thickness is a fraction of a millimetre, so nothing looks oversized. Outside, it covers intake grilles, dust guards, wipers and undercarriage fittings. Etch is the foundation the other helicopter model accessories build on.
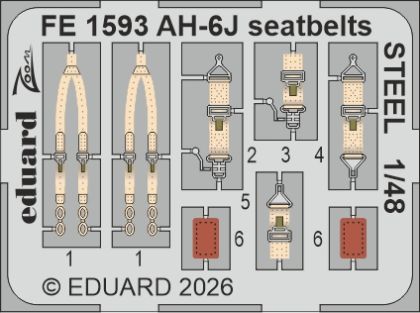
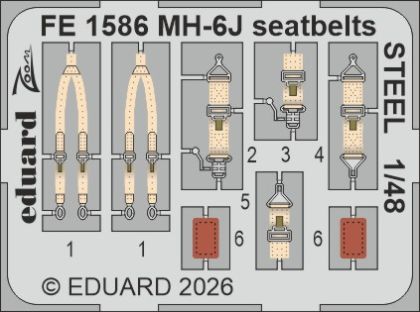
Full sets take on the whole machine, smaller ones a chosen area. If brass is new to you, start with standalone harnesses: they look striking, go in a few parts at a time and forgive early mistakes. Steel belts also bend into a naturally slack hang.
Pre-coloured frets only need cutting out and gluing; bare metal you spray to any shade you like. Coloured etch saves time inside, bare metal is more flexible for exterior detail that will be camouflaged anyway.
Etch is designed around one specific moulding, so the kit and machine variant appear in the set title. The same helicopter from two different tool makers differs in detail and the parts may not fit. When in doubt, compare photographs of the fret with the sprues in your box — the differences are usually obvious at a glance.
Cut parts off on a hard surface with a sharp blade and fold them over a steel rule or smooth-jawed tweezers. Brass shows best in the roomy cockpits of 1:48 helicopter kits, where every detail stays legible.