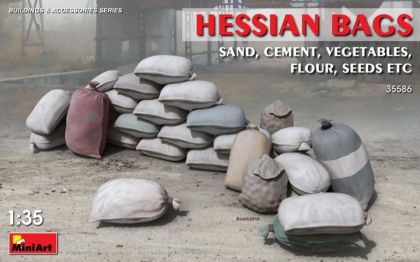
Sandbags for military vehicle models are the building block of field fortification: machine gun nests, embrasures, barricades and protective walls around a position. Crews also stacked them against tank armour as improvised extra protection. The modelling sets, held in 1:35, reproduce the coarse weave of hessian and the sagging shape of a filled bag faithfully. Below: how to build a wall from them that will stand up to an informed viewer, and how to paint sacking.
A bag filled with sand or earth will stop a splinter or a rifle round, which is why it followed soldiers from the trenches of 1915 to bases in service today. On a diorama it does the same job: a handful of pieces builds the parapet of a machine gun nest, revets a dugout entrance or firms up the lip of a trench. Cast sets capture the sag and the folds of a filled bag, which would be hard work to achieve from kit styrene.
Real bags are laid in bond like bricks, each course covering the joints of the one below. Keep to that on a model or the wall looks artificial. For a taller wall, widen the base slightly, exactly as sappers did. Castings are easy to adjust: a warmed blade or a file will shape a bag so that it sits on uneven ground.
We hold sandbags in 1:35, matching the main run of 1:35 military model kits. They look best beside tanks with bags stacked on the glacis, at gun positions, and anywhere you want to suggest that a unit has been in place for a while.
Start with a sand or khaki base, add a darker wash into the folds, then dry-brush a lighter shade across the top surfaces. Vary individual bags a little, because a wall in one flat colour reads as concrete. The woven texture takes pigment beautifully, so the final dusting comes out looking natural by itself.
Dust a finished wall in the same shade as the surrounding earth; that shared layer of dust is what binds bags, vehicle and figures into one scene. The rest of the equipment for a position sits in the military vehicle accessories overview.