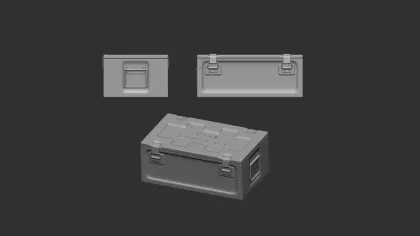
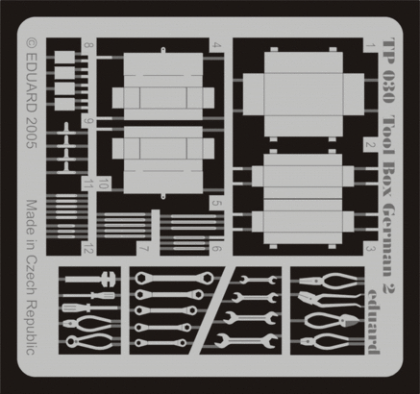
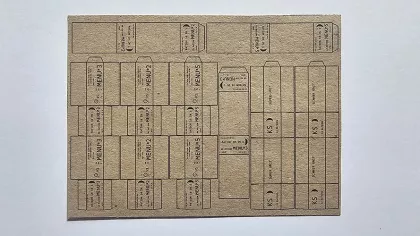
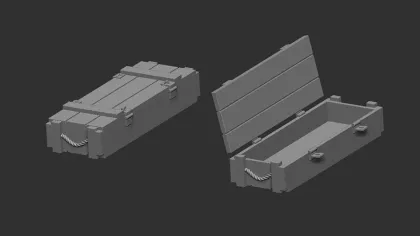
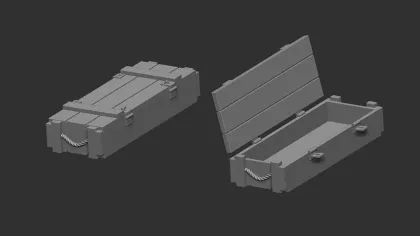
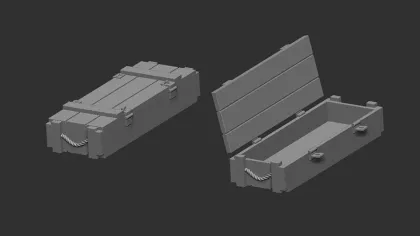
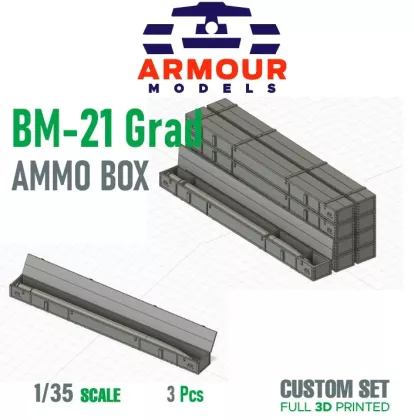
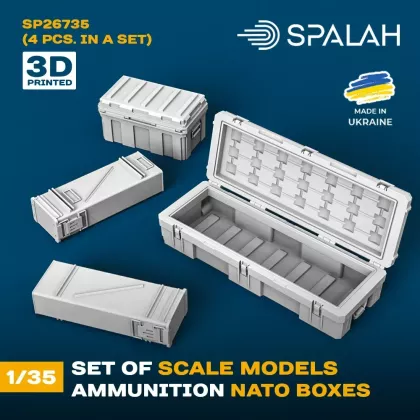
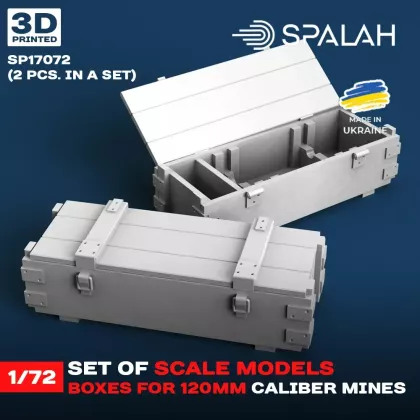
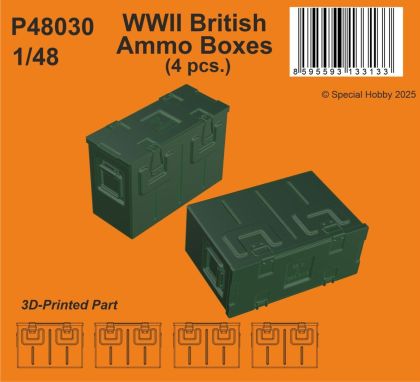
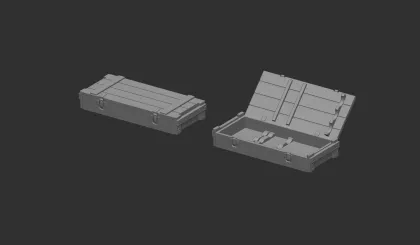
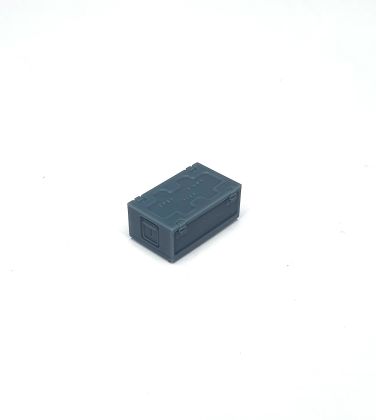
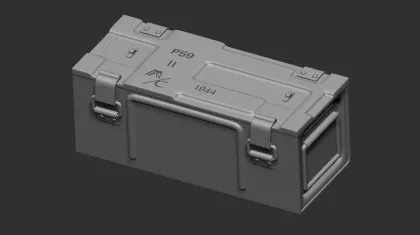
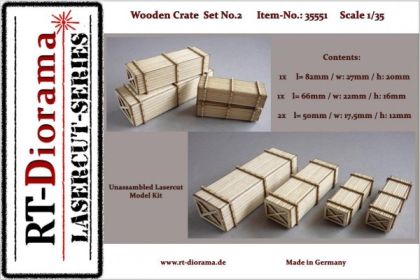
Ammunition crates are the most rewarding accessory a military diorama can have: a few wooden chests by the loading hatch say at once that ammunition is being brought up. The choice covers American, German, British and Soviet wartime patterns, NATO containers, machine gun belt boxes and civilian packing cases, in sizes from 1:72 up to a substantial 1:16. Below: how to match crates to a vehicle, and how to paint timber so that it actually looks like timber.
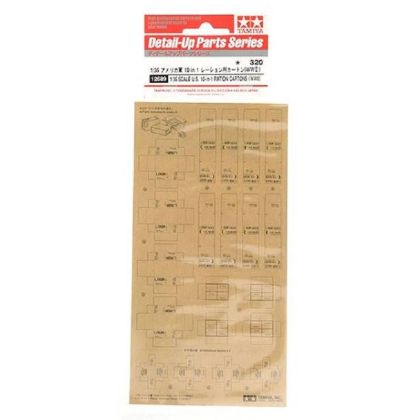
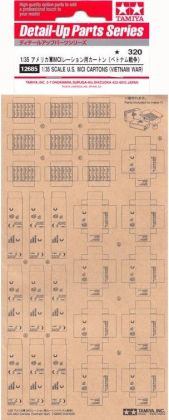
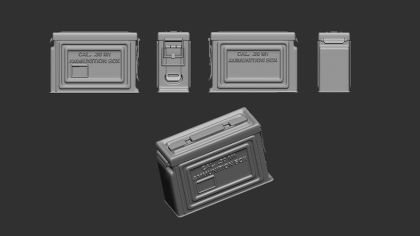
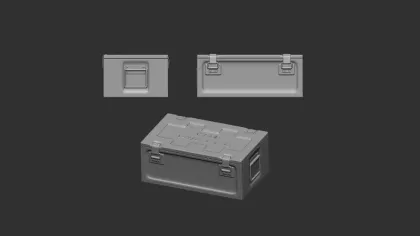
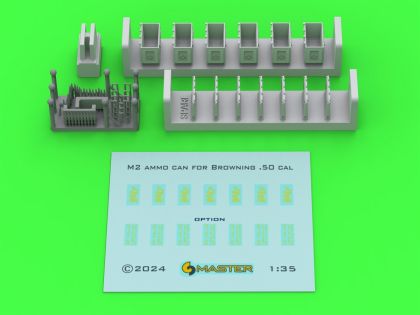
Ammunition was never carried loose, so its containers belong in any realistic scene. This listing holds wooden crates for artillery rounds, pressed metal boxes for machine gun belts, cases for rockets and mortar bombs, and supply items such as ration cartons. Sets normally hold several pieces, so one box will build a complete ammunition point.
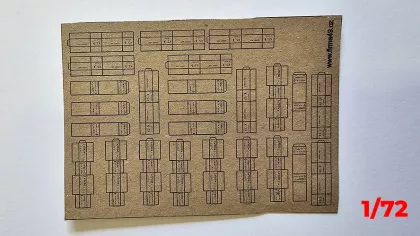
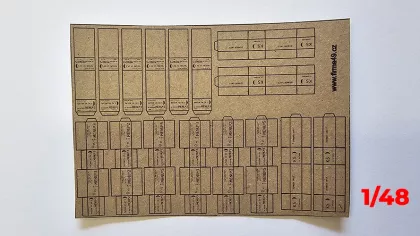
A crate must match the size of the machine it stands beside. Choice is widest for 1:35 military model kits, where crates also work as the subject of a vignette in their own right. Smaller 1:72 military model kits suit a stack of chests on a lorry bed, and with 1:48 military model kits they sit well in both airfield and field settings.
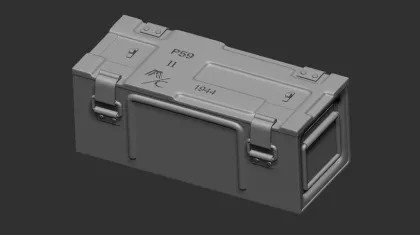
Every army marked its ammunition differently: American crates for 75 mm rounds carry stencilled lettering, German chests for 7.5 cm rounds have banding around the edges, British boxes stay austere. Set titles always state country and purpose, so an Eastern Front scene will not end up supplied by NATO.
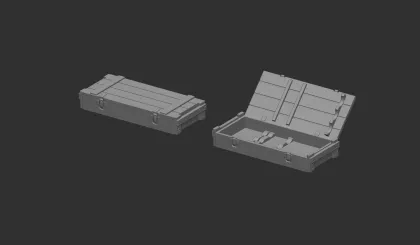
Closed crates are the simplest to build and paint. Open versions with visible belts of ammunition look better but mean careful brushwork. Sets that combine both are the practical answer: leave the top of the pile closed and open the one crate nearest the viewer.
Crates are also the ideal school for painting timber: a light base, an oil glaze, then restrained wear. Practise the technique here before you take it to larger surfaces, and arrange the finished pieces among the rest of your military vehicle accessories so the scene looks lived in.