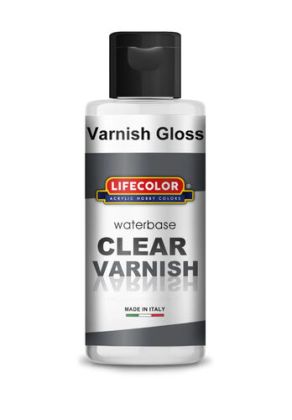
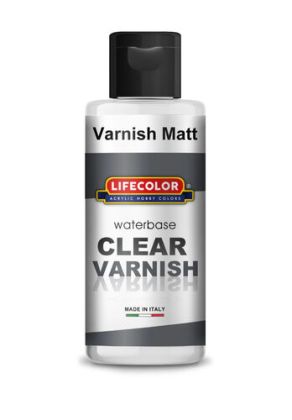
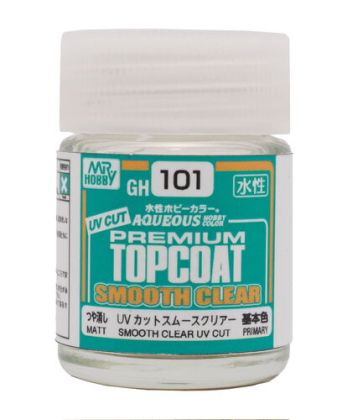
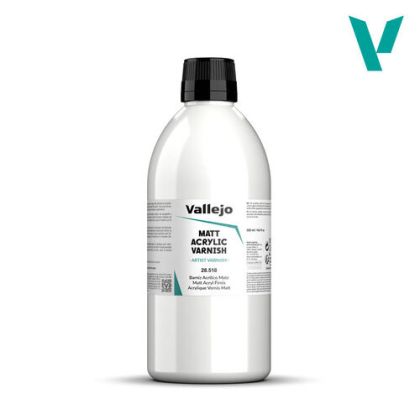
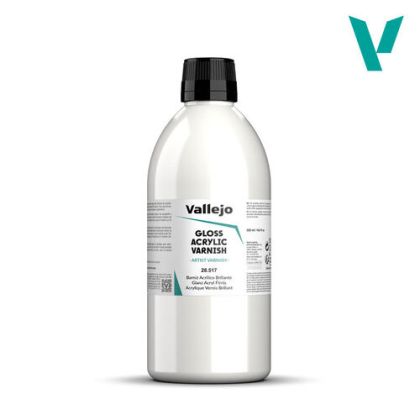
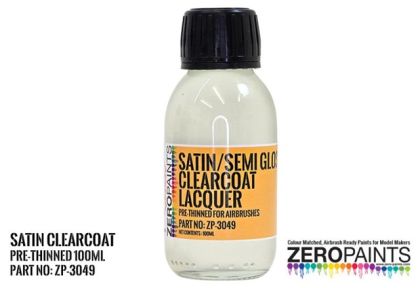
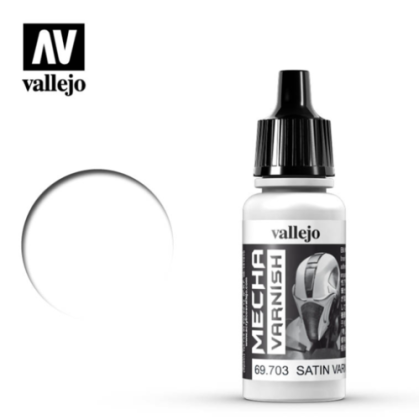
A model varnish is not cosmetics applied at the end of a build; it is a working tool with three distinct jobs. A gloss layer prepares the surface so decals do not silver, a barrier coat protects the paint from the steps that follow, and a final matt or satin coat pulls the whole model to one sheen so that paint, decals and weathering stop looking like separate things.
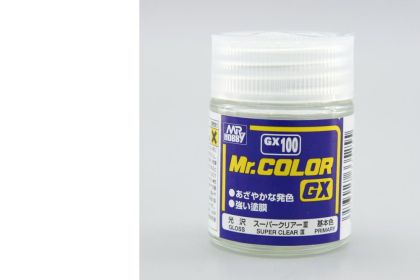
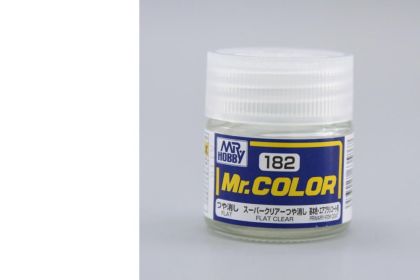
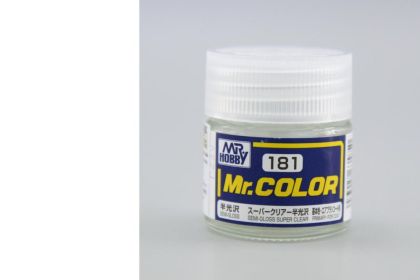
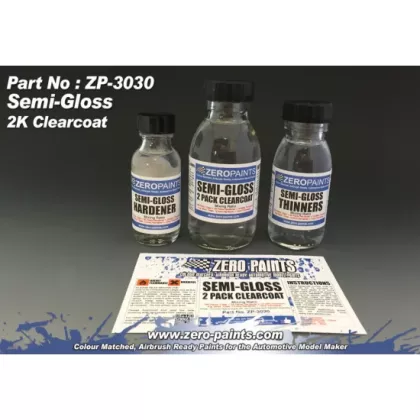
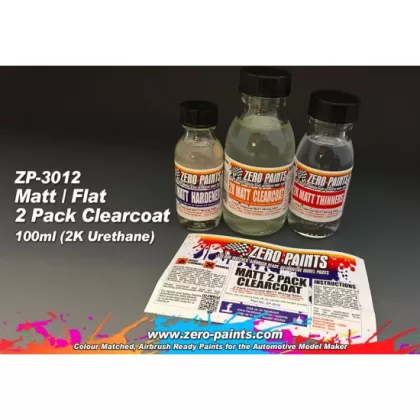
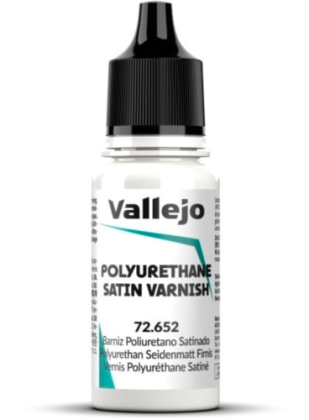
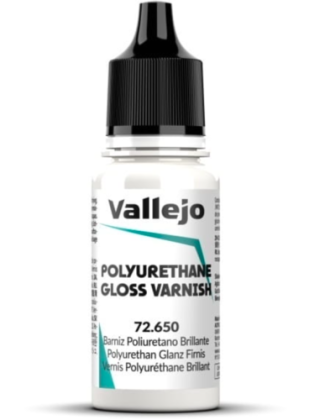
The shelf holds water-thinnable and solvent-borne versions, bottles for airbrush work, larger containers and two-part clears for bodywork. Which one a given step needs is below.
The first is the bed under a decal. On matt paint, air stays trapped beneath the film and shows up as a silver edge; on a gloss surface the decal adheres across its whole area. The second is a protective interlayer, because weathering needs a smooth surface you can wipe excess off without disturbing the paint. The third is the final coat, which unifies sheen and hides the difference between paint, decal and patina.
Gloss under decals and on bodywork, satin on civilian subjects and interiors, matt as the last coat on camouflage and figures. Satin can also be mixed on the model: gloss first, then a light matt veil over it.
This is the most common source of trouble. A solvent clear can lift paint underneath that has not fully cured. When in doubt, test the combination on a scrap part. The binder types are set out in model paints and the matching solvents in thinners and cleaners.
For an even layer, airbrush equipment is the best answer. An aerosol from model spray paints covers a large area faster, and brushing is a last resort, because strokes show on gloss more than anywhere else.
On a car body, gloss clear is the step that creates depth, and the subjects are among the car model kits. For working a clear coat into a small recess, keep a dedicated point from model paint brushes aside.