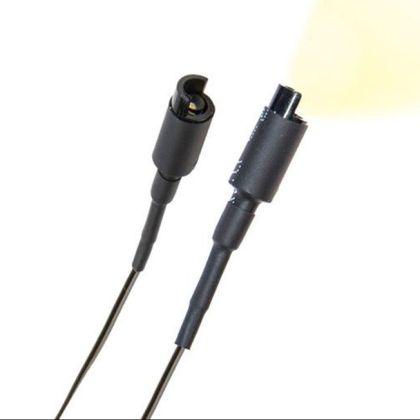
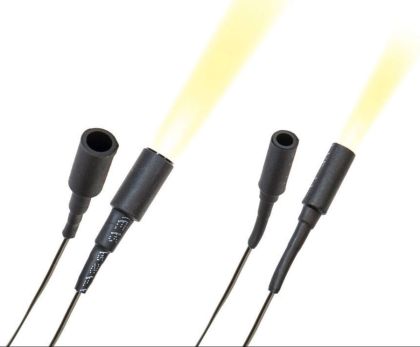
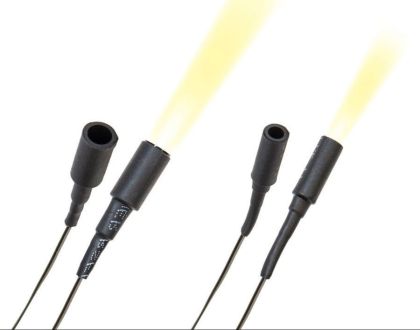
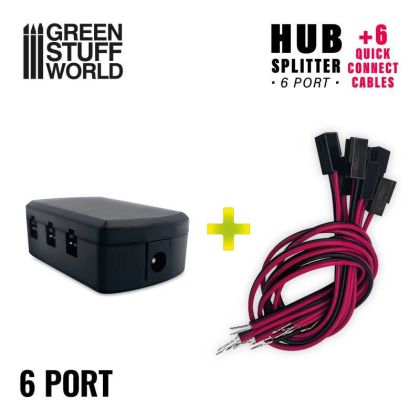
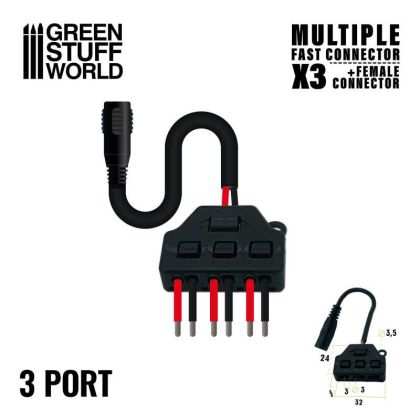
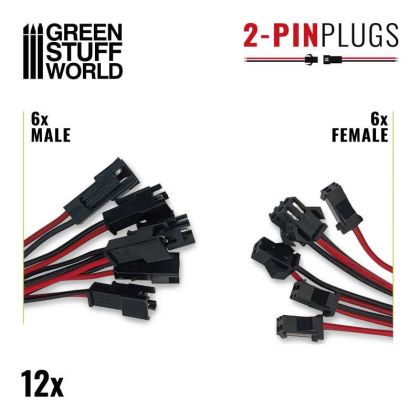
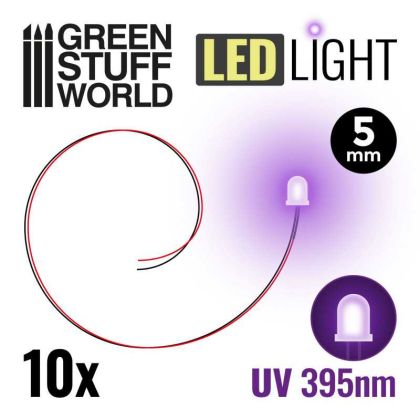
A lit model reads differently from an unlit one. Windows glowing in a building, a vehicle's headlights, an aircraft's landing lights — each gives a scene a sense of being inhabited. This section covers electrical components for models and dioramas: LEDs and light fittings, cables and connectors, splitters, power supplies and controllers. The parts are designed to connect without soldering, so a scene can be wired with no station on the bench.
Below: how to plan a lighting layout, which LED size suits which scale, and where the cables actually go.
The sequence is always the same: a power source, a distribution run to the individual lights, and the fittings themselves. On a diorama the cable runs under the base and emerges directly beneath a building or a lamp; on a model the wires hide inside the fuselage, in undercarriage bays or through the base. Plan the lighting as early as possible, because threading a cable into a glued and painted model is awkward at best.
White light comes from the ready-made fittings: spotlights in two sizes and an LED floodlight. The individual LEDs are coloured instead, in blue, green, red and ultraviolet, at three and five millimetres. Pick the diode size by scale: a five-millimetre LED reads as a large lamp in 1:35, while in 1:72 it has to be buried inside the structure.
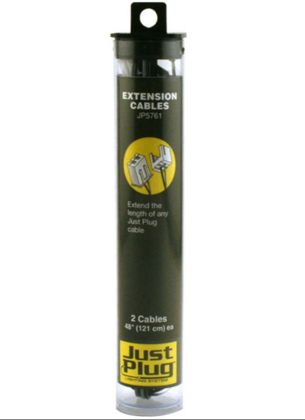
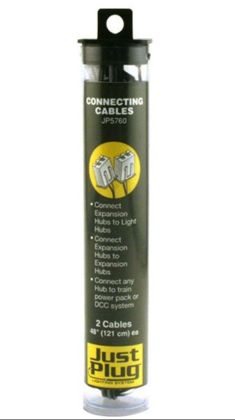
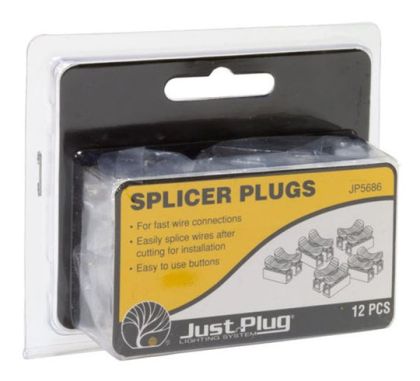
Quick connectors, splitters and hubs let a whole scene be wired without a soldering station. The advantage is that a circuit can be rearranged easily; the drawback is bulk, which has to be allowed for under the base. To keep runs discreet, wire and rod or thin profiles serve as covering.
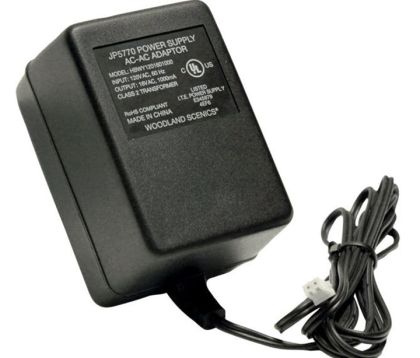
Choose a supply by the number of lights and the type of diode, and add controllers wherever an effect is wanted: flashing, switching a signal between aspects, lights coming up in sequence. On a diorama it pays to bring the switch out on the back of the base so it is invisible from the viewing side.
The cleanest route is inside the base: a board or a block of foam is routed out and the cable runs below the surface. The top is then covered with scatter materials or texture, so neither the run nor the exit shows. Drill the holes before painting, using the equipment in drilling and milling.
Plan lighting alongside the build rather than after it, and you will not have to take a finished model apart. More unconventional items are in other modelling products.