Red Line answers the commonest difficulty in spraying acrylic: the ratio of paint to thinner. The shades are mixed so they can go through a nozzle straight from the jar, at most with a small adjustment for pressure and tip size.
The ten-millilitre range covers aircraft tones along with naval greys and blues, so you top the palette up shade by shade according to the model on the bench, rather than according to what happened to be left in a set. The paragraphs that follow cover pressure, nozzle size and the few places where even a pre-thinned paint still wants adjusting.
Thick paint clogs the nozzle; paint that is too thin runs and fails to cover. Between those two extremes sit most of the mistakes a new airbrush user makes. This line has its consistency set in the jar, so stirring and pouring is all it takes. The time saved shows up most on camouflage, where you alternate several shades and flush the gun between each one. The second benefit is repeatability: the paint has the same consistency a month later, so there is no ratio to find again.
Choose lower pressure and more light passes over one heavy coat. With a very fine nozzle, even a pre-thinned paint may want a drop of thinner. The spray guns category covers picking a suitable tool.
For small fittings, markings and interiors a thin consistency is less helpful. Let the paint stand on the palette so it thickens, or take a denser tone from the Blue Line 10 ml category.
Pre-thinned paint separates faster than a dense one, so stir from the bottom before every session and wipe the neck after pouring. A cap that seals badly lets the carrier escape and the mix thickens over a season.
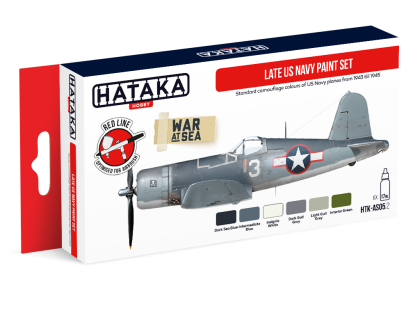
Aircraft tones from this line head for aircraft kits, while the naval greys and blues head for ship kits, where a coherent palette pays off most. All the brand's lines and the differences between them are set out in Hataka acrylic paints.