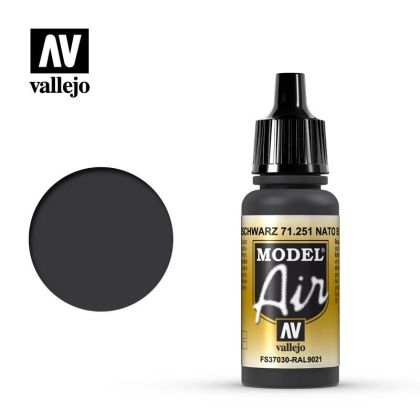
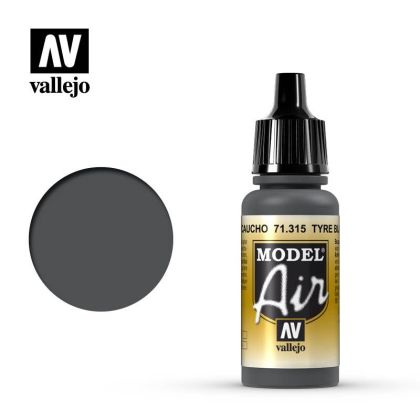
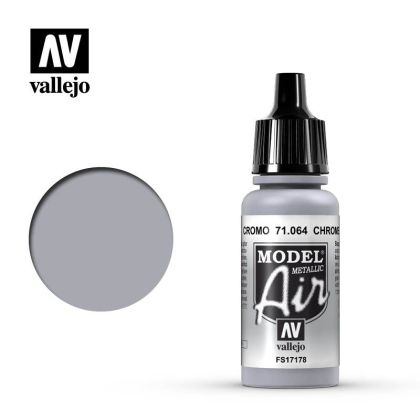
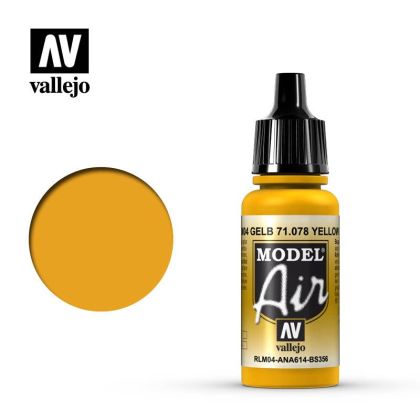
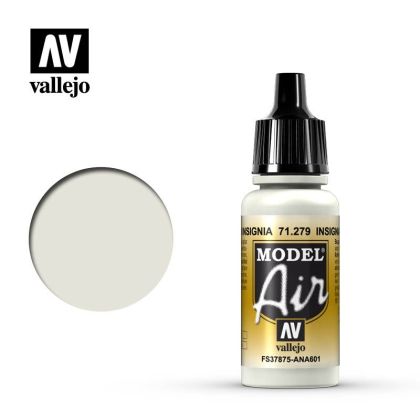
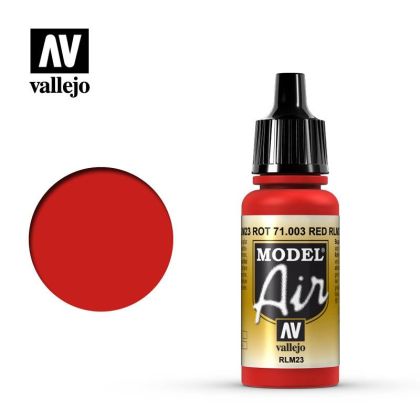
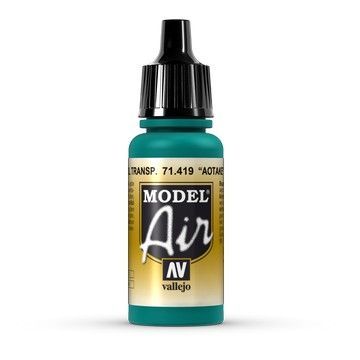
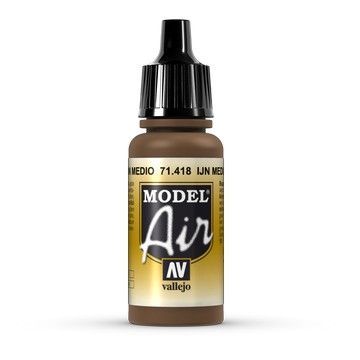
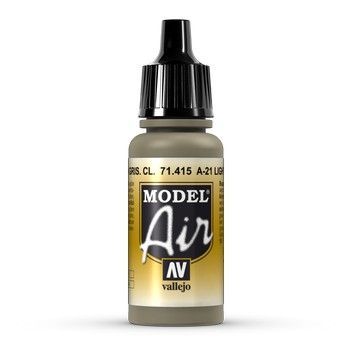
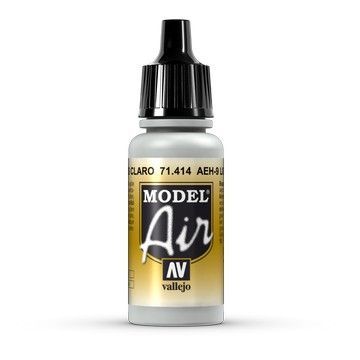
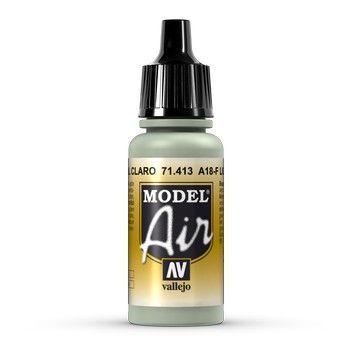
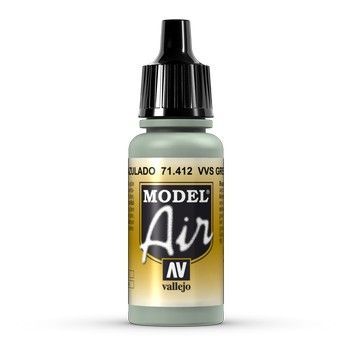
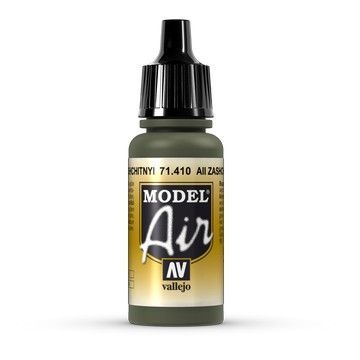
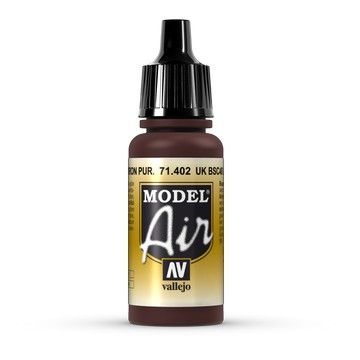
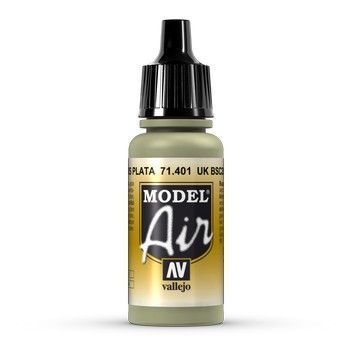
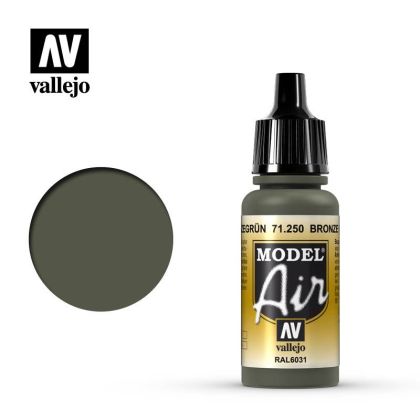
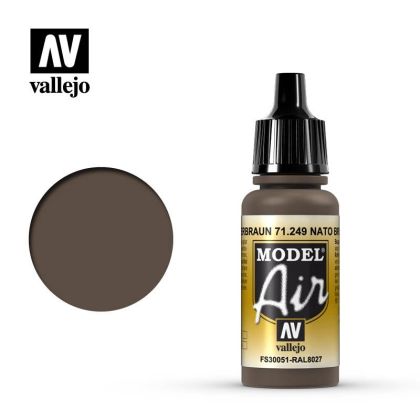
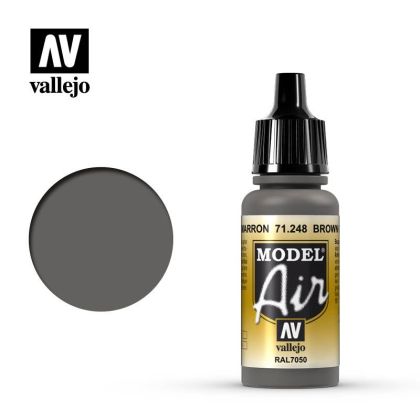
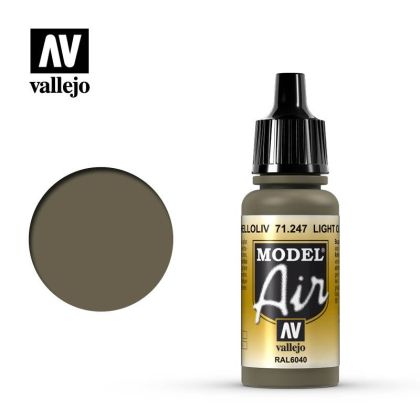
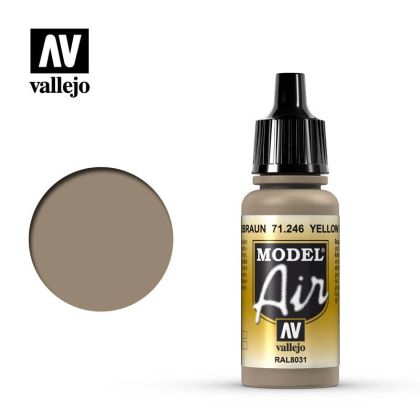
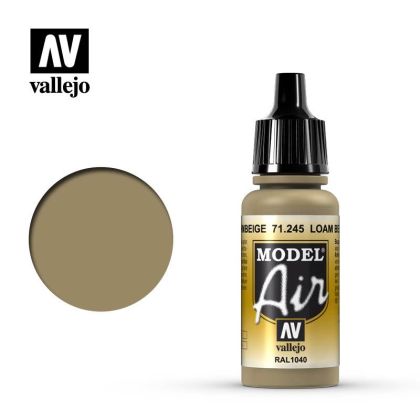
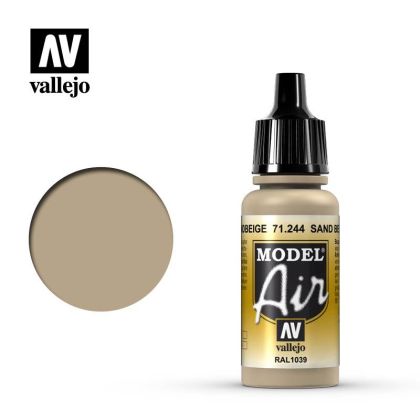
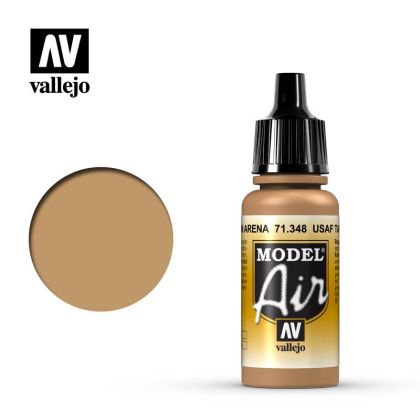
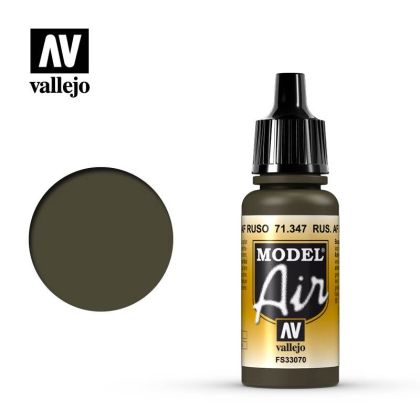
Model Air is mixed so that it sprays straight from the bottle, which removes the single most common source of trouble with acrylics: guessing the paint-to-thinner ratio. Shake, pour, spray. The palette follows documented specifications, running from cockpit interior tones through national camouflage greens and greys.
The 17 ml dropper bottle suits the way airbrush work actually goes. You can meter colour into the cup without waste, and when you do mix your own intermediate shade, counting drops means you can write it down and repeat it on the next panel. Pressure, distance and gun care are covered below.
Paint that is too thick blocks the nozzle; paint that is too thin runs and refuses to cover. Model Air settles that range in the bottle, so the only preparation is stirring. On a multi-tone camouflage the saved time compounds: between shades you flush the cup and carry on rather than starting a fresh mixing exercise.
Lower pressure and several thin passes give a smoother surface than one heavy coat. Spray from too far away and the paint dries in the air, leaving a gritty film, so work closer and move more slowly. Pick the tool in airbrush guns.
For soft camouflage transitions spray freehand with no mask at all. For a crisp boundary, tape only onto a properly cured coat — water-based acrylic needs noticeably longer before it will survive tape than a lacquer does.
Acrylic dries fast, including on the needle tip. Flush during any long pause and strip the gun when you finish; the products for that are in thinners and cleaners, and the wider setup in airbrush equipment.
Aircraft tones point towards aircraft model kits, while the camouflage greens and greys also serve military vehicle kits. The overlap is real rather than convenient: a number of national shades were specified for aircraft and vehicles alike, so a palette built across both branches goes further than one built for either.