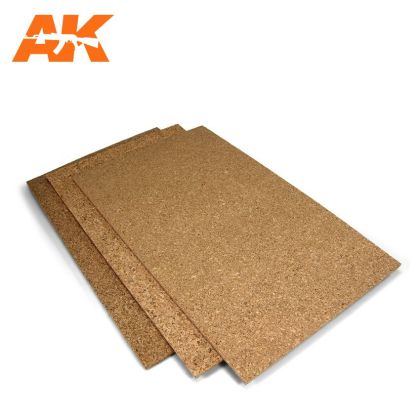
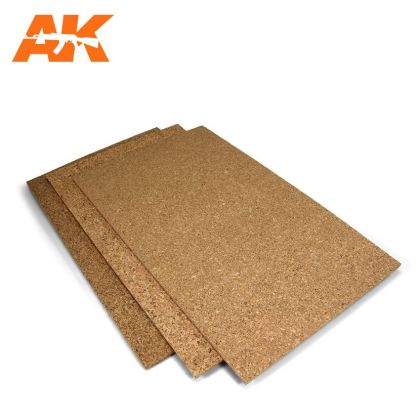
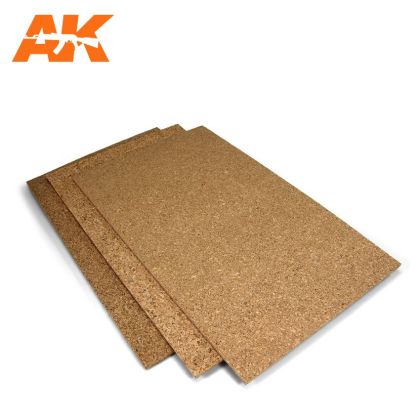
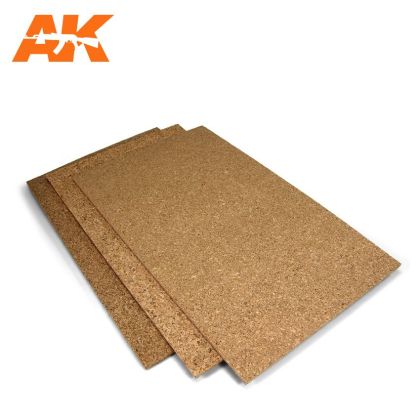
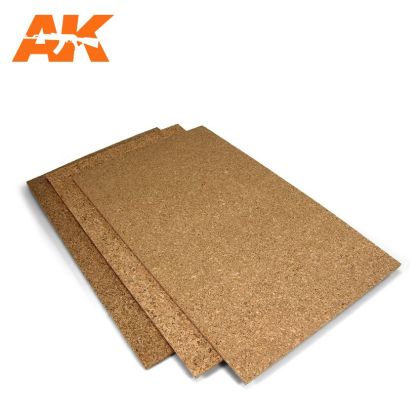
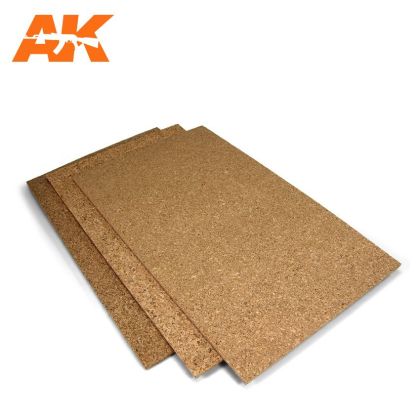
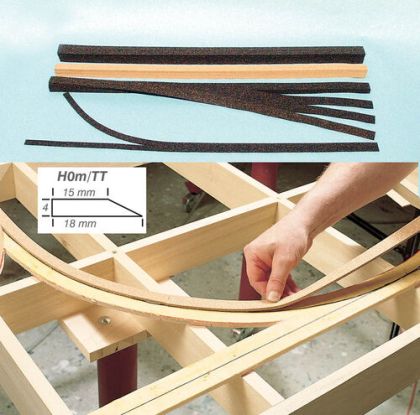
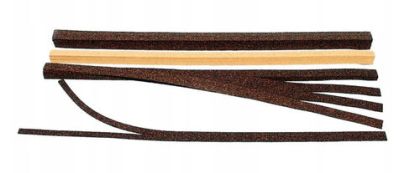
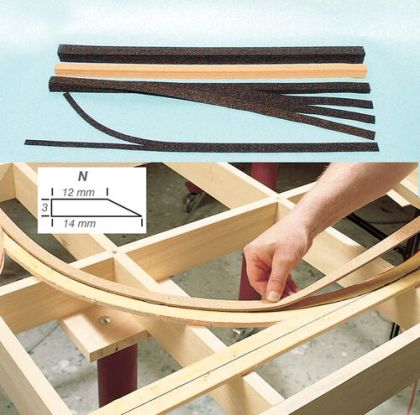
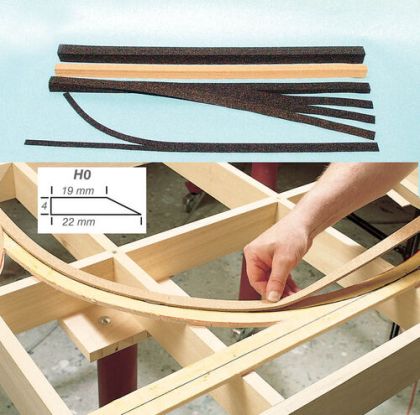
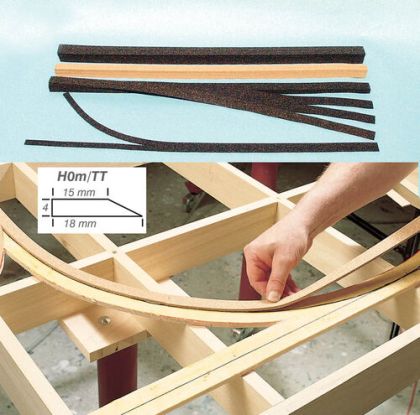
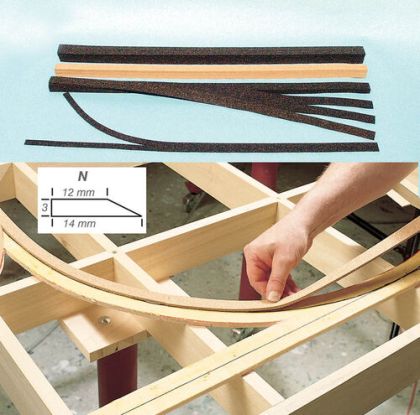
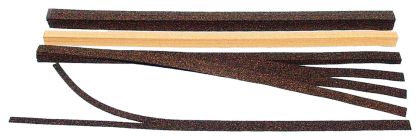
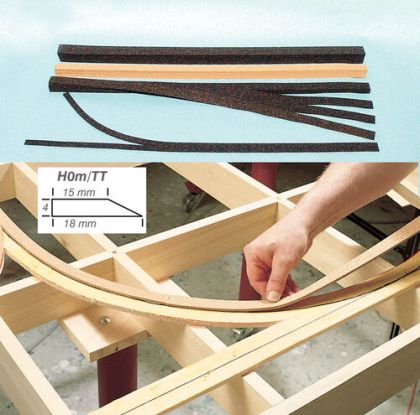
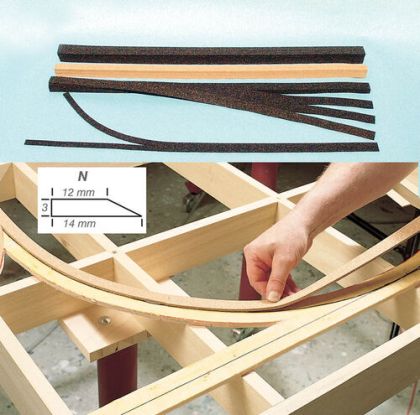
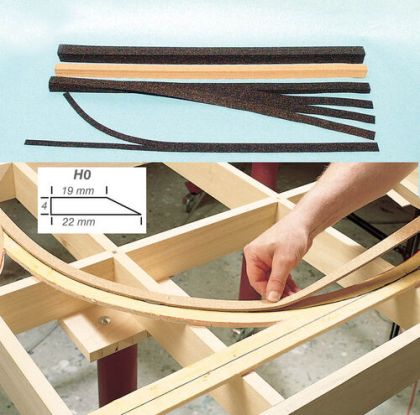
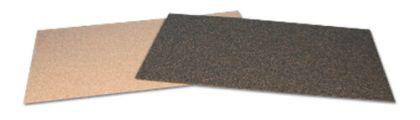
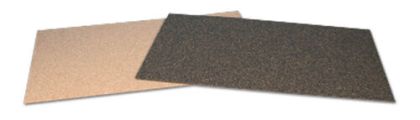
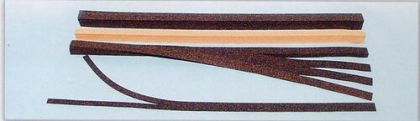
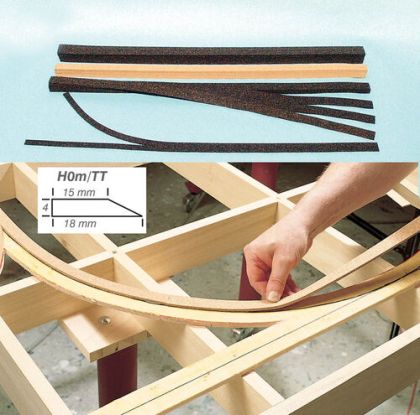
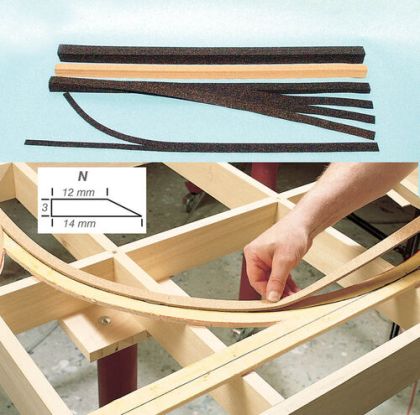
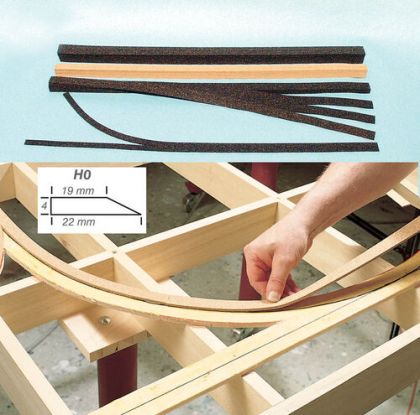
Modelling cork does two quite different jobs: as a broken material it makes rock faces, cliffs and stone walling, and in one piece it makes a resilient underlay beneath track and beneath the base of a diorama. There are cork boards and sheets around 200 by 300 mm and 490 by 280 mm in thicknesses from two to six millimetres, with fine and coarse grain, plus flexible cork strips for trackbed in lengths from six metres to almost ten, in light and dark finishes.
Read on for how to break, paint and bond it.
Cork is one of the few materials on a diorama that works in two completely different ways. Snap it, and the edge has an irregular structure that looks like rock or a stone wall once painted - no other material does that so easily. Use it whole instead, and you have a resilient layer that levels the surface underneath, deadens sound and gives a layout or a diorama base a slight rise. Both forms cut, sand and bond without difficulty.
Never cut a sheet for a rock face. Snap it by hand and leave the break as it came. Stack the pieces with a slight overhang so ledges and overhangs form. The coarser the grain, the stronger the structure - fine cork suits sandstone and a weathered wall, coarse cork suits limestone faces and quarries.
Raw cork is strongly brown and that colour shows through a single coat. Spray a dark base into every crevice first, then dry-brush a lighter shade across the edges, and finish with a very thin wash to pick the structure out. Dry cork absorbs a lot of paint, so plan on using more than usual.
As underlay, cork is bonded with PVA or a hot-melt gun and weighted until dry so it cannot curl. Flexible trackbed strips are simply unrolled and pinned until the glue takes hold. It cuts with a scalpel or scissors, even in the heavier thicknesses.
A single sheet yields a rock face that would take hours to model in compound. The landscape around it is then filled in with materials from scenic accessories.