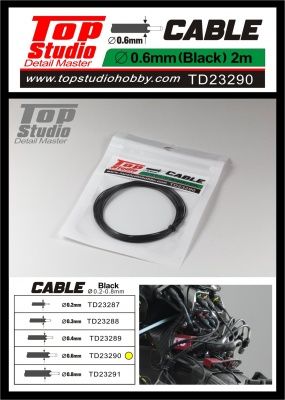
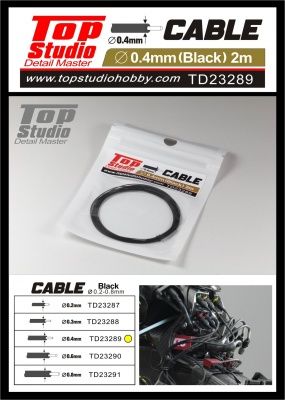
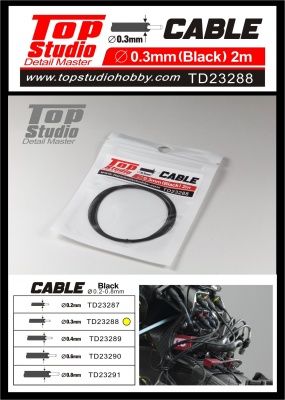
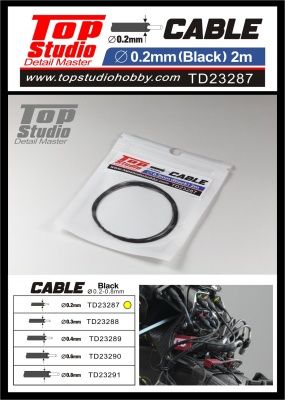
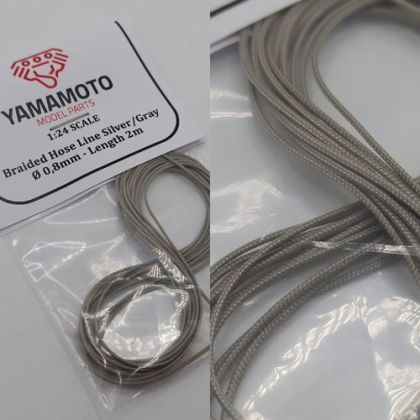
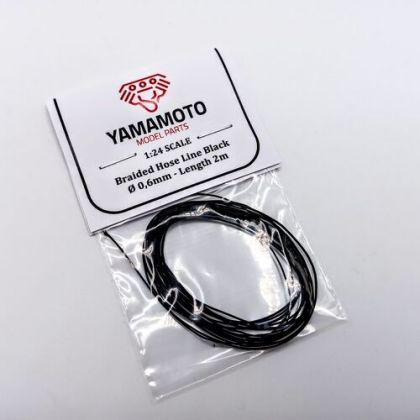
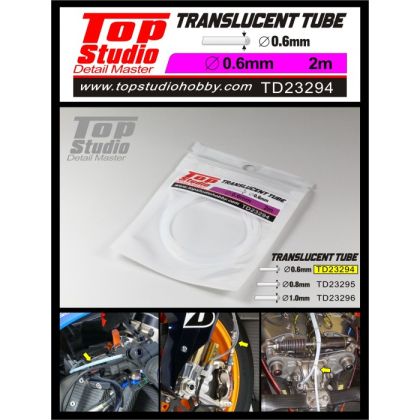
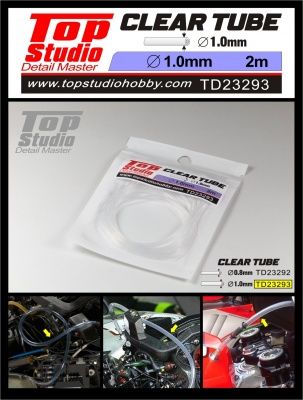
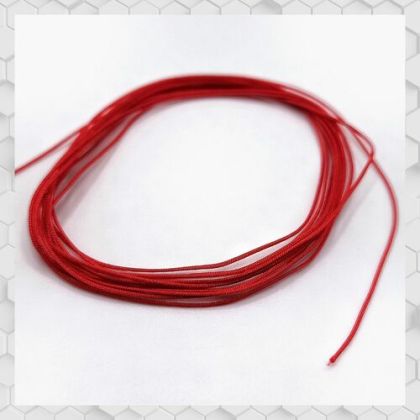
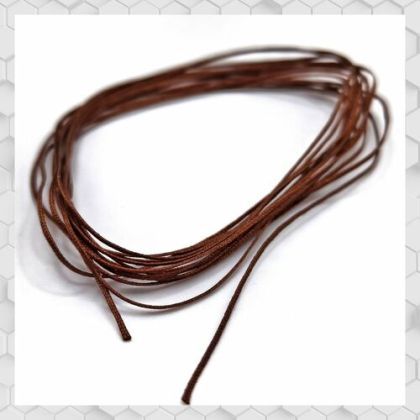
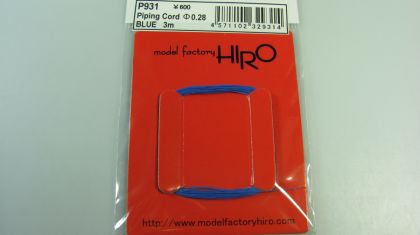
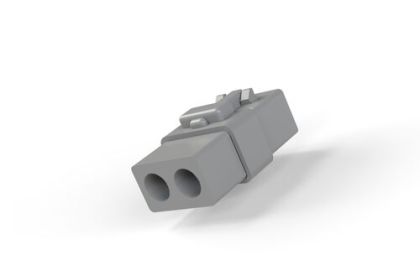
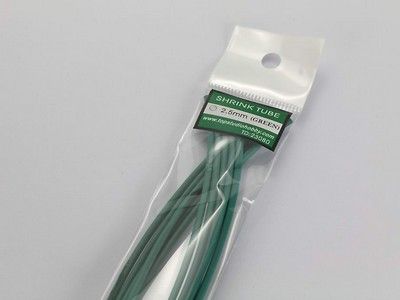
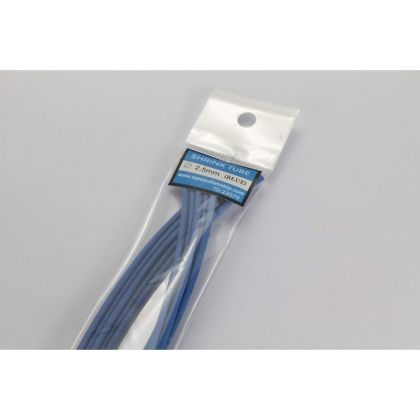
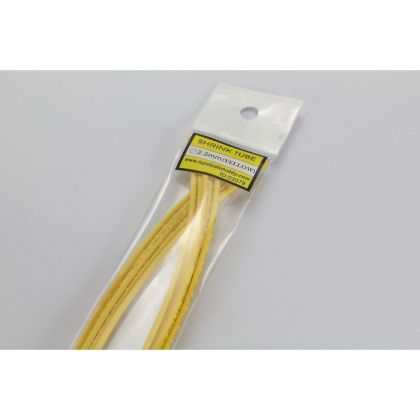
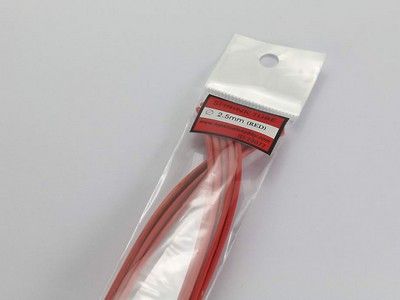
No mould can produce them, and no model looks right without them. Hoses, wiring and connectors supply the fuel and brake lines, the braided pressure hoses and the looms that disappear under a fuel tank. Diameters from roughly 0.2 millimetres cover every scale in regular use, and because the material is sold by the length you cut exactly what the machine needs rather than working around a fixed set.
Choosing is a matter of diameter and colour. Below you will find how to pick both, and how to route the lines the way the real machine does.
A motorcycle without hoses looks drained. This is the single most rewarding upgrade available: a few lengths of line around the engine and brakes change the impression more than hours of sanding, and the material costs very little. The selection includes clear and black tubing, braided hose in several colours, fine cord for cable runs and miniature connectors. Three items will get you started: a thin black cable, a clear fuel line and one braided hose for the brakes.
On 1:12 motorcycle kits the useful range is about 0.3 to 0.8 millimetres: the thinner sizes for electrical work, the thicker for fuel and brake lines. Most of the stock comes by the length, so one reel covers a good many builds.
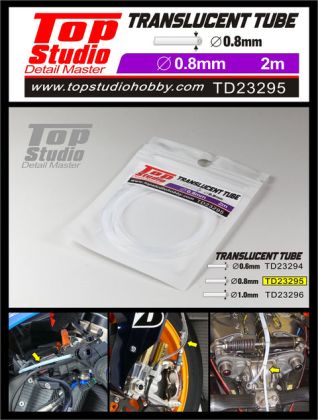
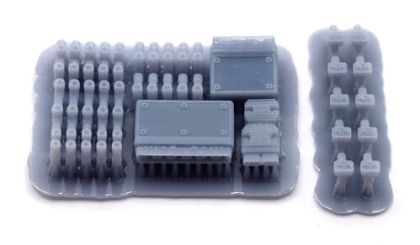
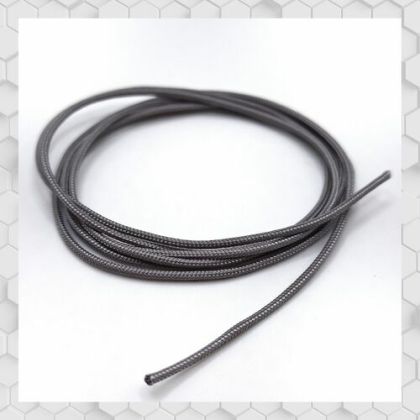
Clear tubing stands in for fuel hose, black cable for wiring, and braided hose with a metallic look for the high-pressure lines of sports machines. Connectors and fittings make the transition between a line and the engine casing believable, which is where home-made wiring usually gives itself away.
Cables follow set paths on a real bike, and a viewer notices at once when a line runs from nowhere to nowhere. Hide the ends in pre-drilled holes and leave each run slightly slack; a line pulled taut like a guitar string never looks right. Fit the lines after the engine and frame are painted but before the bodywork goes on, while there is still room for fingers and tweezers between the frame tubes.
The other types of upgrade are indexed in motorcycle model accessories.