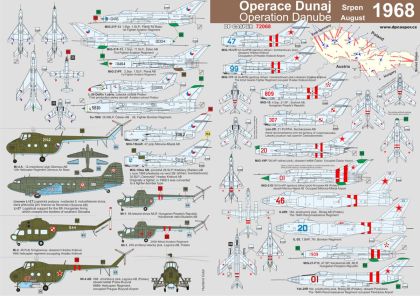
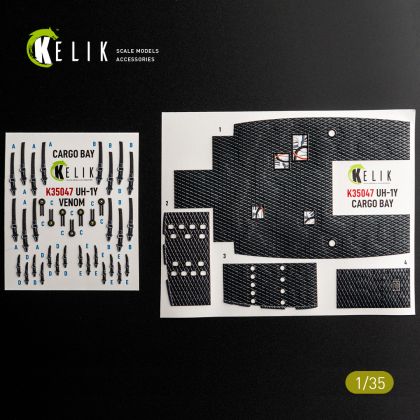
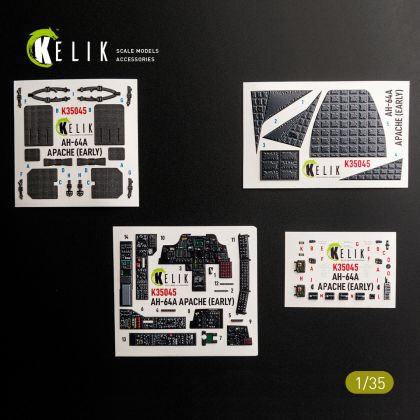
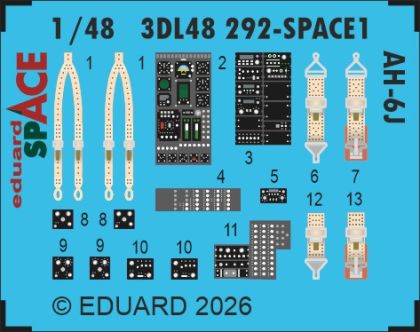
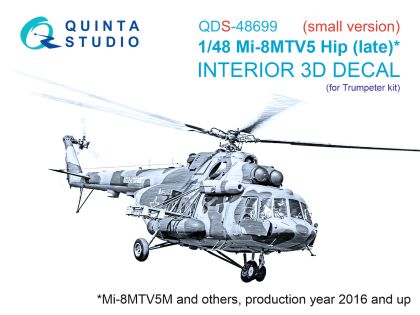
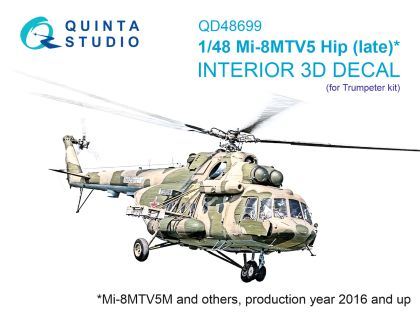
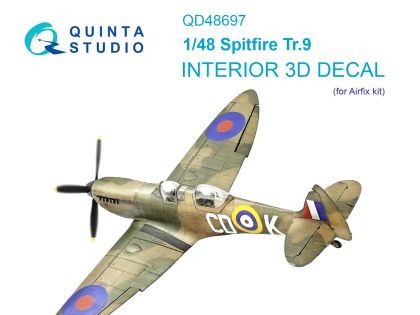
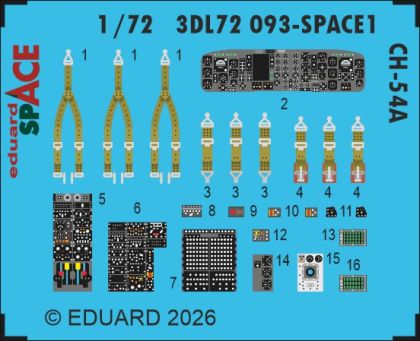
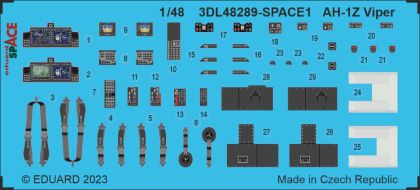
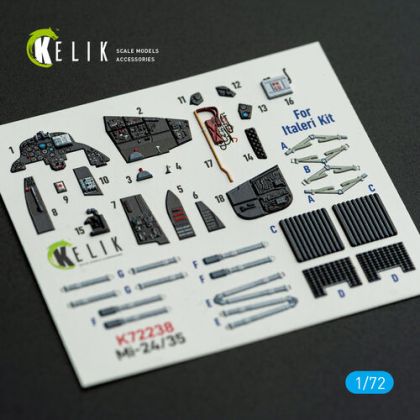
Decals for helicopter models decide whose machine is standing on your shelf. Beside conventional sheets with national insignia, fuselage serials and stencilling there are coloured relief 3D decals that transform an interior without a single etched part being glued. Subjects reach from the invasion of August 1968 to current operations, in scales from 1:144 to 1:32, and every sheet states its scale and the machines the markings belong to. How to choose and how to lay them down cleanly follows below.
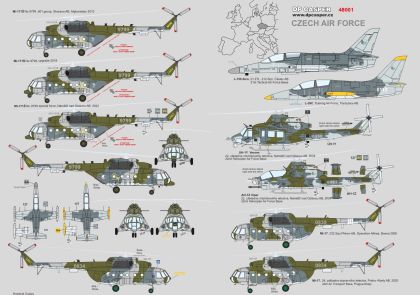
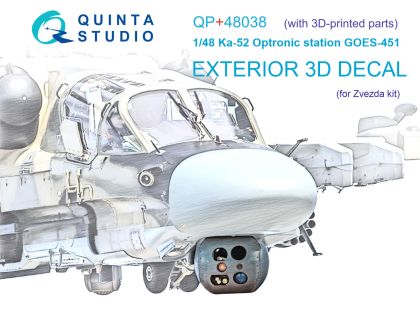
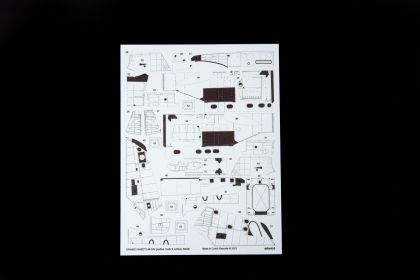
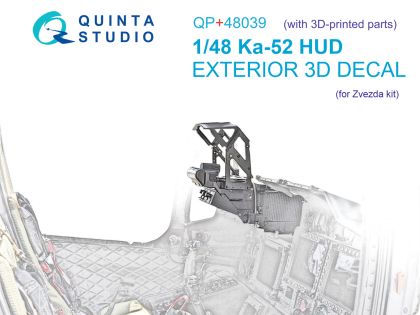
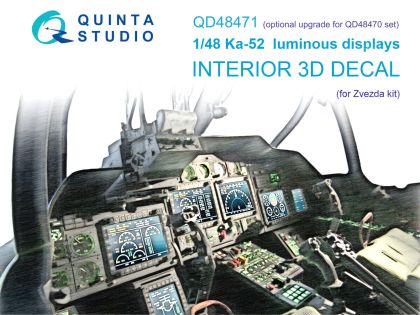
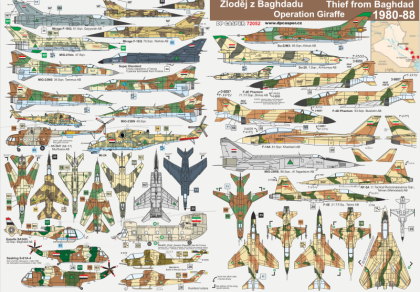
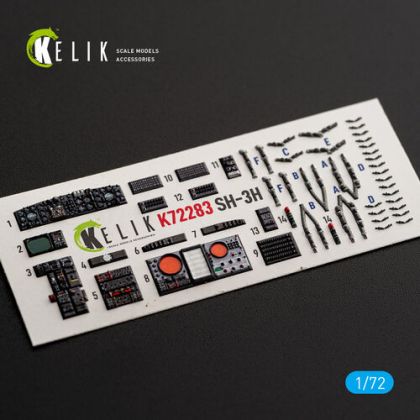
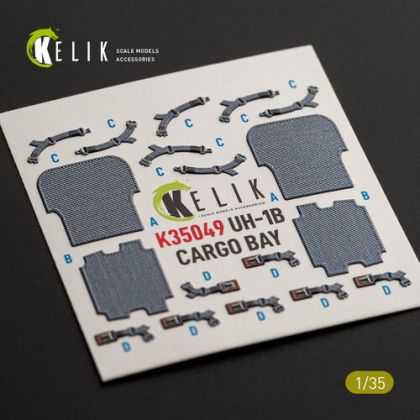
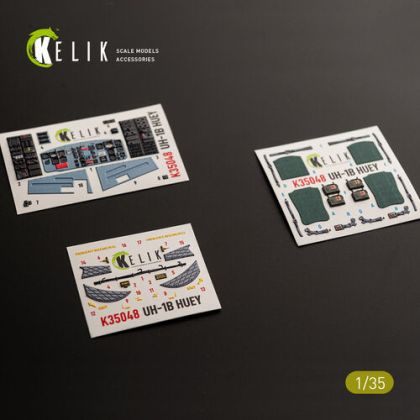
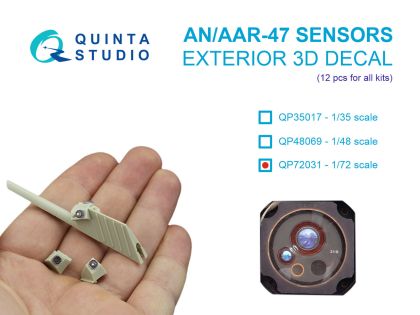
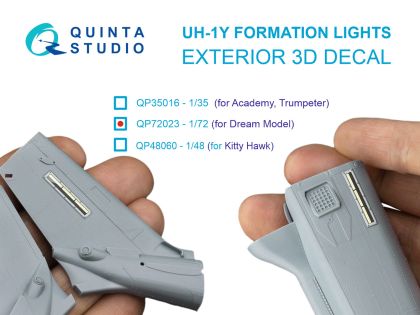
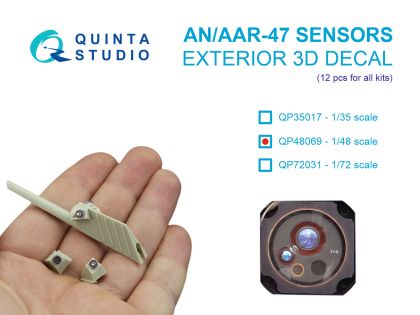
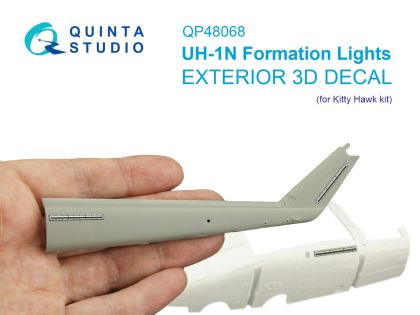
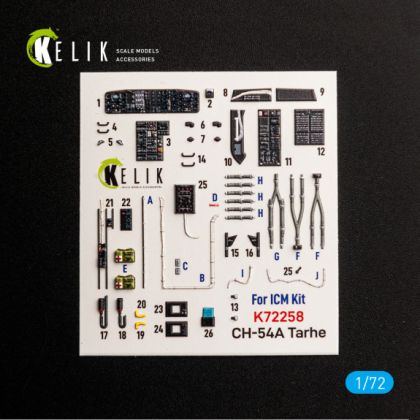
Marking sheets carry the camouflage and identity of specific airframes, from Czechoslovak Hinds to naval Sea Kings. Small supplementary sheets handle what kit makers forget: sensors, position and formation lights, technical placards. The third group is relief 3D interior decals — coloured layered films for cockpits and cargo bays that go on like an ordinary decal but read as a moulded part. Everything else needed to finish a machine is in helicopter model accessories.
A decal has to suit the scale, and a 3D interior the exact kit, because it copies that kit's mouldings. Check markings against the variant as well — a different version often has its placards somewhere else entirely.
A conventional sheet is thin and compliant, which is what external markings want. A 3D decal adds depth and pre-painted colour and replaces hours of interior brushwork; allow for a thicker film that needs a flat surface underneath. The two mix on one model without trouble.
Sheets devoted to a single operation or a particular unit usually include a short history and side profiles, so they double as painting reference. For collectors these themes are often the start of a whole series of machines from one conflict.
Lay decals on a gloss surface and seal them once dry. The widest choice of markings currently belongs to 1:72 helicopter kits.