Clear canopies for helicopter models replace a thick, sometimes hazy kit transparency with a thin, crystal-clear one. Vacuum-formed glazing covers the Cobra, the Hind, the Huey, the Apache and other machines, in open and closed versions; through a thin wall every bit of cockpit detail you spent hours on stays visible. A drawn transparency is also springy, so it survives being picked up less carefully than it deserves. How to work with vacuum-formed glazing is set out below.
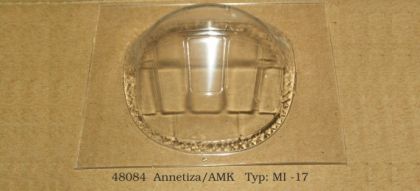 1:48 MI - 17
4.76 €
1:48 MI - 17
4.76 €
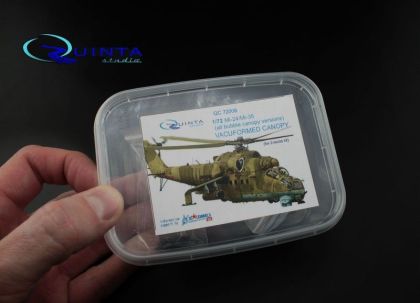 1:72 Mi-24/35 all bubble-version vacuformed clear canopy
6.76 €
1:72 Mi-24/35 all bubble-version vacuformed clear canopy
6.76 €
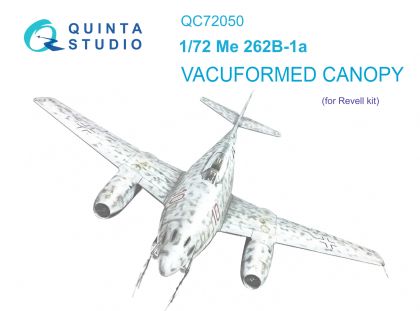 1:72 Me-262B-1a vacuumed clear canopy (Revell)
5.08 €
1:72 Me-262B-1a vacuumed clear canopy (Revell)
5.08 €
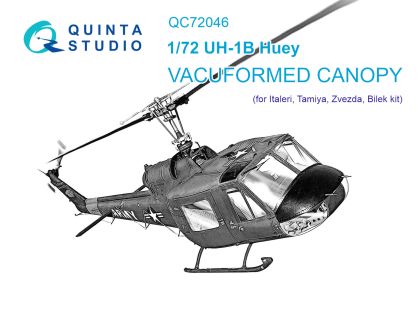 1:72 Uh-1B vacuumed clear canopy (Italeri)
5.68 €
1:72 Uh-1B vacuumed clear canopy (Italeri)
5.68 €
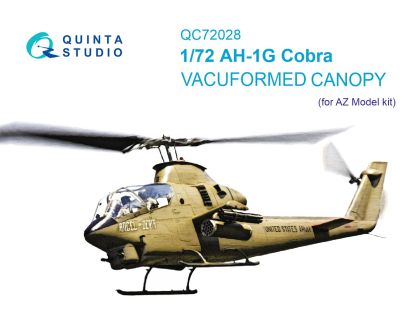
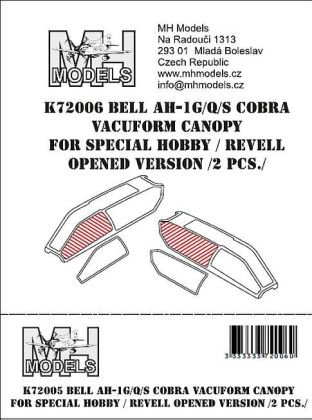 1:72 Bell AH-1G/Q/S Cobra vacuform canopy for Special Hobby/Revell opened version 2pcs.
5.16 €
1:72 Bell AH-1G/Q/S Cobra vacuform canopy for Special Hobby/Revell opened version 2pcs.
5.16 €
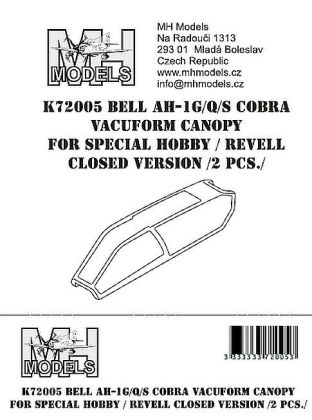 1:72 Bell AH-1G/Q/S Cobra vacuform canopy for Special Hobby/Revell closed version 2 pcs.
5.16 €
1:72 Bell AH-1G/Q/S Cobra vacuform canopy for Special Hobby/Revell closed version 2 pcs.
5.16 €
Glazing is the largest optical surface on a helicopter model. An injection-moulded clear part tends to have thick walls that distort, and a seam line down the middle. A vacuum-formed canopy is drawn from thin clear film: it does not distort, it looks in scale, and on machines with bulged transparencies such as the Hind or the Cobra it brings out a shape the plastic part only suggests. Thin film has a practical advantage too — it flexes as you seat it, so it can be pressed home without the cracks a brittle moulded part so often produces. The cockpit beneath it then deserves finishing with further helicopter model accessories.
A canopy follows the fuselage of one particular kit, so the intended moulding is named in the title. Many items contain two pulls, which gives you a spare attempt. On older subjects, check whether you are holding a reissued tooling — the fuselage shape may have changed slightly.
For machines with sliding or hinged doors, pick by how you intend to present the model: the open version shows the interior, the closed one keeps the fuselage line clean. An open cabin does need a detailed interior behind it, or it simply advertises an empty space.
Cut with a small margin, bring the edge down by sanding and dry-fit before anything else. Use a glue that does not fog clear parts — white PVA or a dedicated canopy adhesive; cyano can haze the film. Polish the canopy with a soft cloth before fitting and the clarity improves again.
A thin transparency shows its worth most on small 1:72 helicopter kits, where a tenth of a millimetre of wall decides the whole impression.