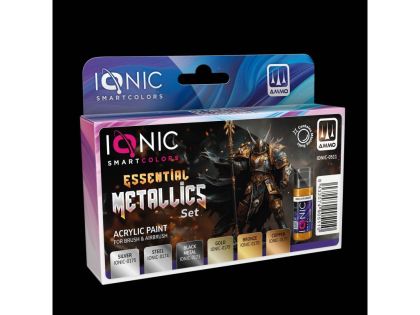
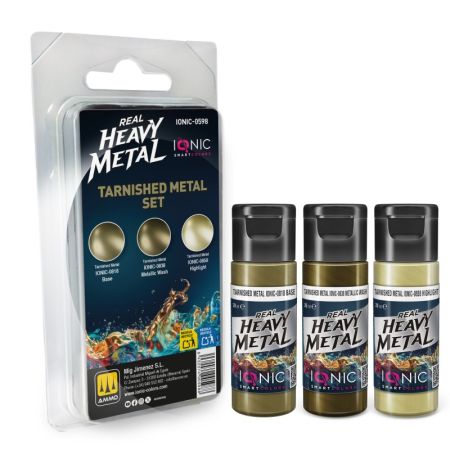
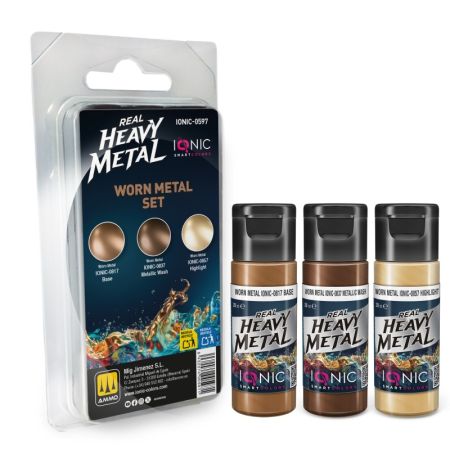
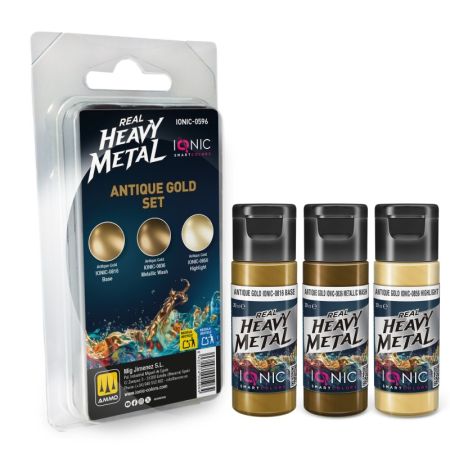
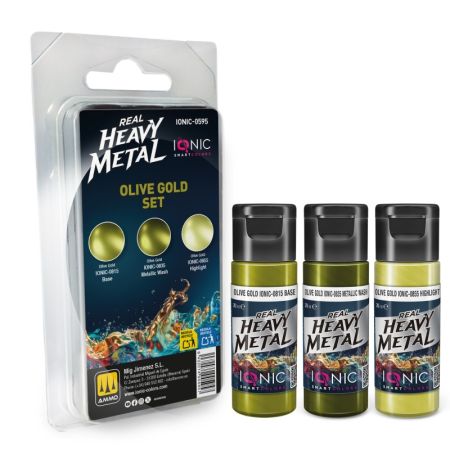
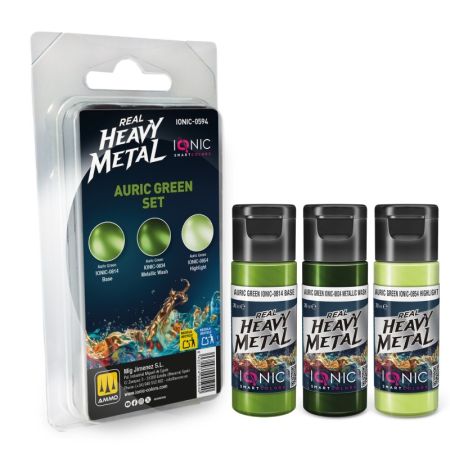
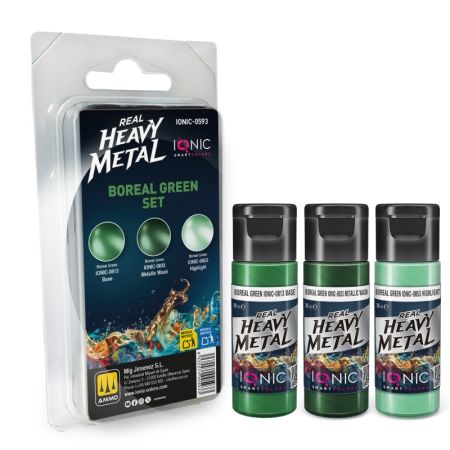
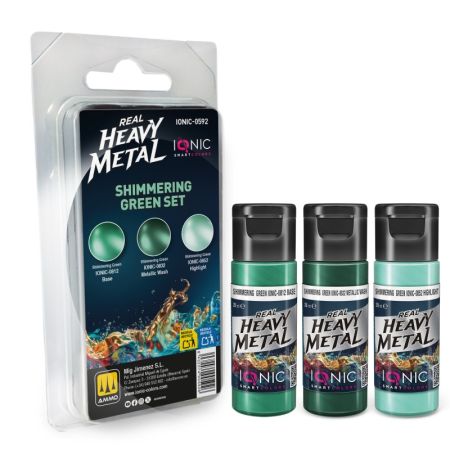
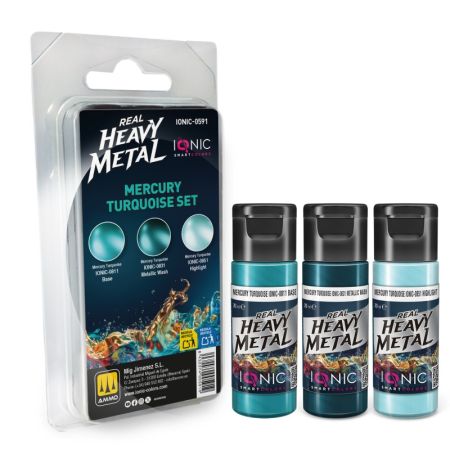
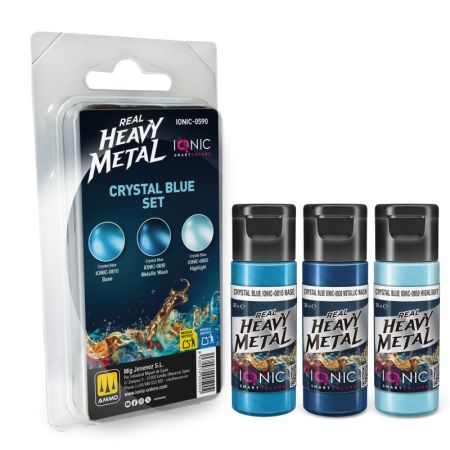
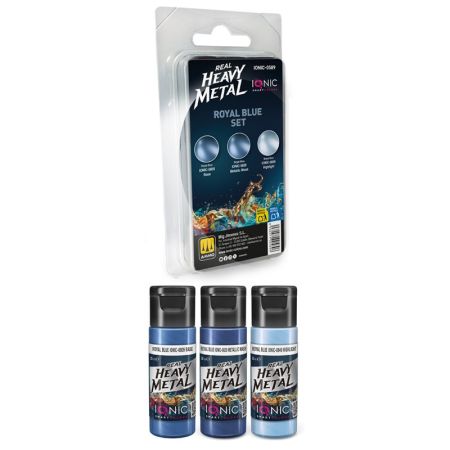
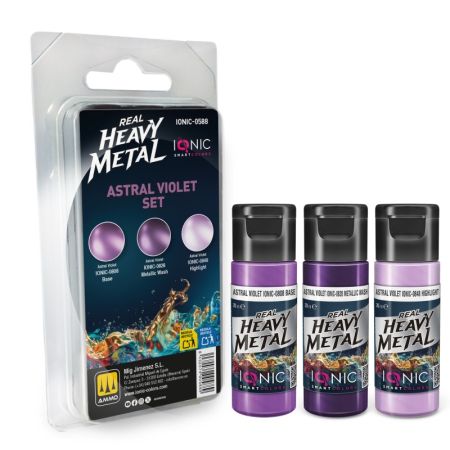
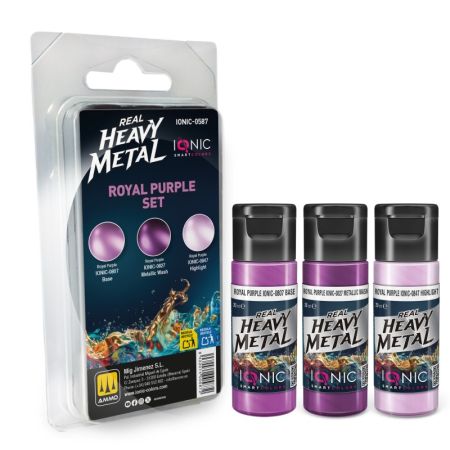
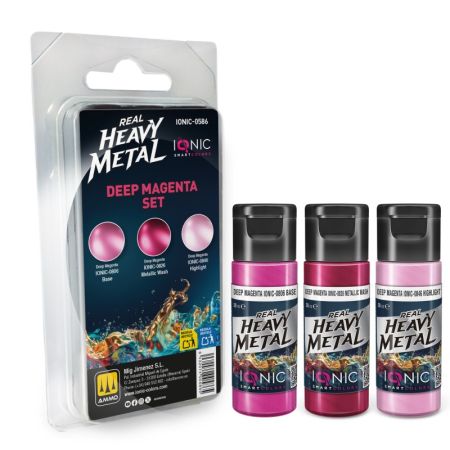
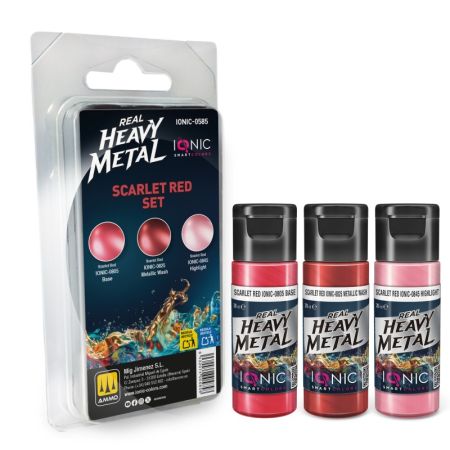
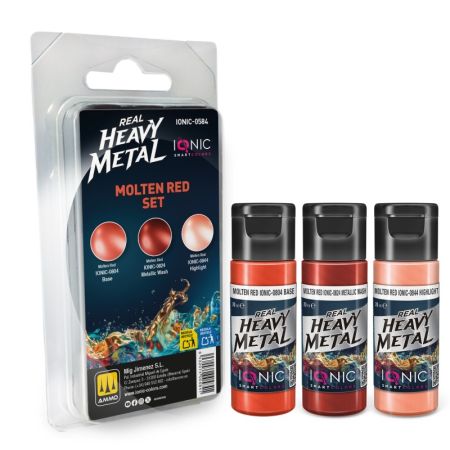
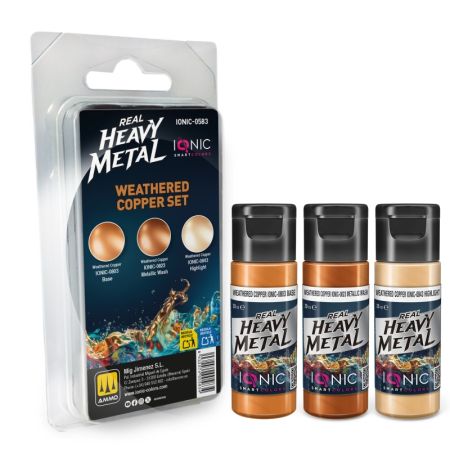
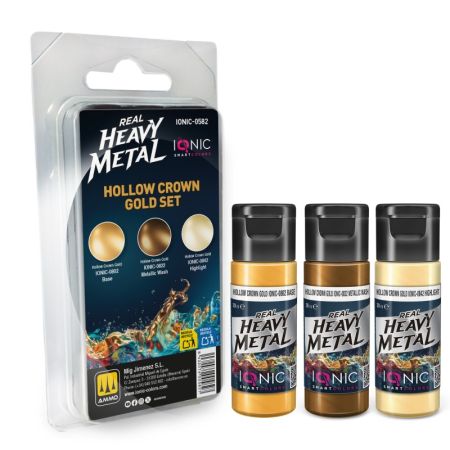
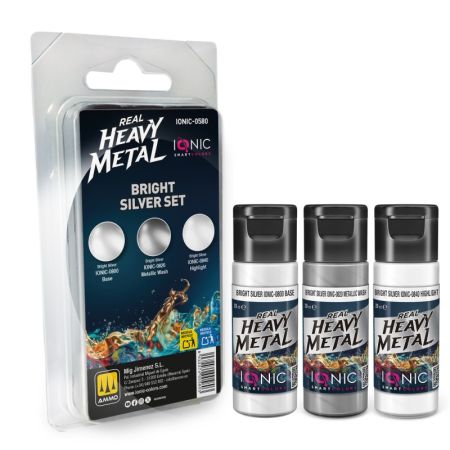
IONIC sets rest on a single idea: a metal surface is not one shade but several tones that follow on from each other. Most sets in the range therefore group a metal in three or four steps, from the base through a mid tone to the highlight.
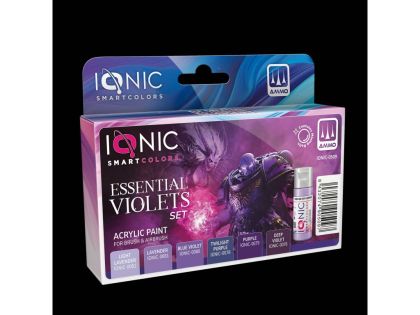
Coverage runs from aged and worn steel through antique and olive gold to green, turquoise, blue, violet and purple metals, plus a group for dark fantasy. How to apply them is described below. The notes below also cover why the direction of the light has to be decided before the first stroke.
One metallic colour laid across a whole surface looks like plastic sprayed silver. Real metal has sharp transitions between reflection and shadow, and on a model those have to be painted, because a scaled-down surface cannot generate them on its own. Sets made of several tones make that job easier: the dark shade goes into the folds, the mid tone across the surface and the lightest only on the edge that would catch the light.
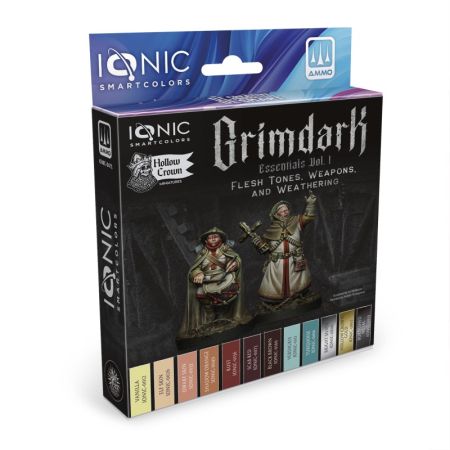
Coloured metal groups go further and add a hue of their own, so the same method yields green, purple or turquoise armour instead of plain steel. Dark fantasy sets add tones for leather, weapons and grime on top of the metals, so one box builds a whole figure.
Metal only convinces when every highlight points towards one source. Before you start, fix the direction the light falls on the figure and then apply the lightest tone only to edges facing that way.
Metallic pigment amplifies every imperfection. Seal the surface before painting with a layer from the surfacers and primers category, ideally a dark one, which gives the metal depth.
With ordinary colour, transitions are blended out; with metal the opposite holds. Short crisp strokes read as glossier than a carefully smoothed gradient, because they mimic a reflection on an edge. If you are unsure, blend the transition first and then lay one sharp stroke of the lightest tone over it.
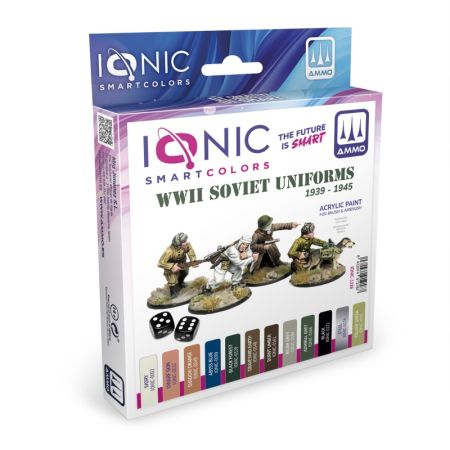
Sets aimed at historical vehicles and aviation are in the model paint sets category.