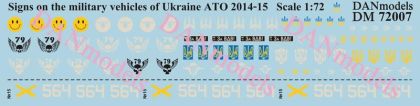
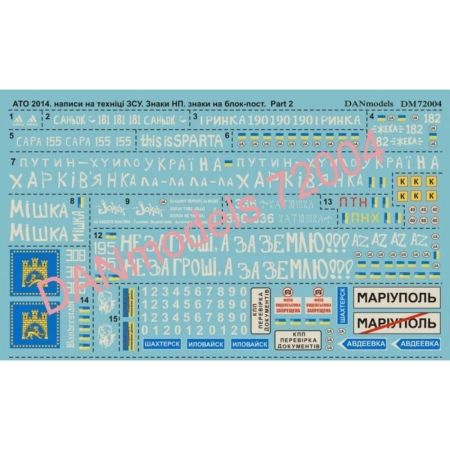
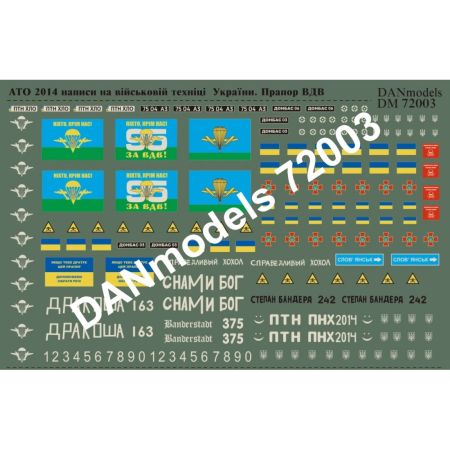
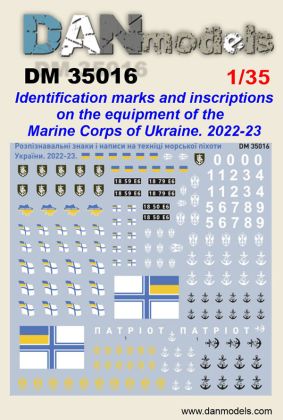
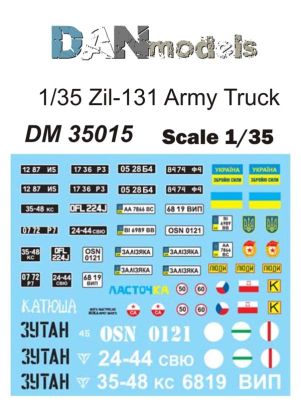
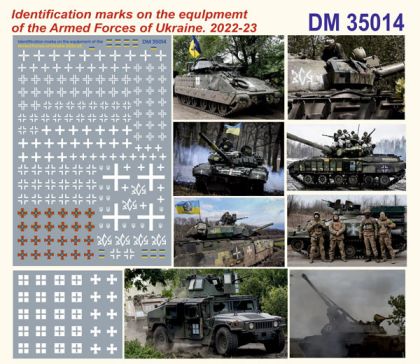
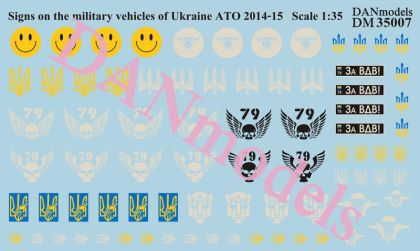
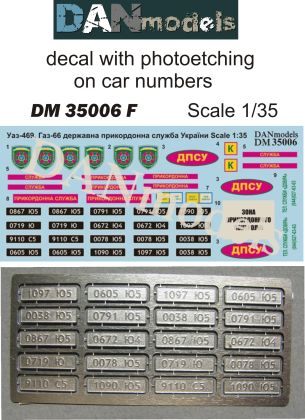
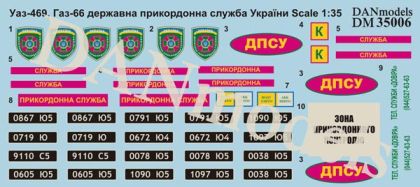
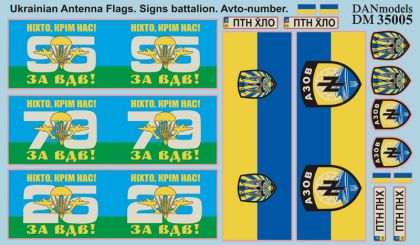
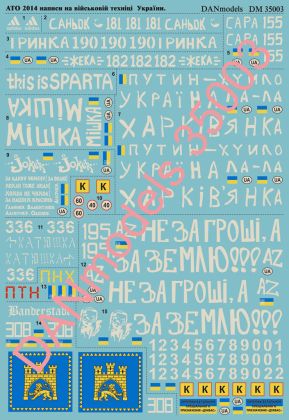
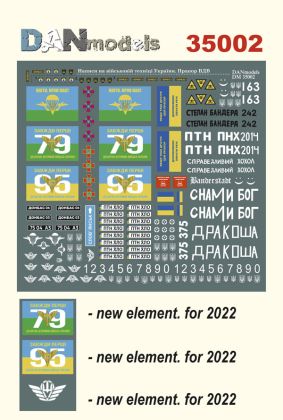
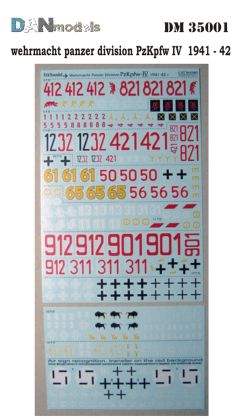
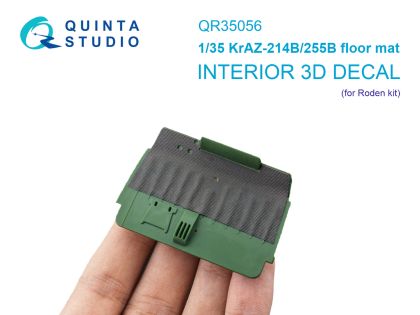
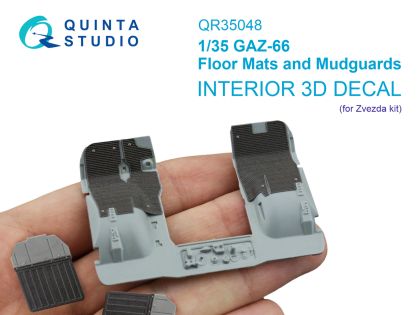
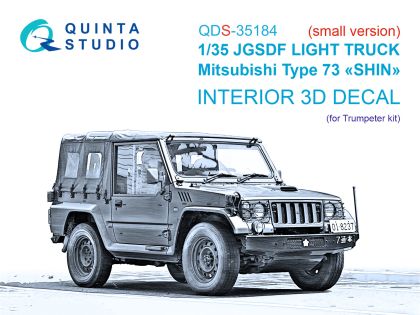
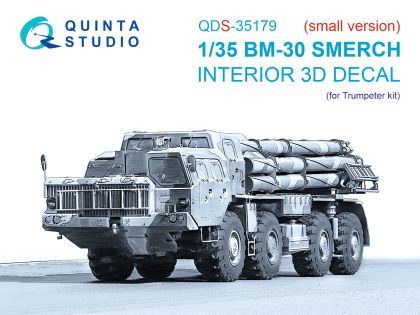
Decals for military vehicle models give a machine its identity: divisional insignia, turret tactical numbers, registration plates and warning lettering pin a vehicle to a particular unit and period. The range reaches from Second World War armour to carefully documented markings from recent conflicts, the Ukrainian battlefield among them. Below we cover how to pick a sheet, what to watch for in period and vehicle type, and how to lay decals down so that they do not silver on a matt surface.
A tank without markings is an anonymous plastic shell. Waterslide decals supply everything that is awkward to paint by brush: divisional and brigade insignia, turret numbers, roundels, aerial flags, registration numbers and small service lettering. A chapter of their own belongs to sheets documenting specific conflicts, where the makers work from period photographs, so the finished model follows a recorded original rather than imagination.
Markings must match the scale of the model; a 1:35 sheet is unusable on a 1:72 build. Many sheets also target one vehicle type, from medium tanks to light utility cars.
Decide first whether you are building an Eastern Front machine, post-war equipment or a vehicle from a current conflict. One sheet often holds several marking variants for the same unit, so it will serve more than one model.
A decal always belongs on a gloss surface. Float it into place on a drop of water, press it down, blot the moisture away and let a setting solution draw the film into panel lines and around rivets. Seal the whole marking under a coat of varnish at the end.
The sprayed alternative to printed markings is in paint masks for military vehicles. If you are still choosing the machine itself, start with 1:35 military vehicle kits.