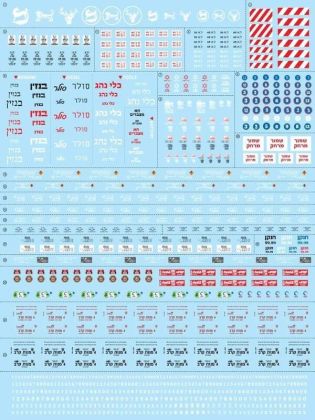
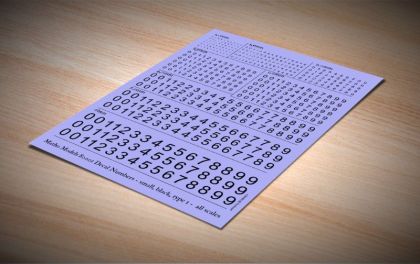
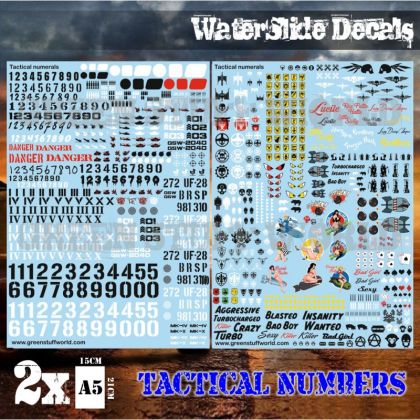
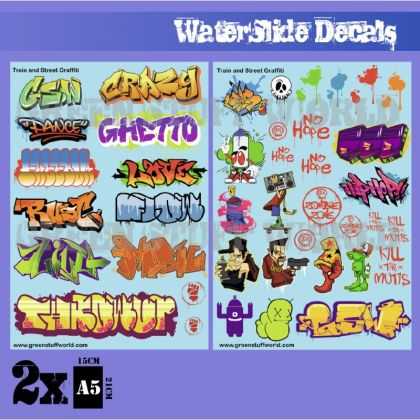
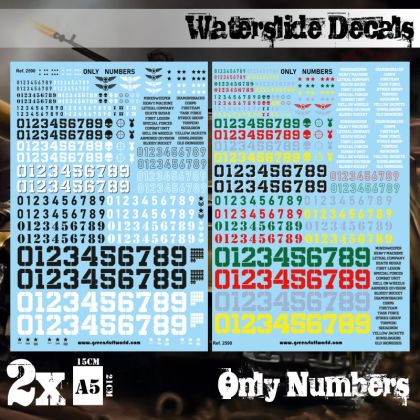
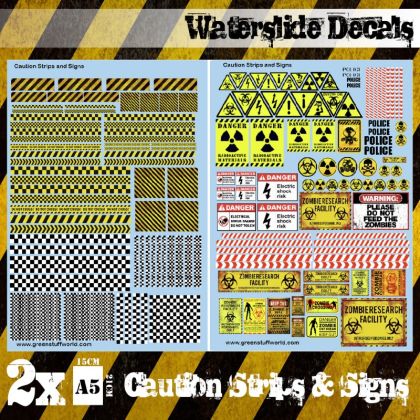
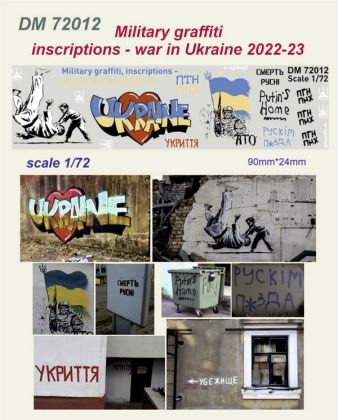
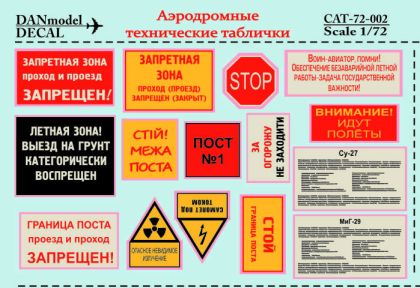
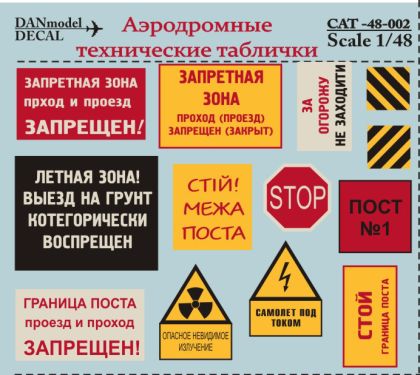
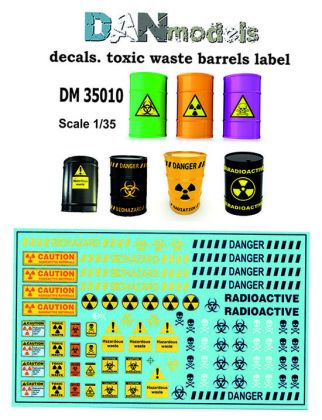
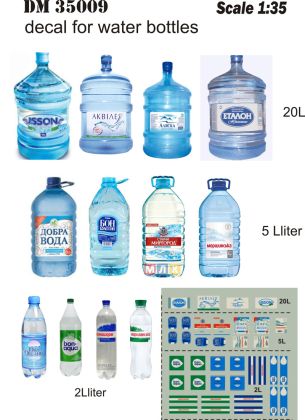
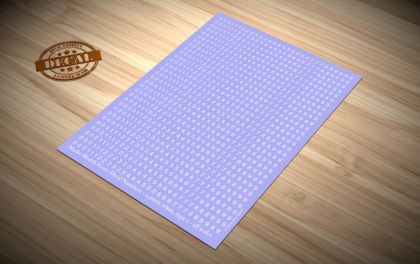
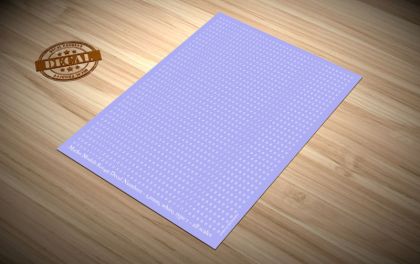
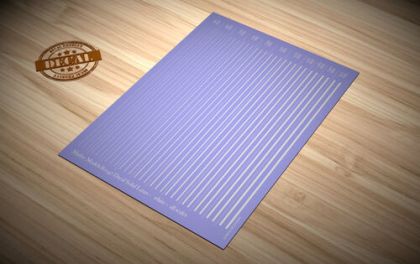
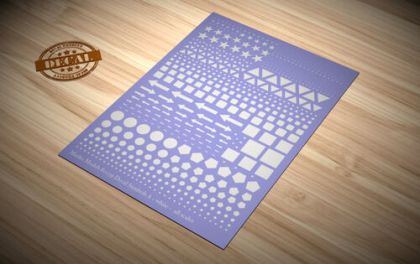
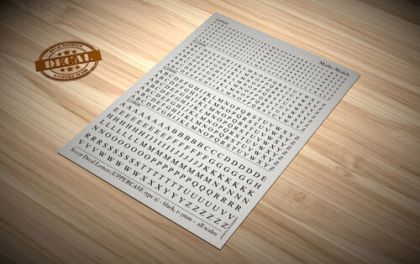
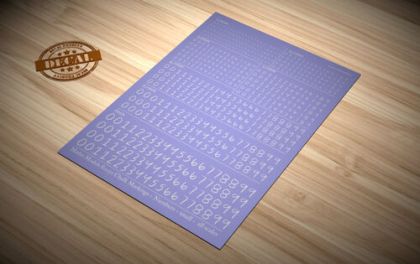
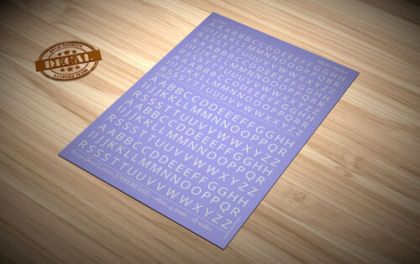
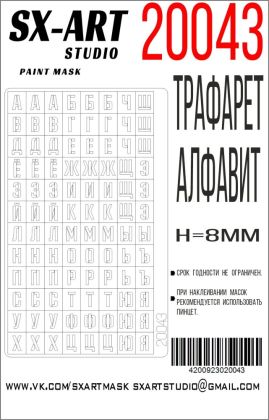
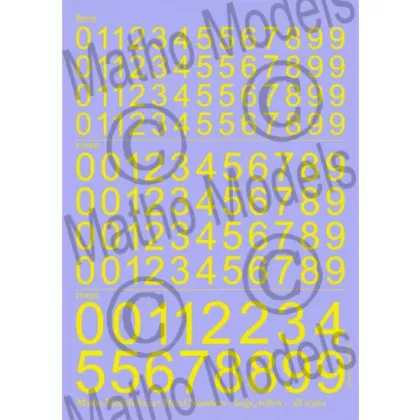
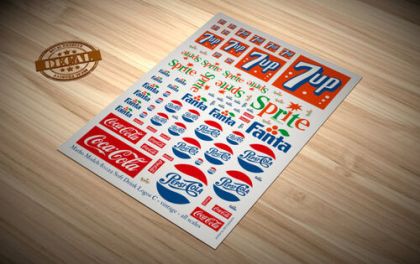
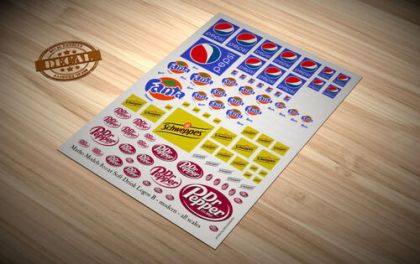
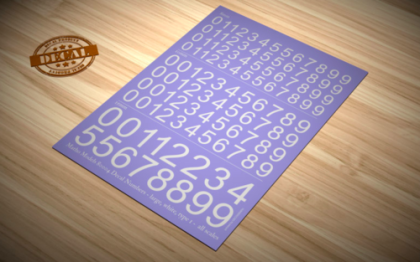
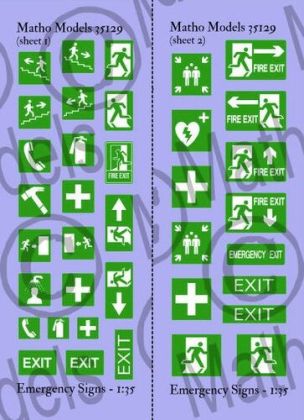
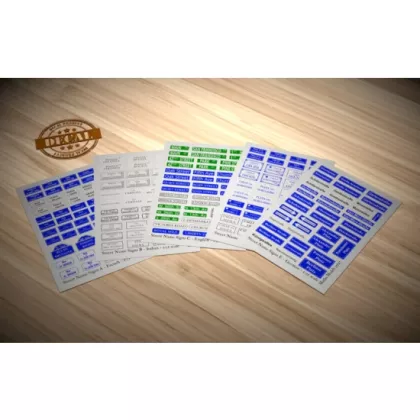
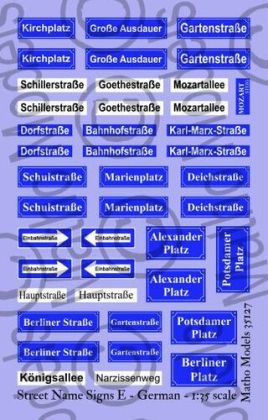
Everything on a scene that has to be legible is solved here: numbers and letters from a millimetre and a half upwards, solid road marking lines, warning and technical plates, street name boards, chalked notes on crates, labels for barrels and bottles, drink logos and Cyrillic stencil alphabets. Instead of painting a sign with a very fine brush you lay down a finished one, and the scene gains lettering that would otherwise take hours.
How to seat a decal so it reads as paint in the surface rather than as a sticker is covered further down.
A decal is printed on very thin film that softens in water, transfers onto the model and merges with the surface as it dries. On a scene it settles the things that are painful to paint by hand: a number on a door, stencilling on a packing case, a label, a cabinet marking, a centre line on tarmac, a street name plate. Beside the usual water-slide decals you will also find stencil alphabet sets for spraying lettering directly, and chalk markings that imitate a handwritten note.
On a matt finish a decal will not bed down, and air stays trapped under the film and shows up as silvering once dry. Brush gloss varnish where the decal is going and let it harden. After the decal has settled, the whole area is knocked back to matt and the edge of the film disappears.
A setting solution relaxes the film so it follows rivets, planking and panel joints. It goes on after the decal is positioned and must then be left alone - wet film tears. Let it work, and only push air out from underneath once it starts to firm up.
Numbers a millimetre and a half high are cut out one at a time and placed with a wet brush, not with tweezers. With long lines it is better to lay them in short sections: a full strip stretches as it transfers, and that cannot be corrected afterwards.
A decal that has gone on properly should not read as a sticker but as colour in the surface. Get that right and even a plain crate starts to look like kit in service; the rest of the setting comes from scenic accessories.