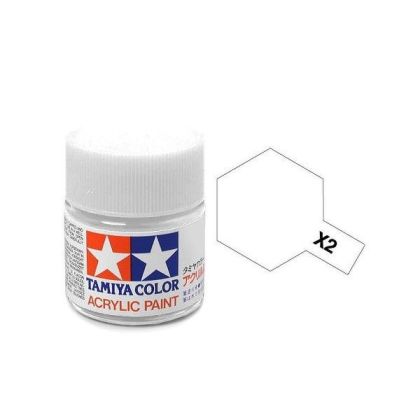
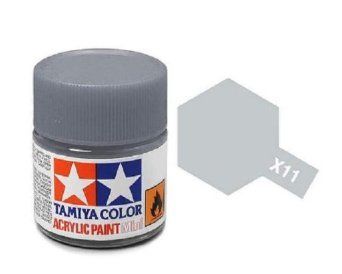
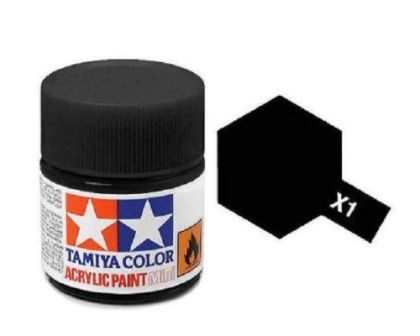
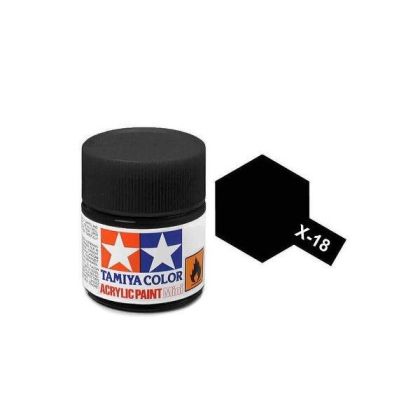
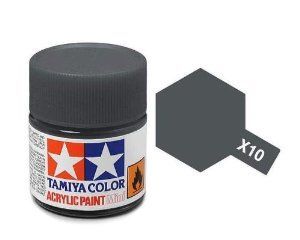
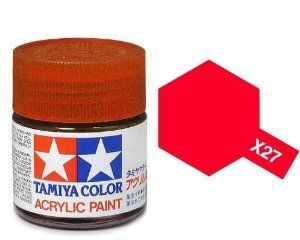
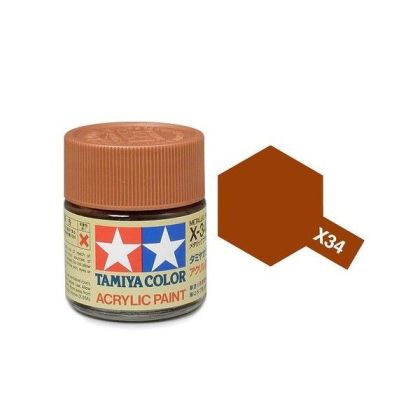
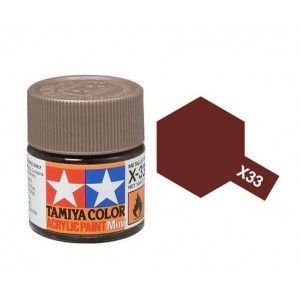
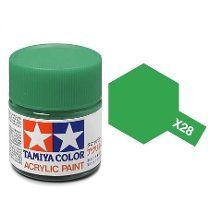
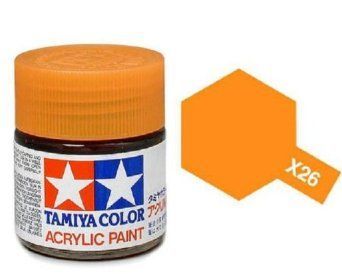
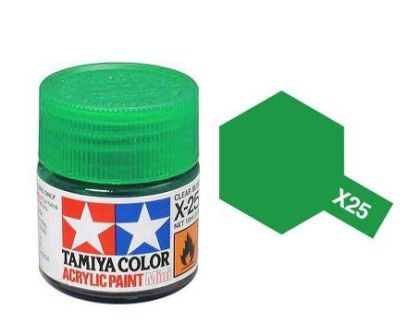
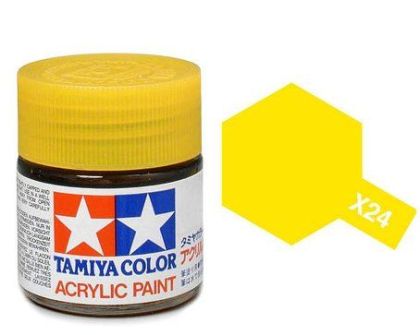
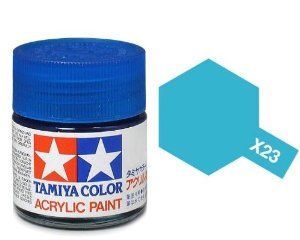
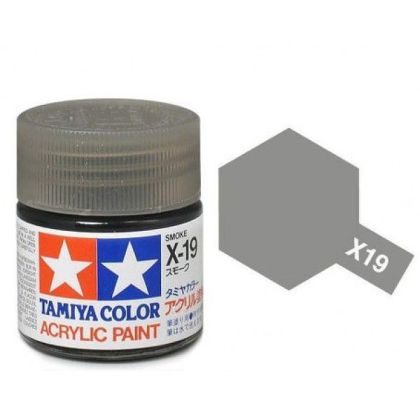
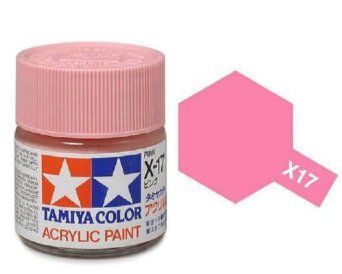
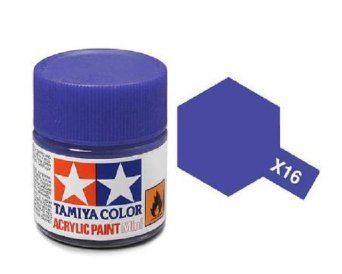
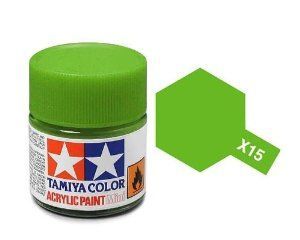
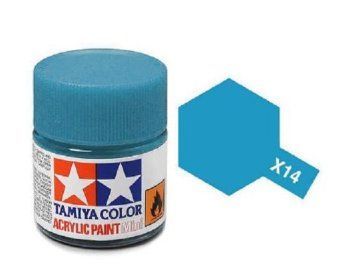
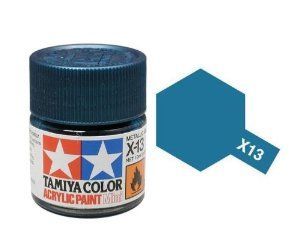
Gloss shades carrying the X prefix belong wherever the real surface was lacquered: car bodies, clear light covers, polished fittings and metal panels. The ten-millilitre range holds opaque tones, clear colours for tinting transparent parts and metal shades such as titanium silver or bronze.
A gloss surface is also a precondition anywhere decals are going on, because only there does the carrier film genuinely disappear into the colour. The paragraphs below cover how to get a gloss surface flat and how clear colours behave over different grounds.
Sheen is not only an aesthetic decision. A decal on a matt ground nearly always betrays its carrier film, because an air gap forms between the matt micro-texture and the film. That is why the areas under decals are brought to gloss first, the decal is then applied, and the whole model is knocked back to matt at the very end. Clear shades, meanwhile, serve to tint transparent parts such as tail lights.
Gloss amplifies every sanding scratch and every speck of dust. Smooth the area first, degrease it and apply the paint in thin coats. For fine-tuning the sheen afterwards, use a product from the clear coats range.
Clear shades do not cover, they only tint. Apply them to clean transparent styrene or over a silver ground, which gives a headlamp depth. Several thin coats give a more even tone than one heavy pass.
For the airbrush, bring the paint down with the matching thinner. For handwork use a brush with smooth hair from the modelling brushes category and lay the colour in one direction. Gloss is harder to apply by hand than matt, which is why car bodies are usually sprayed.
The commonest destination for gloss shades is car and formula kits, where the quality of the shine decides the impression the finished model makes.