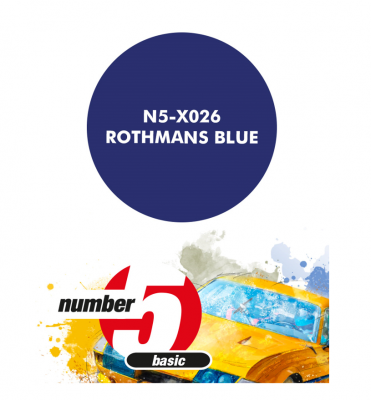
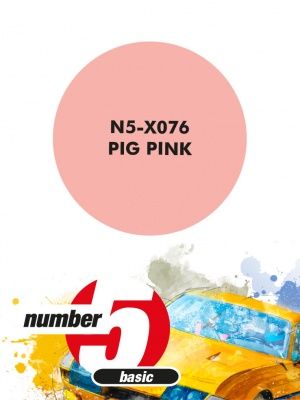
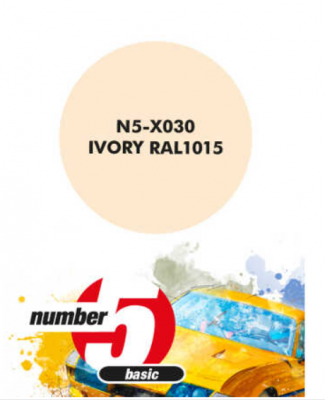
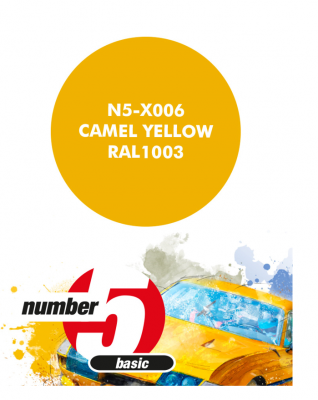
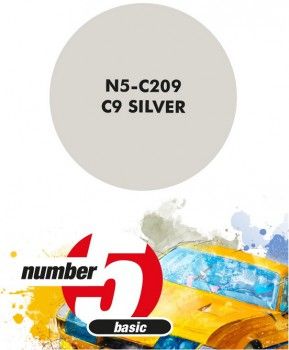
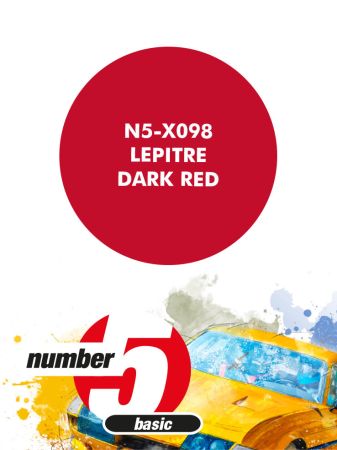
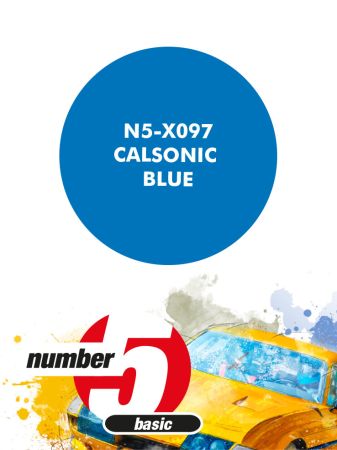
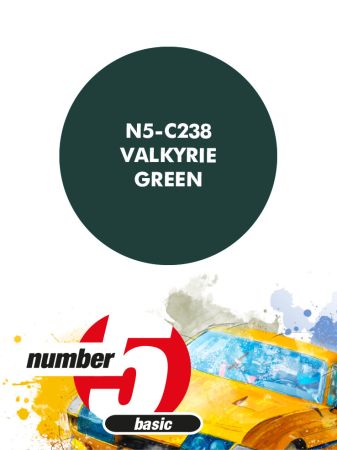
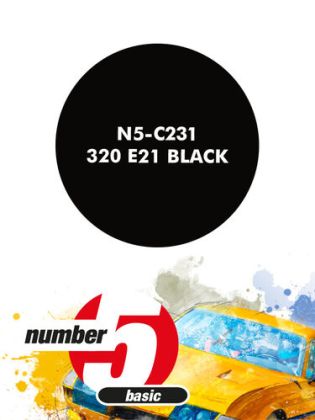
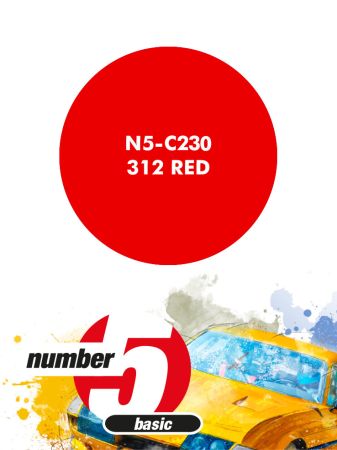
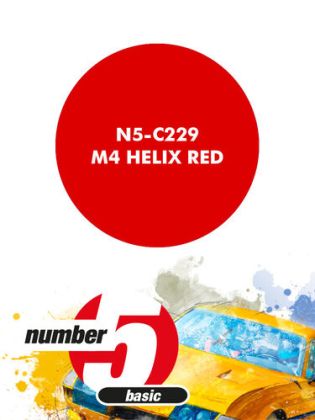
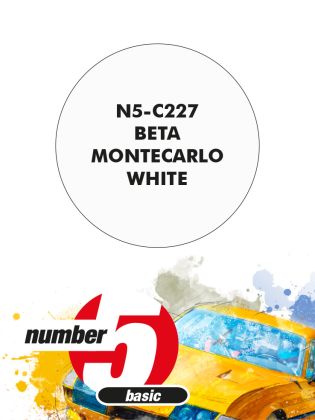
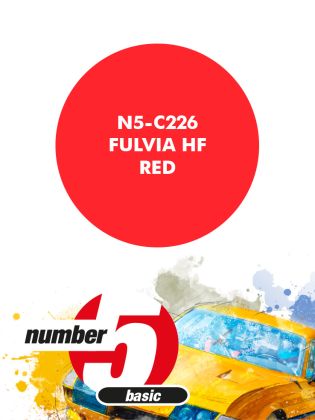
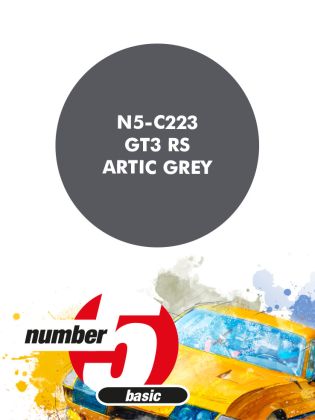
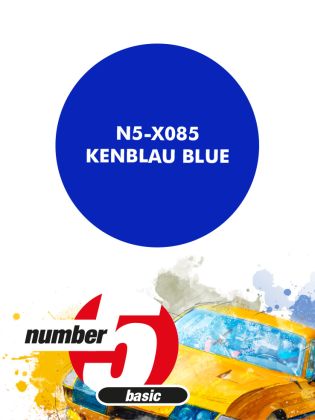
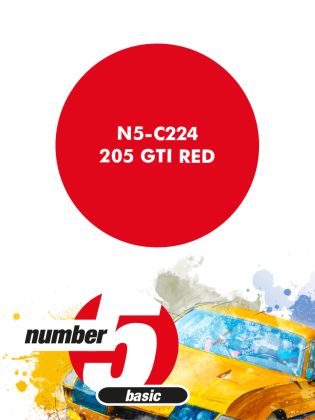
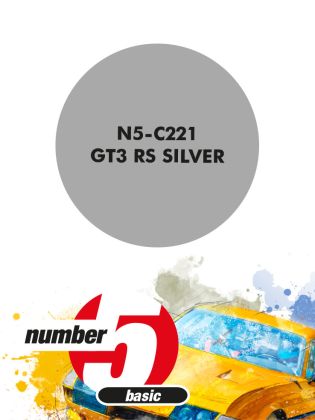
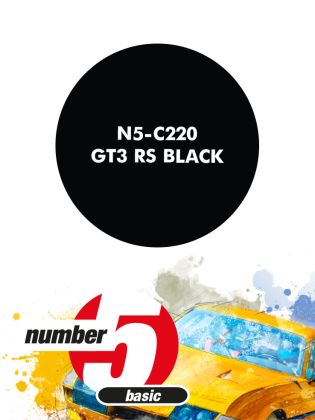
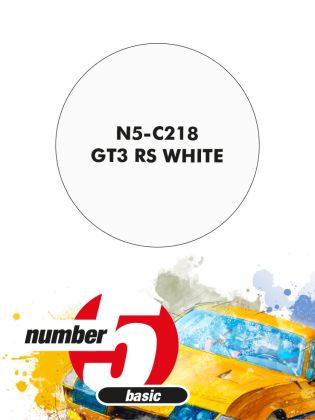
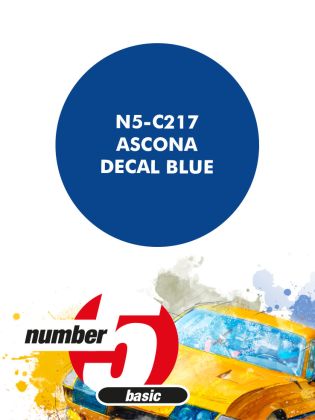
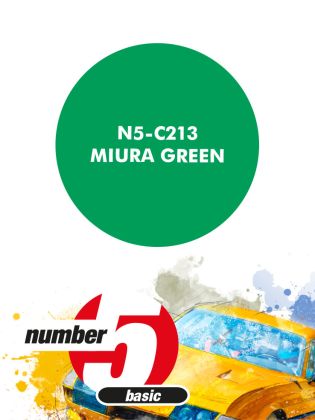
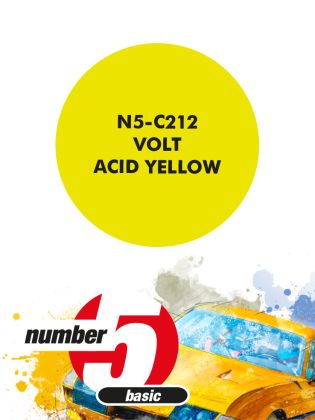
Number 5 paints are mixed to specific car body colours. Instead of a generic red or blue you get tones tied to particular cars and racing teams: deep maroon, saturated reds, team blues, arctic grey, silver, white and the blacks of sports cars.
That solves the car modeller's central problem, which is hitting a shade the viewer already knows by heart. A ready-made factory colour also removes the least rewarding part of the job: testing ratios on an offcut and comparing them against a photograph under the wrong light. Laying it onto a body shell is the harder half, and that is what the notes below are about.
On an aircraft or a tank, a matt coat forgives small imperfections. A body shell is the opposite: a gloss surface exaggerates everything underneath it. A trace of a mould seam, an unsanded sprue gate, dust that settled between coats, a fingerprint. That is why surface preparation takes longer than painting on a car model, and why the colour is almost always sprayed.
The second peculiarity is colour accuracy. Factory and racing shades have names, and collectors know them, so mixing a substitute rarely pays.
Sand the body through progressively finer grades, wash it and let it dry. Then lay a base from surfacers and primers, look along it against the light, and correct any flaw before the colour goes anywhere near it.
The same paint looks different over white and over grey. Reds and yellows need a pale base; dark blues and blacks manage over grey. If you are building two cars in one colour, use the same primer on both or they will not match on the shelf.
Depth of clear coat matters more on a car model than the shade itself. Once the colour is dry, lay a gloss coat from varnishes, give it several days to harden and only then polish it. Rushing this stage costs the most work, because soft clear warms under the cloth and goes dull.
Further shades suited to body shells, metallics and clears included, are in acrylic model paints.